
As many of you may know, the latest untethered jailbreak tool for iOS called Envisi0n was released to the general public yesterday (2/4/13). As a consequence, the Cydia installer which manages all of the repositories for 3rd party app that you can install on your jailbroken iOS device was pretty much hammered. Things are coming back to normal now (but you may experience some errors). Regardless, Cydia and the apps in the various repositories allow you to have more access and management of your iPhone or iPad. You can even remotely access your iOS device using SSH. Therein lies a potential problem though. If you enable SSH access to your iOS device, you potentially expose your device to remote access if you don’t change the default passwords for root and the mobile users.

Many of you may not want to even enable SSH on your iOS device so if you have no reason to do so, just don’t do it. However, if you do and you know what you are doing, below are the steps that you should take to change the default passwords on your iOS device.
First, you need to enable SSH access to your device. To do this, you should install the OpenSSH application from the Cydia/Telesphoreo repository (it’s free).
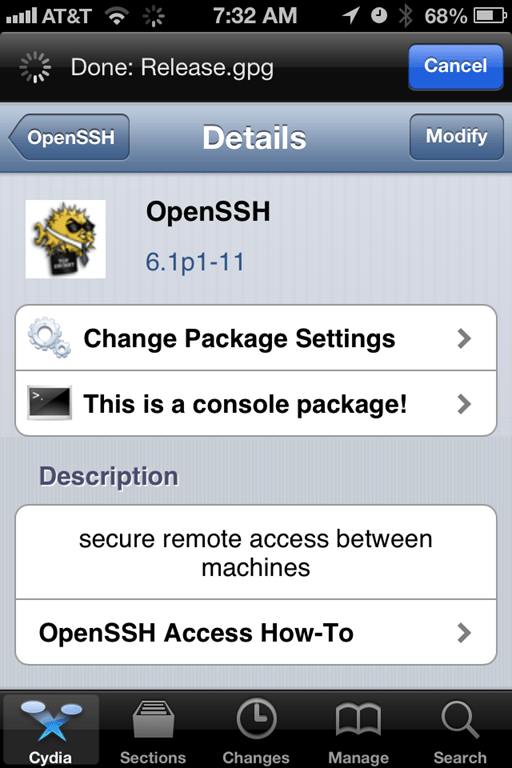
Just a quick reminder, once you install this, that means that access is open via SSH so you should change your default passwords immediately. I do recommend installing SBSettings (from the BigBoss Repo) which allows you to easily toggle SSH access on or off. SBSettings is an incredibly useful application regardless as it gives you easy access to a variety of normally buried toggles like Bluetooth, Wifi, Data, and others and also allows you to free up memory or respring your device easily. And, it’s free as well!

So, once you have OpenSSH and SBSettings installed, you are ready to access your iOS device via SSH.
I’m going to walk through the quick and easy process of changing the passwords via remote access from a Mac (using the Terminal application). You could just as easily do this via PuTTY on Windows. Optionally, you could also do this directly from within your iOS device if you install a terminal application. There is one called MobileTerminal (also from the BigBoss repo) – doing it locally means that you don’t have to SSH into your device since you are already accessing the local file system. At the end of the instructions, I walk through a local connection.
Here is the default user and password assigned by Apple for root on your iOS device:
User: root
Password: alpine
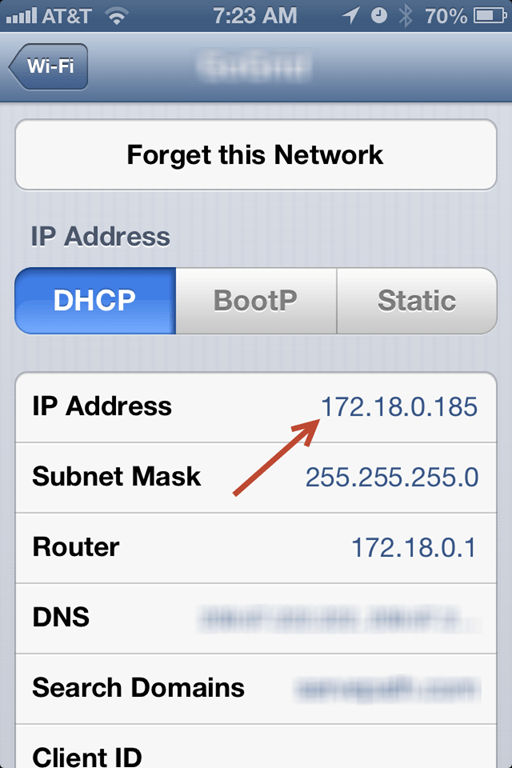
Step 1 – Connect to WiFi & Find your WiFi IP address
The easiest way to connect to your iOS device is to connect it to a local WiFi router. Once you are connected, go into Settings > WiFi and click on the blue arrow to learn more about your connection. In the connection screen, look for the IP Address and write it down.
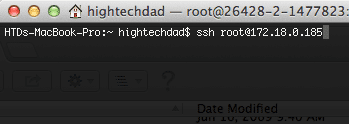
Step 2 – Connect to your iOS device via SSH
Once you have the WiFi IP address, you will want to start your Terminal application (either Terminal on Mac or something like PuTTY on a PC).
Type in:
ssh root@[IP ADDRESS]
…where the [IP ADDRESS] is your WiFi IP address. In the example above, the command would be:
If this is the first time that you do this, you will be prompted to create a “fingerprint” for your SSH connection. Note, if you cannot connect, be sure to check the WiFi connection and IP address as well as if you have OpenSSH/SSH running on your device.
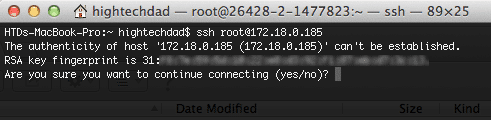
Just type in “yes” and hit Enter.
You will be prompted to enter the password for root. If this is your first time doing this, you will enter “alpine” here (without quotes) as it is the default password.
You should now be connected.
Step 3 – Changing the Passwords
Now comes the easy step, changing the password for root and setting one up for the mobile user.
Since you are now logged in as root, you can change the password. Simply type in:
passwd
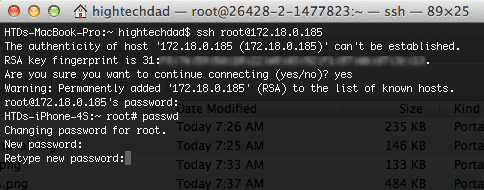
You will need to type in the new password for root twice to make sure you don’t make any errors. Hit Enter each time. If the passwords match and there are no errors on the screen, you have changed root‘s password. IF you get errors, try it again.
Next, you will want to change the password for the mobile user. To do this, just type in:
passwd mobile
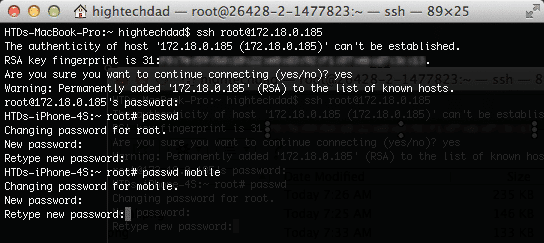
With that, you have changed the two users’ passwords. You are done! Congrats, you iOS device is just slightly more secure. Now, you can type “exit” to end your SSH session or just close your terminal application.
Connecting & Changing Passwords Via a Local Terminal App
If you were using a Terminal application like MobileTerminal, you can simply go directly to Step 3. However, you will want to log in to your device locally as root. To do this, fire up MobileTerminal or whatever app you are doing and simply type in:
su
“su” stands for sudo which is how you run commands as the root user. You will be prompted to enter in the root password (remember, the default is “alpine”).
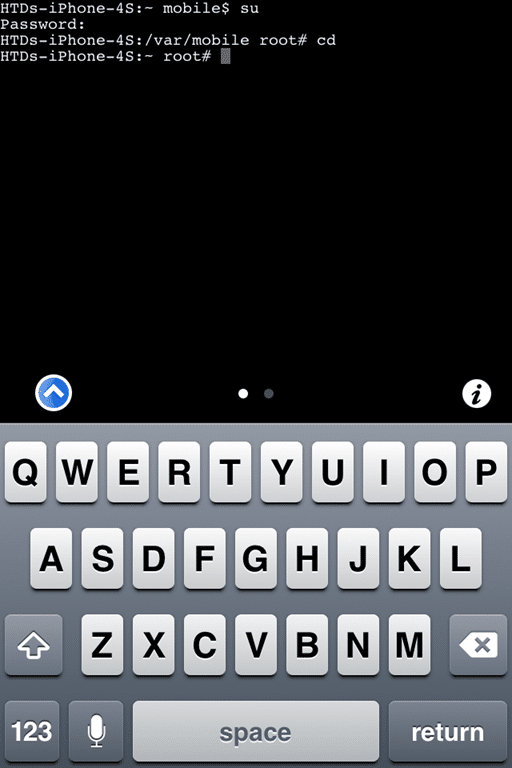
After you authenticate as root, you can go to Step 3 above and run the commands.
This entire process literally takes a few minutes once you have everything in place, and it is important to do to prevent a remote 3rd party from potentially accessing your iOS device remotely via a public WiFi or even the cellular network. Remember that once you are done with this, to toggle SSH off (via SBSettings if you installed it).
Have questions? Leave a comment. Did it work for you? Leave a comment and share this post!
HTD says: Great job by Envisi0n for a solid jailbreak. Enjoy your iOS freedom!


