I’m all about wiring my home up for security and peace of mind. Whether you are on vacation or just want to check in to see if your pets are on the furniture or your kids are doing their homework, it’s simply convenient to be able to open the digital eyes of your home from wherever you are. A few years ago, I installed a series of external Logitech webcams around my house. You can read the review of that system and the install process here. With that system, I have been able to see when packages arrive, when my kids get home from school, if the gardeners are working and I even caught a potential burglar testing the car doors of our vehicles parked in the driveway.
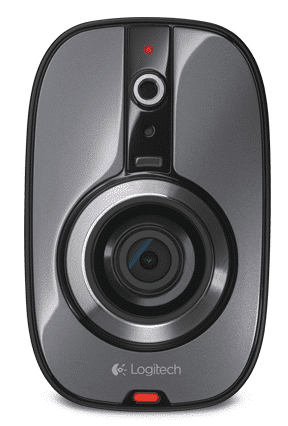
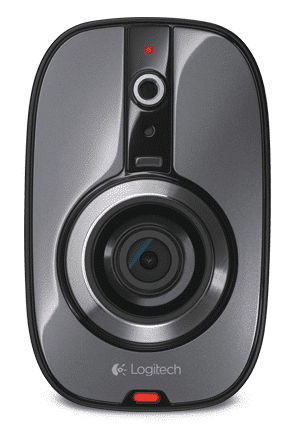
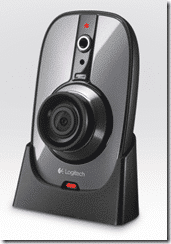
That’s security and peace of mind. But that was only the vision around my home. Recently, Logitech introduced an interior camera that works with the same HomePlug powerline technology (which I will explain) to hook into your existing system, specifically designed for the inside of your house. The Logitech Alert 700n Indoor Camera is this indoor solution. If you have an existing Logitech Alert system, your installation is literally minutes. In fact, I simply hooked up the 700n camera, plugged it in, and instantly it was streaming video and audio, all integrated into my existing system. Practically zero configuration. If you don’t have a system already, you can get the Master System (the 750n) which includes the components required to hook to your router and the 700n Indoor Camera as well.
The first thing to know about the Logitech Alert system is the fact that it doesn’t use your WiFi. It uses a different technology called powerline (HomePlug). Essentially, what this protocol is, is a way to transmit a network via your home (or businesses) power. You simply connect one adapter into your router, plug that into a home power plug, then plug in your camera somewhere else in the electric grid that runs through your house. And then, via the magic of networking technology, your two end-points should be talking to each other. It’s important to point out that there are some limitations, as I found with my previous installation, to this networking technology. For starters, you will want to plug in directly to a wall socket as there is potential signal degradation or loss if you use a surge protector or power conditioner. Some surge protectors filter out extra “stuff” (to use a technical term) meaning that your signal could be dramatically reduced or cut off. Or, if you have multiple wiring circuits throughout your house, there may be no way to actually “connect” the network. My house, for example, has new and old wiring, complete even with a set of fuse boxes. So, I had to ensure that I used the older circuits to complete the network.
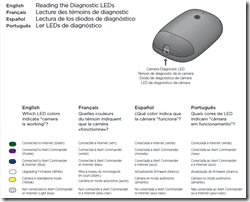
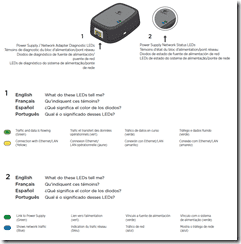
When installing your Logitech powerline (HomePlug) network, be sure to test it all out before you mount any cameras. The nice thing about the 700n indoor camera is that it is very portable, meaning you can test location and signal strength throughout your house pretty easily. There are lights on the 700n that let you visually see if you have connected properly to the HomePlug network and that your camera is talking with the base as well as to the Internet. Be sure to have the color light key handy. There are LED indicators on the camera, the back of the camera and on the plug that will easily give you a visual status of your 700n.
Let’s talk a bit about setup. As I had an existing Logitech Alert system, the new 700n was immediately detected by the master Alert software on the laptop that I had designated for management. You can, optionally, do much of the control of your cameras via a web application but you do need a dedicated computer to help with the downloading of video periodically. It’s important to note that video is also locally recorded on the included SD card so that you can always have access to your latest recorded video should you need it. A bit more about that later.
So, literally, my setup took about 5 minutes which included the unpackaging and setting up the camera, plugging it in and starting up the Logitech Commander to ensure that all was being detected.
Here’s what you get in the Add-on pack:
- Logitech Alert indoor camera
- Power supply (used for networking as well)
- Mounting kit (if you want to attach to a wall or ceiling)
- 10-foot Ethernet/power cable (connects camera to power supply)
- 2 GB microSD card (I would recommend getting a larger one)
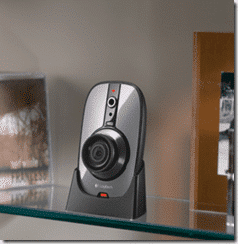
Once you get everything installed, then the fun begins. You can go through the positioning and configuration of your new camera. The nice thing about the indoor one is that you can move it from room to room or mount it on a wall or ceiling. Because of its portability, I elected not to mount it and now I can use it to monitor the kids playing or our dog while we are away.
For configuration, you can use the desktop software (Logitech Alert Commander). Remember, you should set up only one computer with this software as having more than one can cause issues, especially when downloading recorded images. You also use the desktop version to upgrade the firmware of your cameras as well as HomePlug technology. However, I do recommend considering getting a subscription to the Logitech Alert Web and Mobile Commander which enables you to view and manage your Logitech Alert system via the web or mobile device. This is a subscription service which is $79.95 per year but includes all of the Alert cameras you have on your system. Also, you need to have a Master System already (as I mentioned, this review is about the add-on camera). It also gives you access to recorded videos remotely.
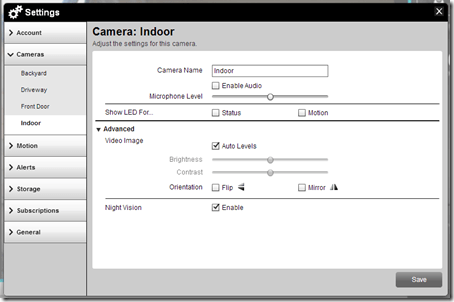
Within the Commander Software or Web version, you can configure a variety of things. For starters, you can decide if you want the LED’s to display on the front, if you want the audio on as well as set the level of the microphone and enable Night Vision. That a BIG new feature that is currently available in the outdoor cameras but not in the indoor ones until the 700n came out.
With Night Vision enabled, you can really truly see in complete darkness. This is a big plus if you want to see what your kids or pets are doing late at night, or if there is someone or something moving around in the dark – and it works pretty well!
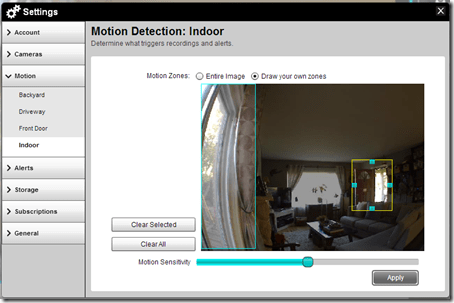
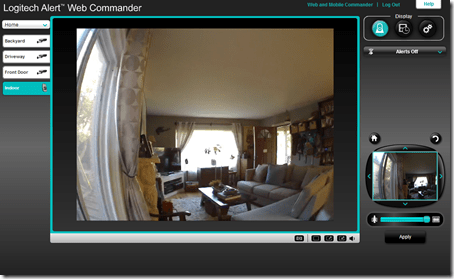
Also in the configuration screen, you can set and define Motion Zones. You can either use the entire image as your Zone, or you can draw hot spots on the screen to define certain regions that will trigger alerts or recordings. In the picture below, I set the window and the door to be the triggers.
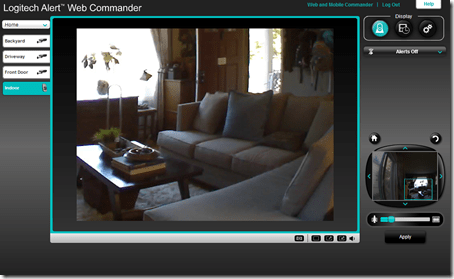
Another feature that the 700n has is the ability to define a broad or tightly zoomed area for the camera to display. The picture below shows the un-zoomed view. In the lower right, you have an area were you can define the zoom size as well as what section you want to zoom in on. (Note: you cannot do this on a mobile device and the device will only show what you define via the Commander.)
This is the zoomed-in view via the web-based software:
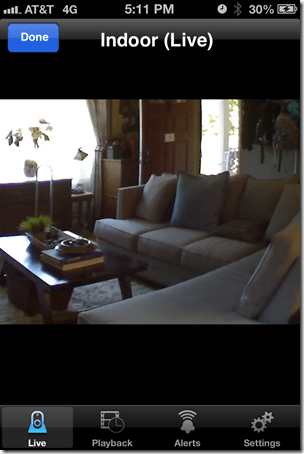
And your view via the iPhone (mobile) app is pretty much the same:
You can also define it you want to receive Alerts based on certain specifications. You can get text-only alerts, snapshots of motion or mobile phone optimized alerts via email. And you can set thresholds for how frequent these occur as well as how long motion is active for an alert to be triggered.
But once you set it all up, you can pretty much forget about it.
HighTechDad Ratings
As I mentioned in my original article, the entire Logitech Alert system is quite easy to set up and configure. Once you get it dialed in, it becomes quite a useful tool around the home, whether you are there watching the outside or away watching over the entire house inside and out. The systems and cameras are not the cheapest out there but I feel that the quality of the product and service is pretty much worth the premium price. One thing that I do recommend is actually buying some higher quality SD cards because these are heavily used and the ones that come with each camera are not only small (2 GBs) but they wear out pretty quickly (mine lasted about 1.5 years).
The add-on 700n camera retails for $229.99 and you can pick one up on Amazon currently for $229.99 (same price currently as it is a relatively new product but I’m sure it will drop in price soon). If you are looking for the complete Master system with this camera, it retails for $299.99 and it is listed on Amazon for $278.09.
Disclosure Text : I have a material connection because I received a gift or sample of a product for consideration in preparing to write this content. I was/am not expected to return this item or gift after my review period. All opinions within this article are my own. More information can be found in my About page as well as here.
HTD says: I’m a big fan of video monitoring inside and around your home and the Logitech Alert system is one of the best solutions to do this out in the market.
[amazonproduct=B007WPHY64]
[amazonproduct=B007WPHY6E]

