
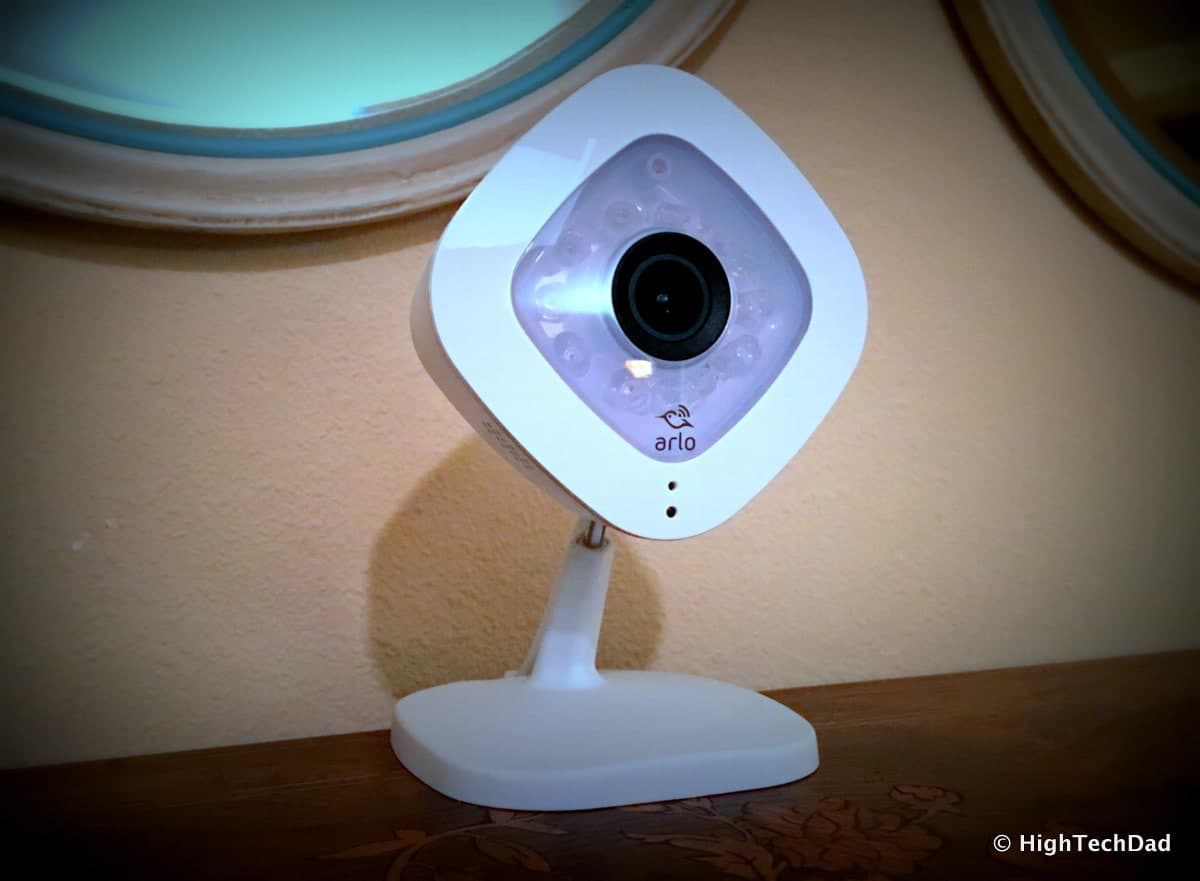
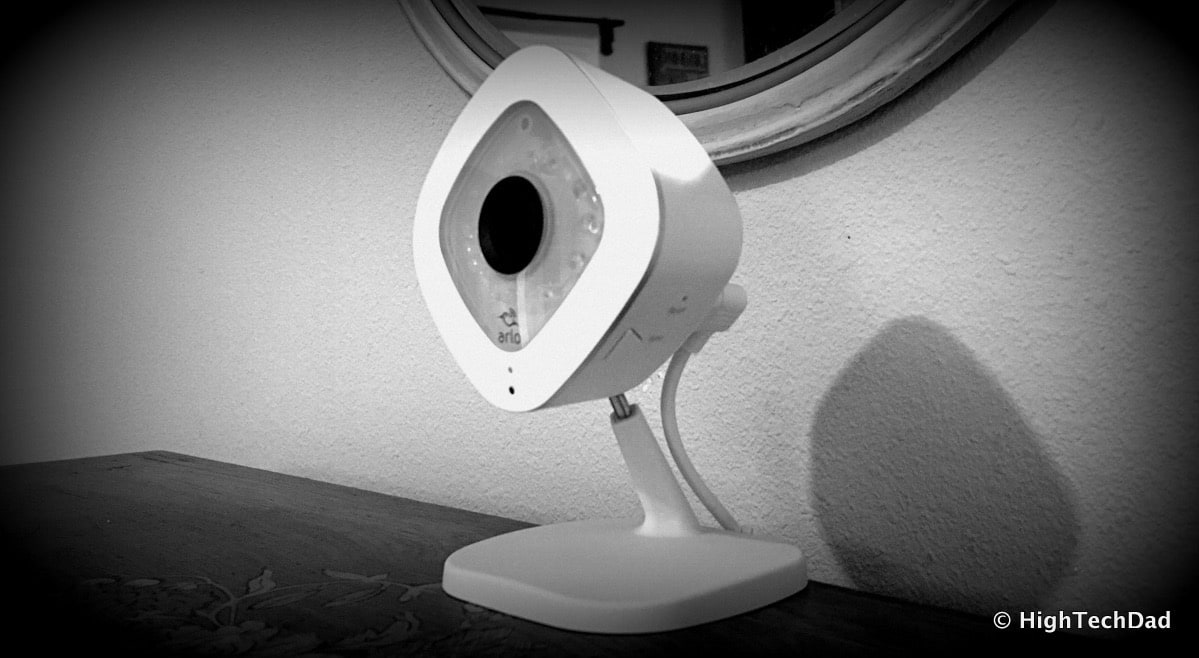
Currently the exterior of various portions of my home are monitored by NETGEAR’s Arlo which is a wires-free (both power and connectivity are without cords) day & night-time HD security camera. About a year ago, I wrote about how extremely easy it is to set up and configure the NETGEAR Arlo. This year, they added a sibling to the group, namely the Arlo Q. Briefly, the Arlo Q is an HD security camera that connects to your WiFi network, can do two-way audio, has night-vision and is powered by plugging it into the wall (the Arlo, conversely, is battery-powered and requires the Arlo base station for connectivity). But, like the original Arlo, the set-up is easy and quick and the management equally so.
| Disclaimer: I am a NETGEAR Ambassador and I received this product in exchange for my honest, unbiased opinion and review. |
Being a NETGEAR Ambassador, I was lucky enough to get my hands on the original Arlo System. I have it set up around the outside of my home, capturing nocturnal creatures, family members arriving and leaving, gardeners cleaning up, delivery people dropping off packages – basic family activity. While the original Arlo is designed to be both inside and outside capable and can be mounted just about anywhere the signal reaches, the Arlo Q is designed to be inside only and needs to be near a power plug (since it is wired) and a good WiFi signal. So, I was excited to test out the new Arlo Q which I recently received from NETGEAR.
Some quick specs on the NETGEAR Arlo Q:
- HD video – 1080p means images are crisp
- Talk & Listen – has two way audio so you can chat with people you are monitoring
- See in the Dark – monitoring something without lighting? The Arlo Q can see even in complete darkness
- Notification – get email and smart phone alerts when the Arlo Q hears or sees something
- Playback – missed some action? View the recording up to 7 days prior for free
- WiFi connectivity – 2.4 & 5 GHz WiFi capable for approximately 300 foot range (line of sight)
The biggest differences between the Arlo “Wires-Free” and the Arlo Q are that the Arlo Q records 1080p HD video while the Arlo Wires-Free is 720p. The Arlo Wires-Free can be placed indoors and outdoors while the Arlo Q is only for inside. The Arlo Q has a slightly wider angle field of view at 130 degrees while the Arlo Wires-Free is 110 degrees. And lastly, is the two-way audio capabilities of the Arlo Q and the ability to record 24/7 non-stop video. These last two features of the Arlo Q are primarily due to the fact that it is NOT battery-powered (as those capabilities would drain a battery extremely quickly).
Setting Up the NETGEAR Arlo Q
If you already have a NETGEAR Arlo, the Arlo Q integrates in quite easily into your existing system and both camera types appear within your management console or smart phone app. As I mentioned, the Arlo Wires-Free does require a base station which transmits via a private wireless network. The new Arlo Q does not require an Arlo base station as it connects directly to your existing WiFi network.
The setup screens you see below should be applicable to both types of users, those who have a previous Arlo setup and those setting up an Arlo Q for the first time.
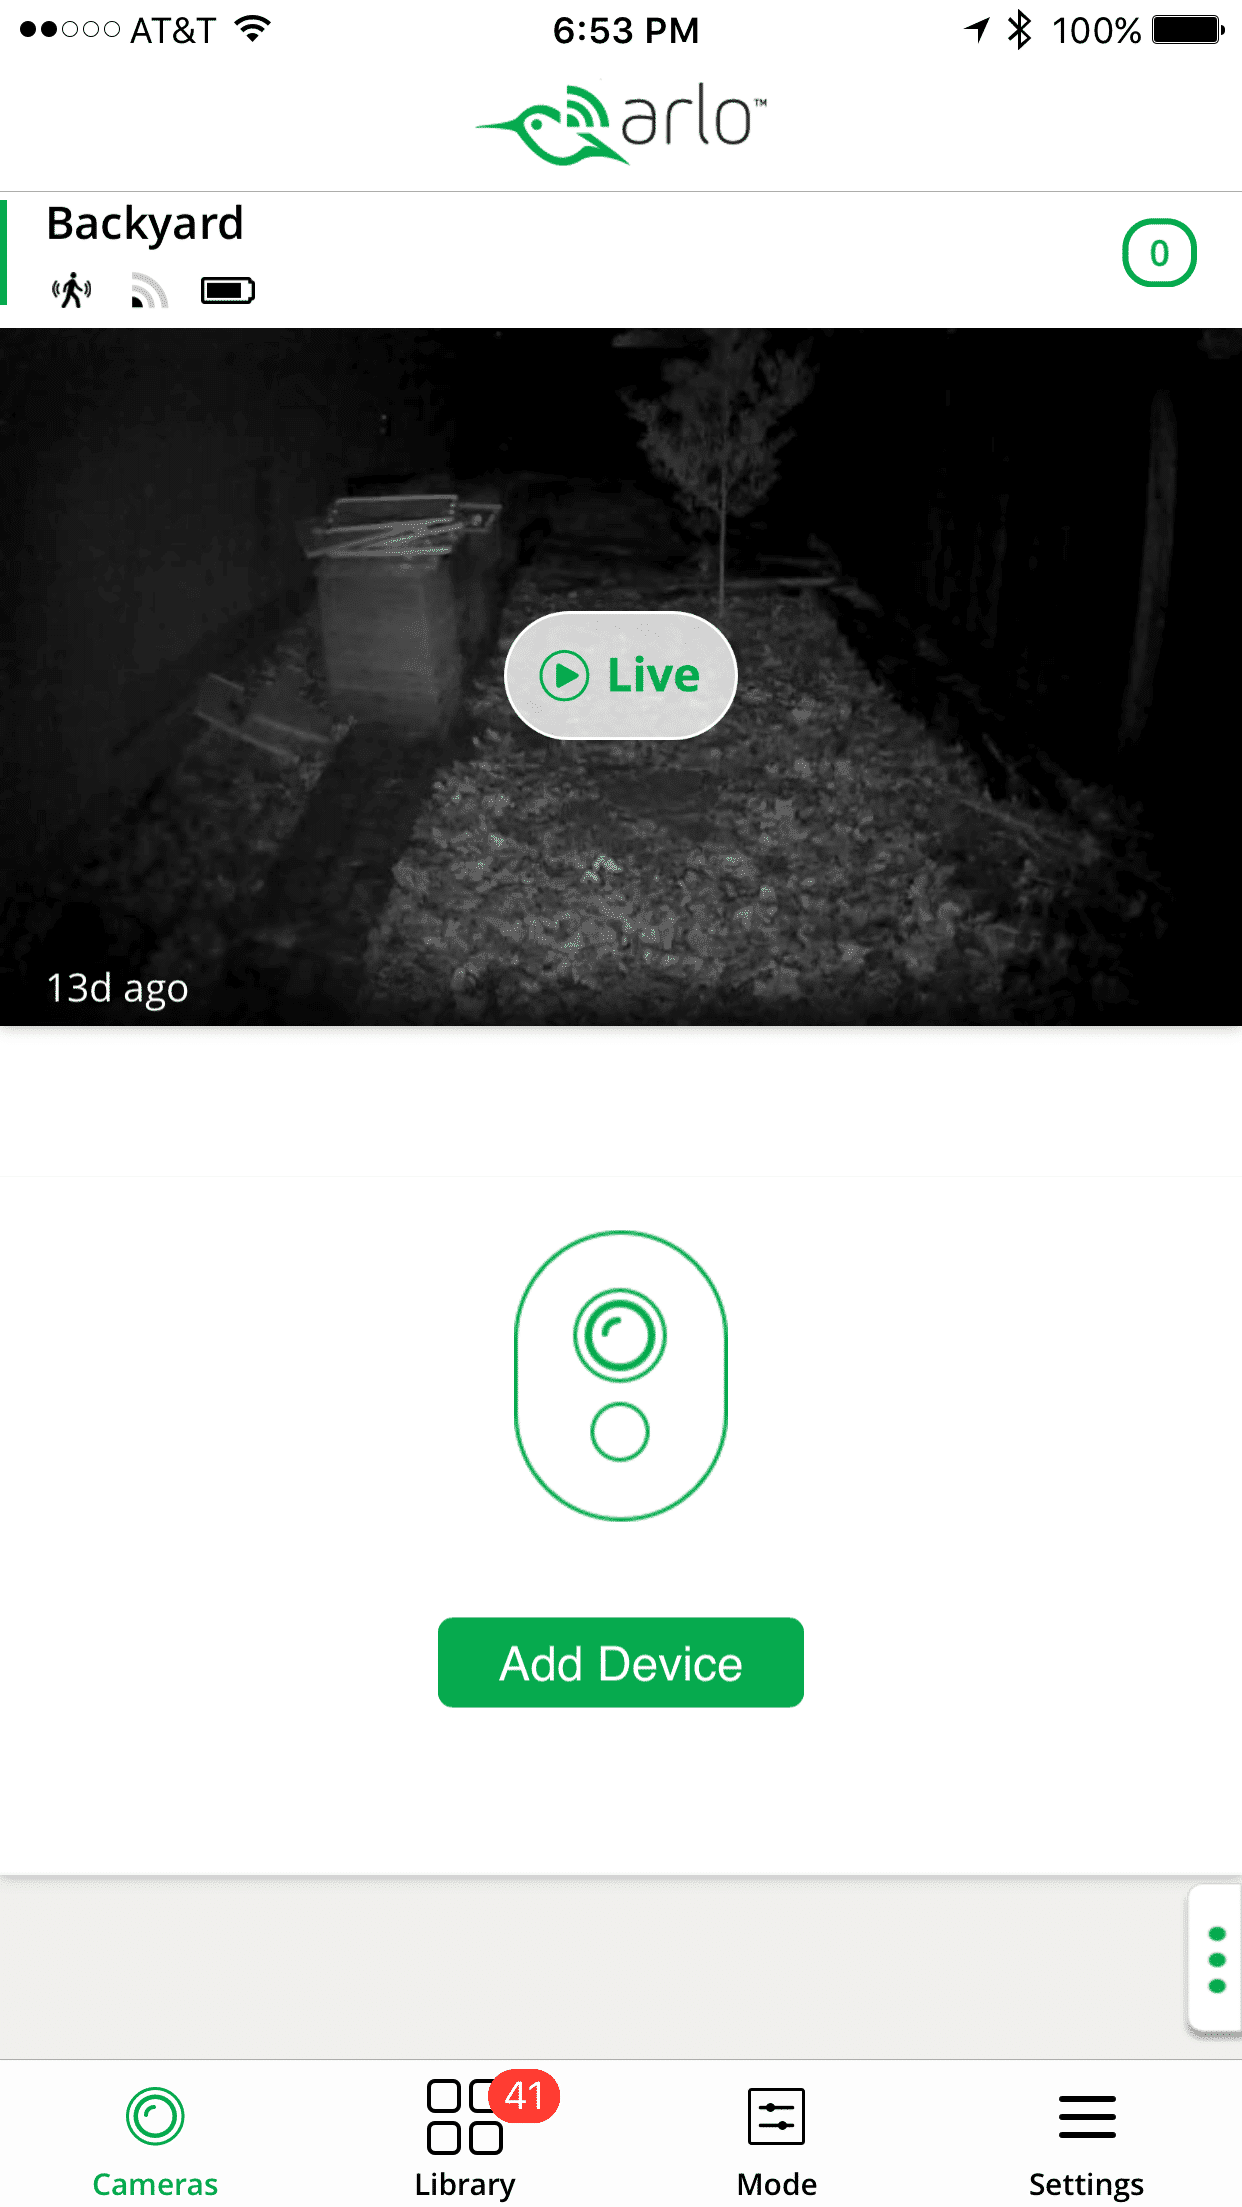
First you go into the Arlo smartphone app and click “Add Device”.
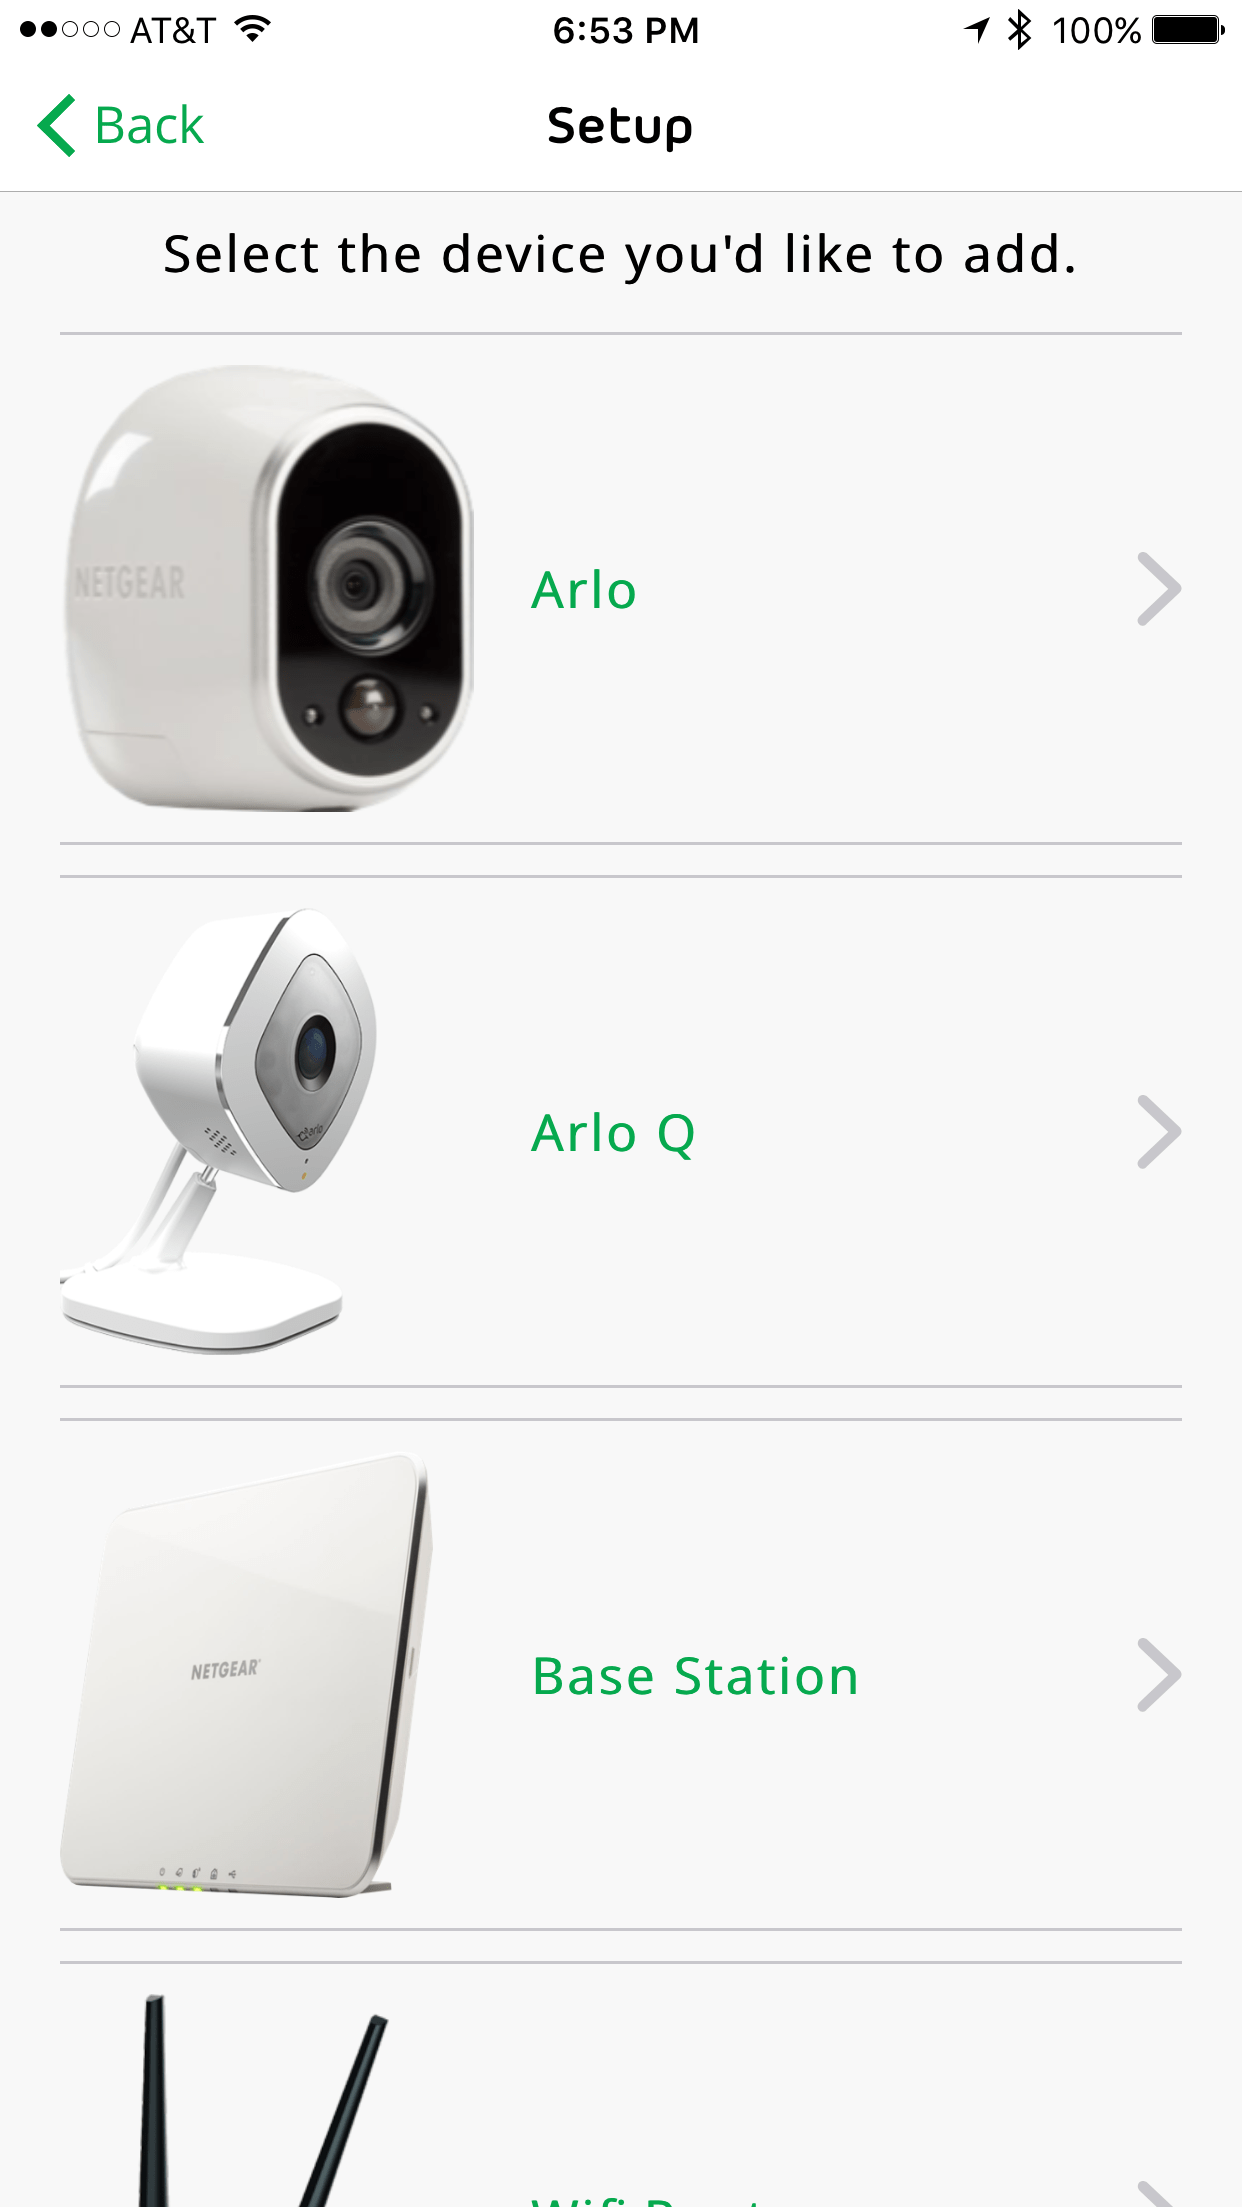
Then you choose what you are adding to your NETGEAR Arlo environment (e.g., the Arlo Wires-Free camera, an Arlo Q, an Arlo Base station, or a WiFi router). In this case, I chose the Arlo Q option.
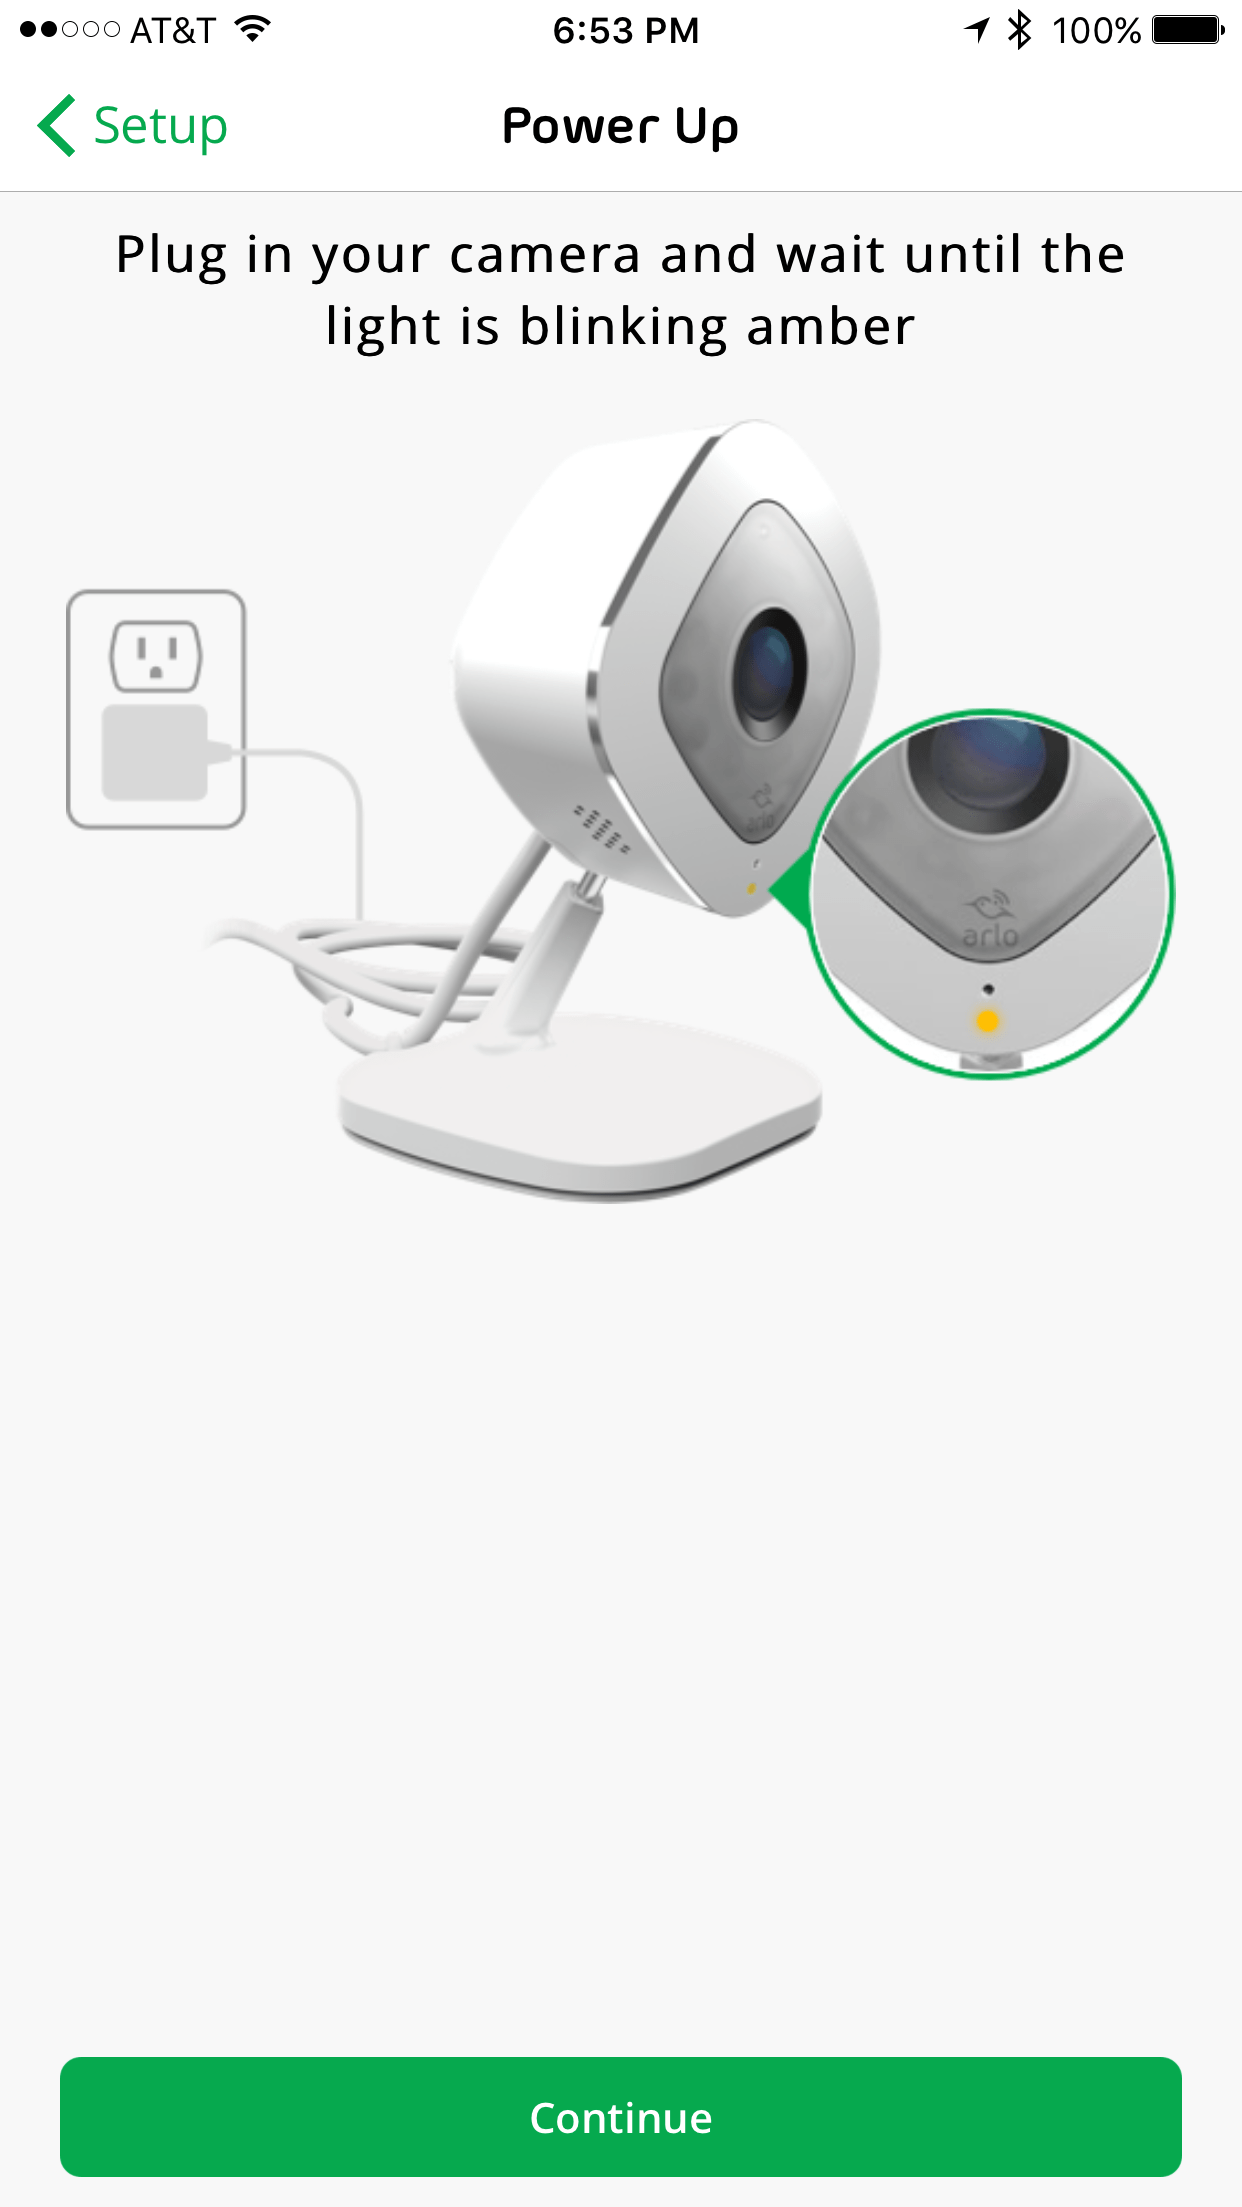
You are then prompted to plug in your new Arlo Q. One nice thing to note here is that the power cable for the Arlo Q is quite long so that placing the camera in a good location is a bit more possible. You plug it in and wait till the amber light is blinking.
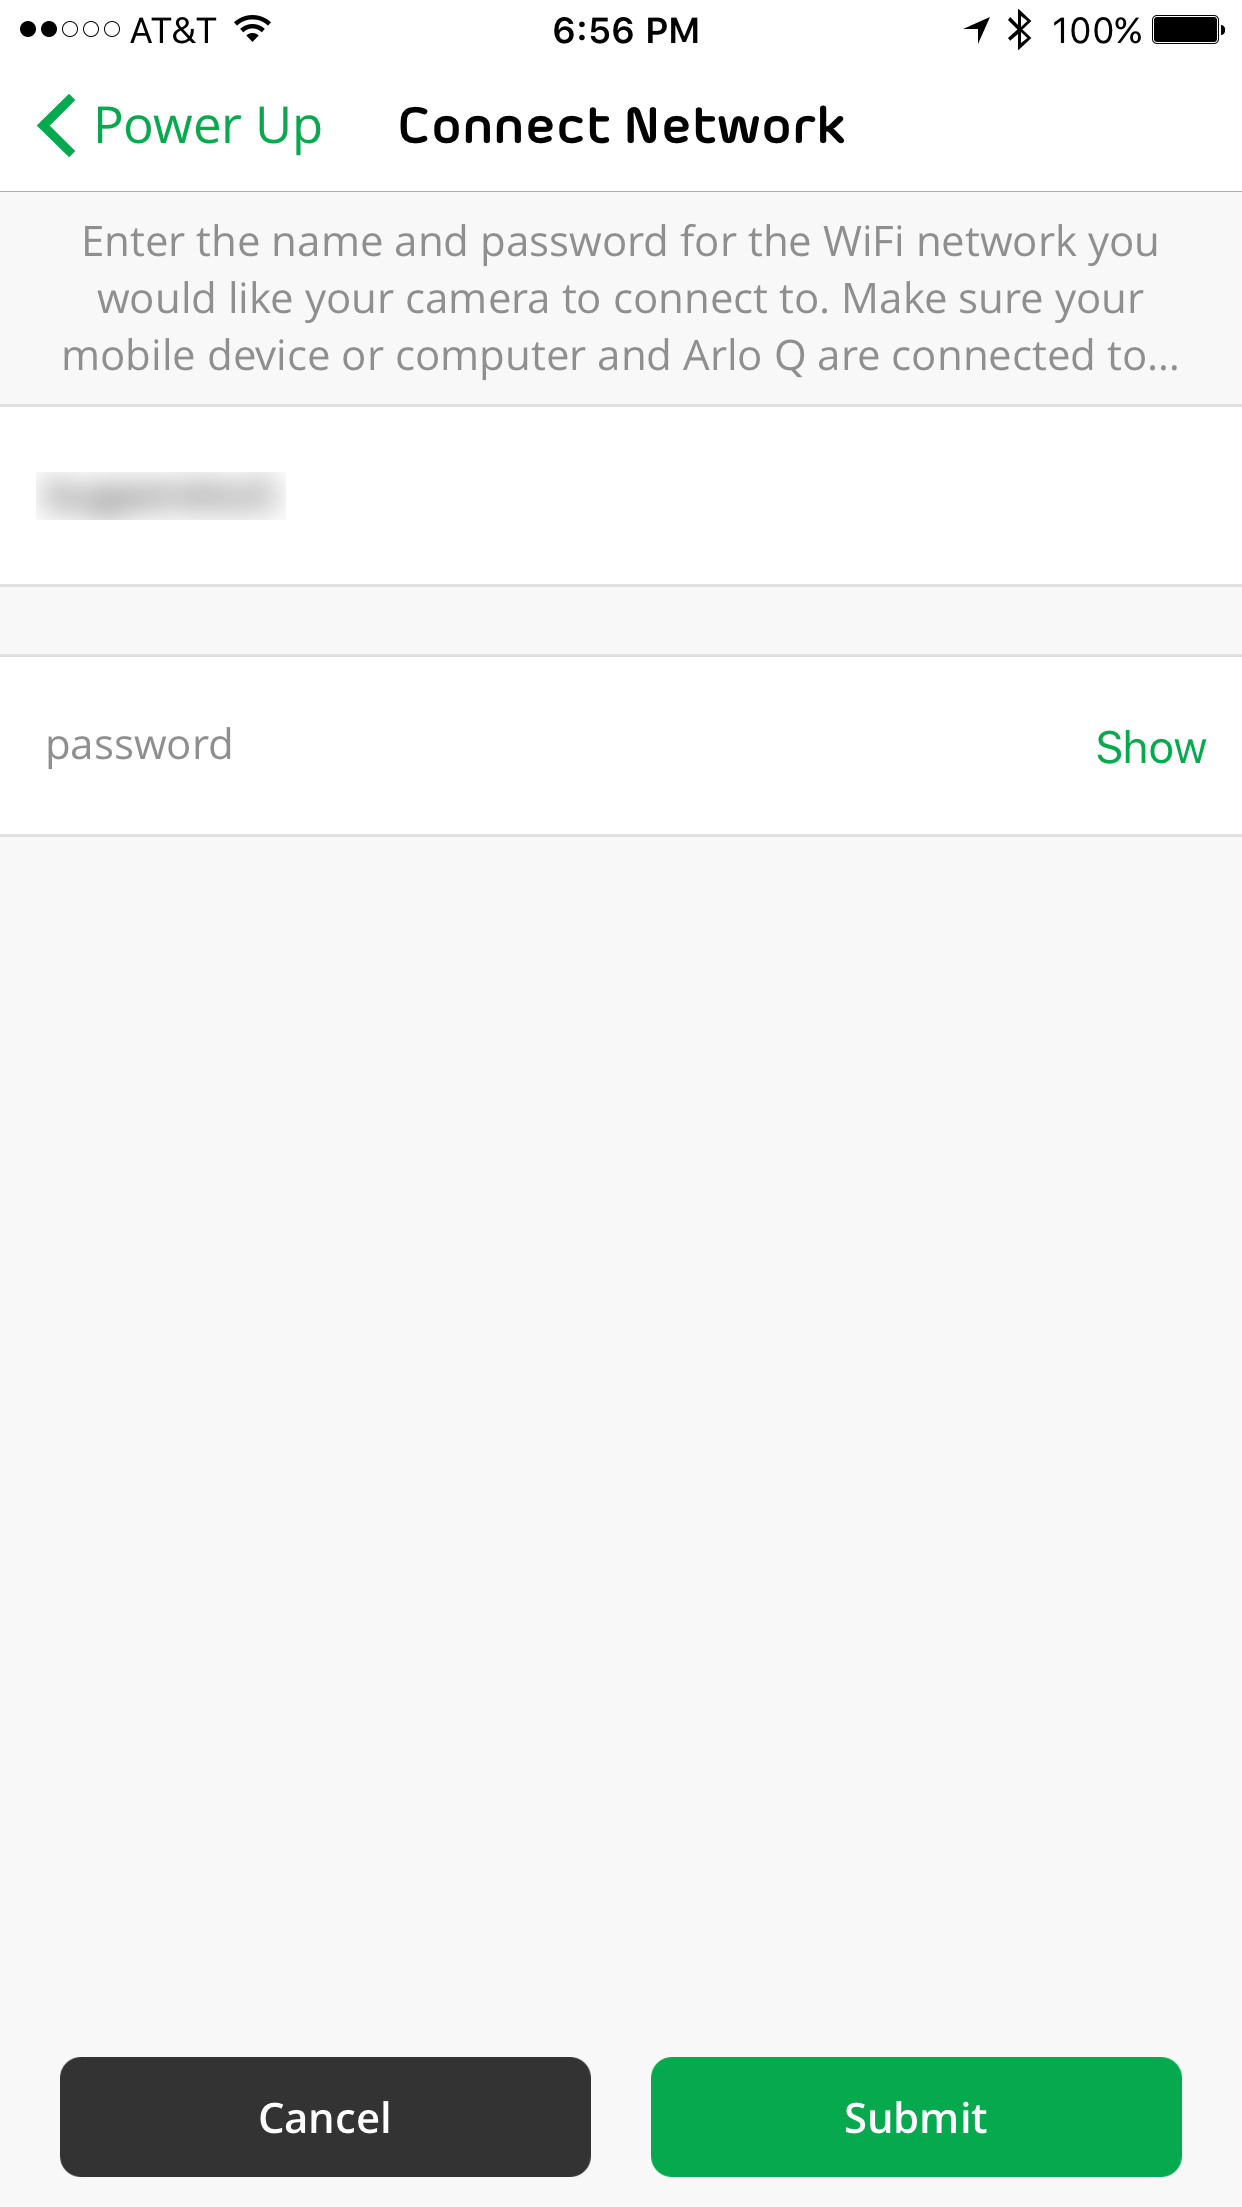
Once you have powered up the camera, be sure you are connected to the WiFi network you want your camera on. The setup screen will automatically show that network. You simply need to enter that WiFi password.
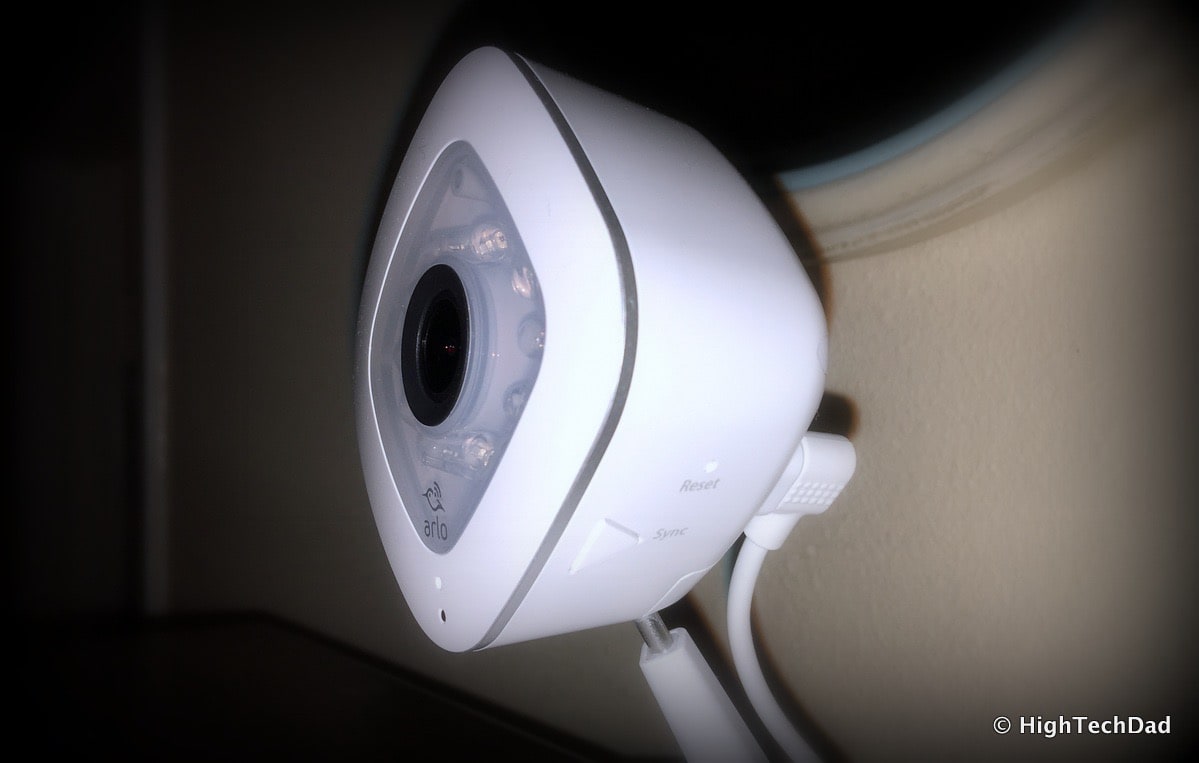
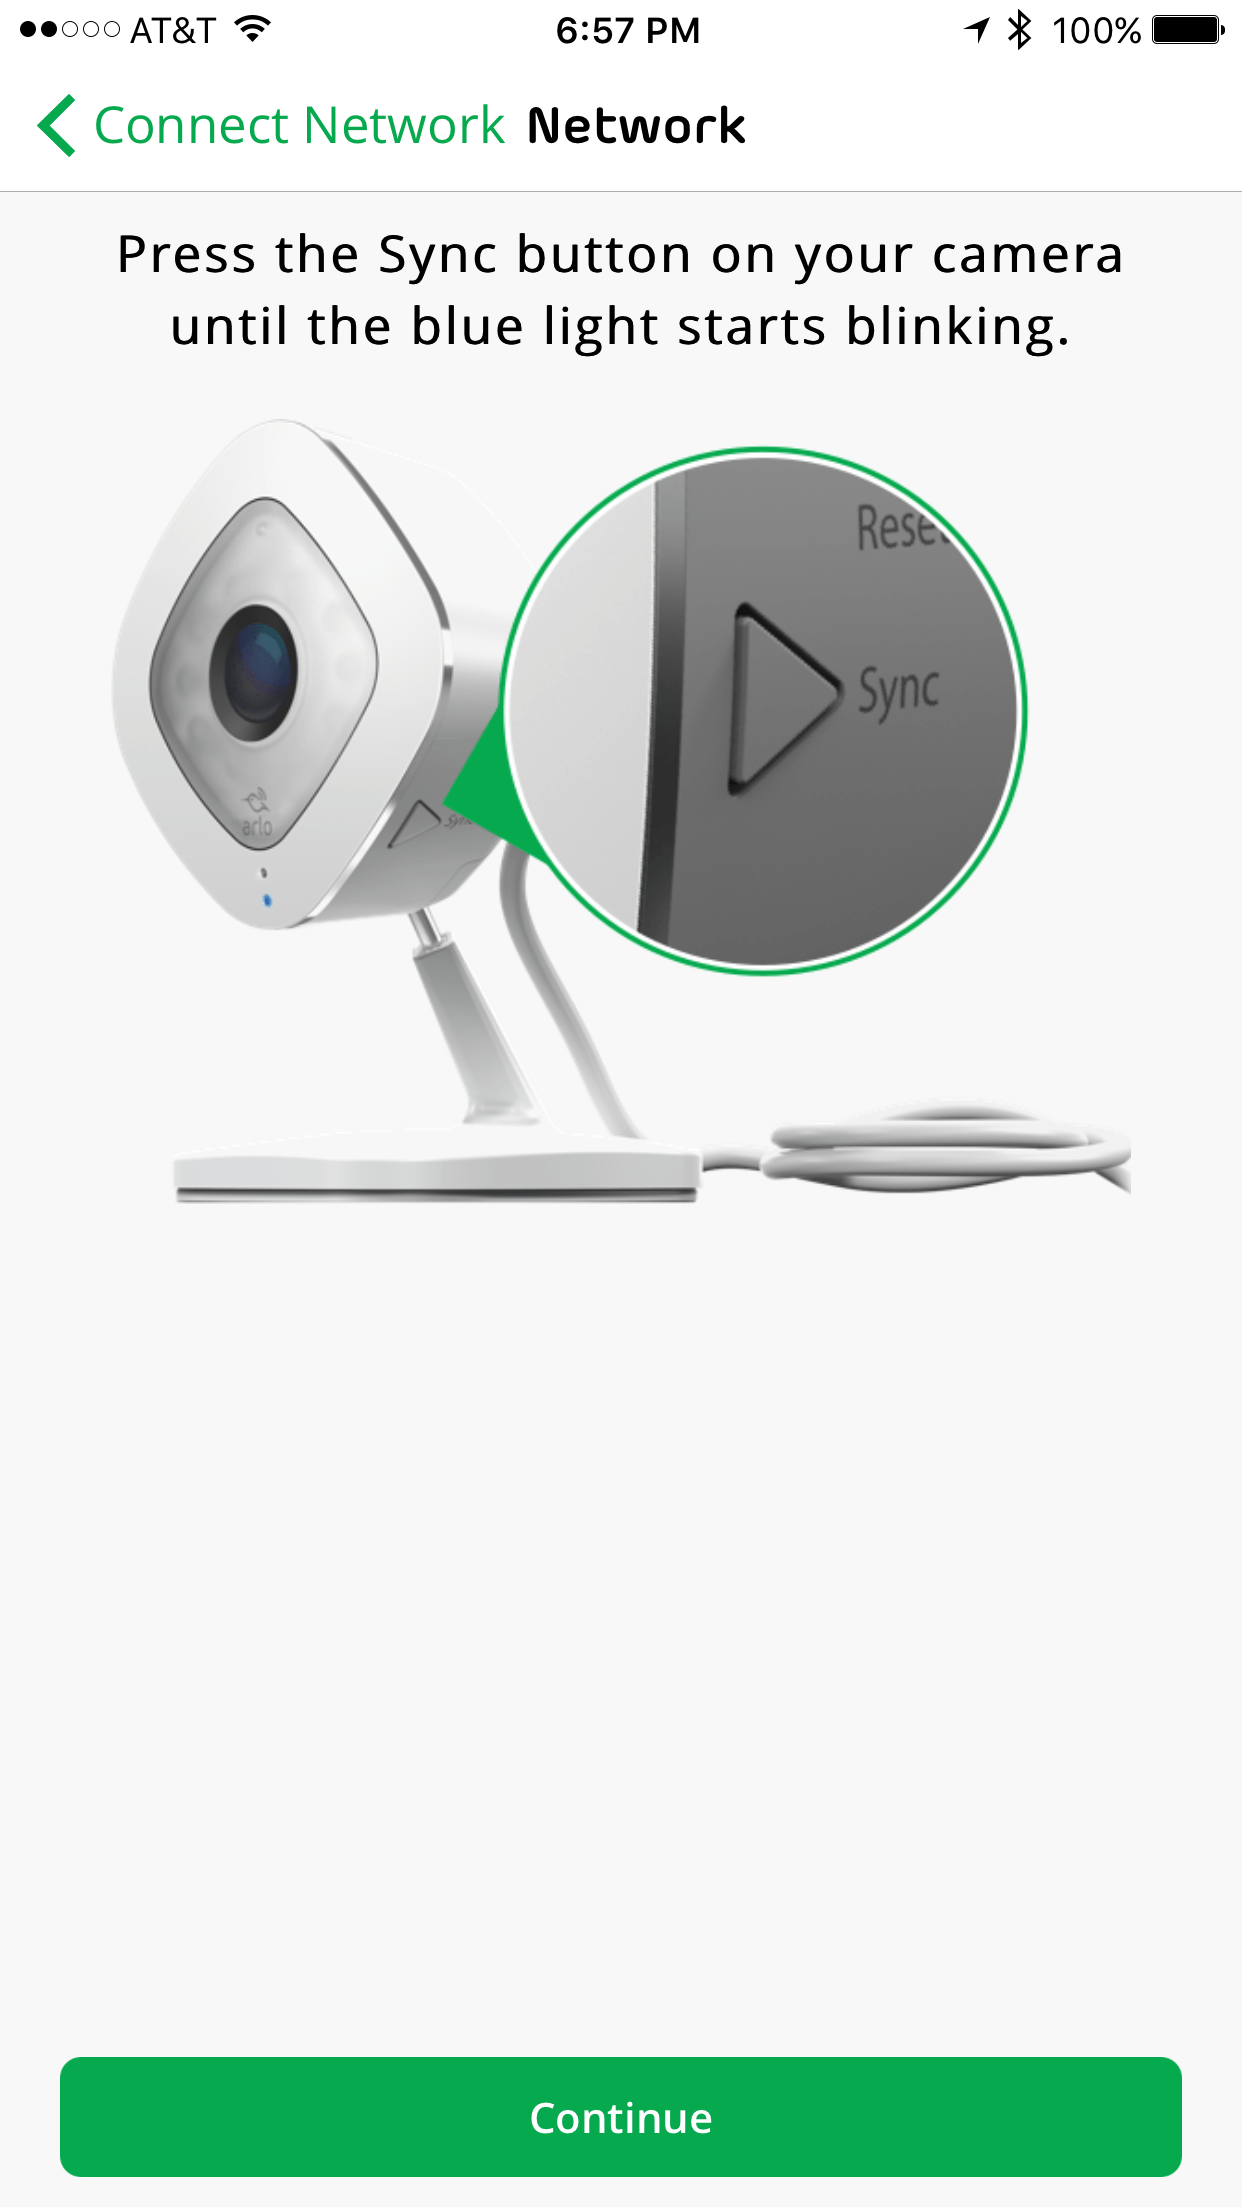
Next you need to sync the settings over to your Arlo Q camera. Just press the “Sync” button on the side to start that process.
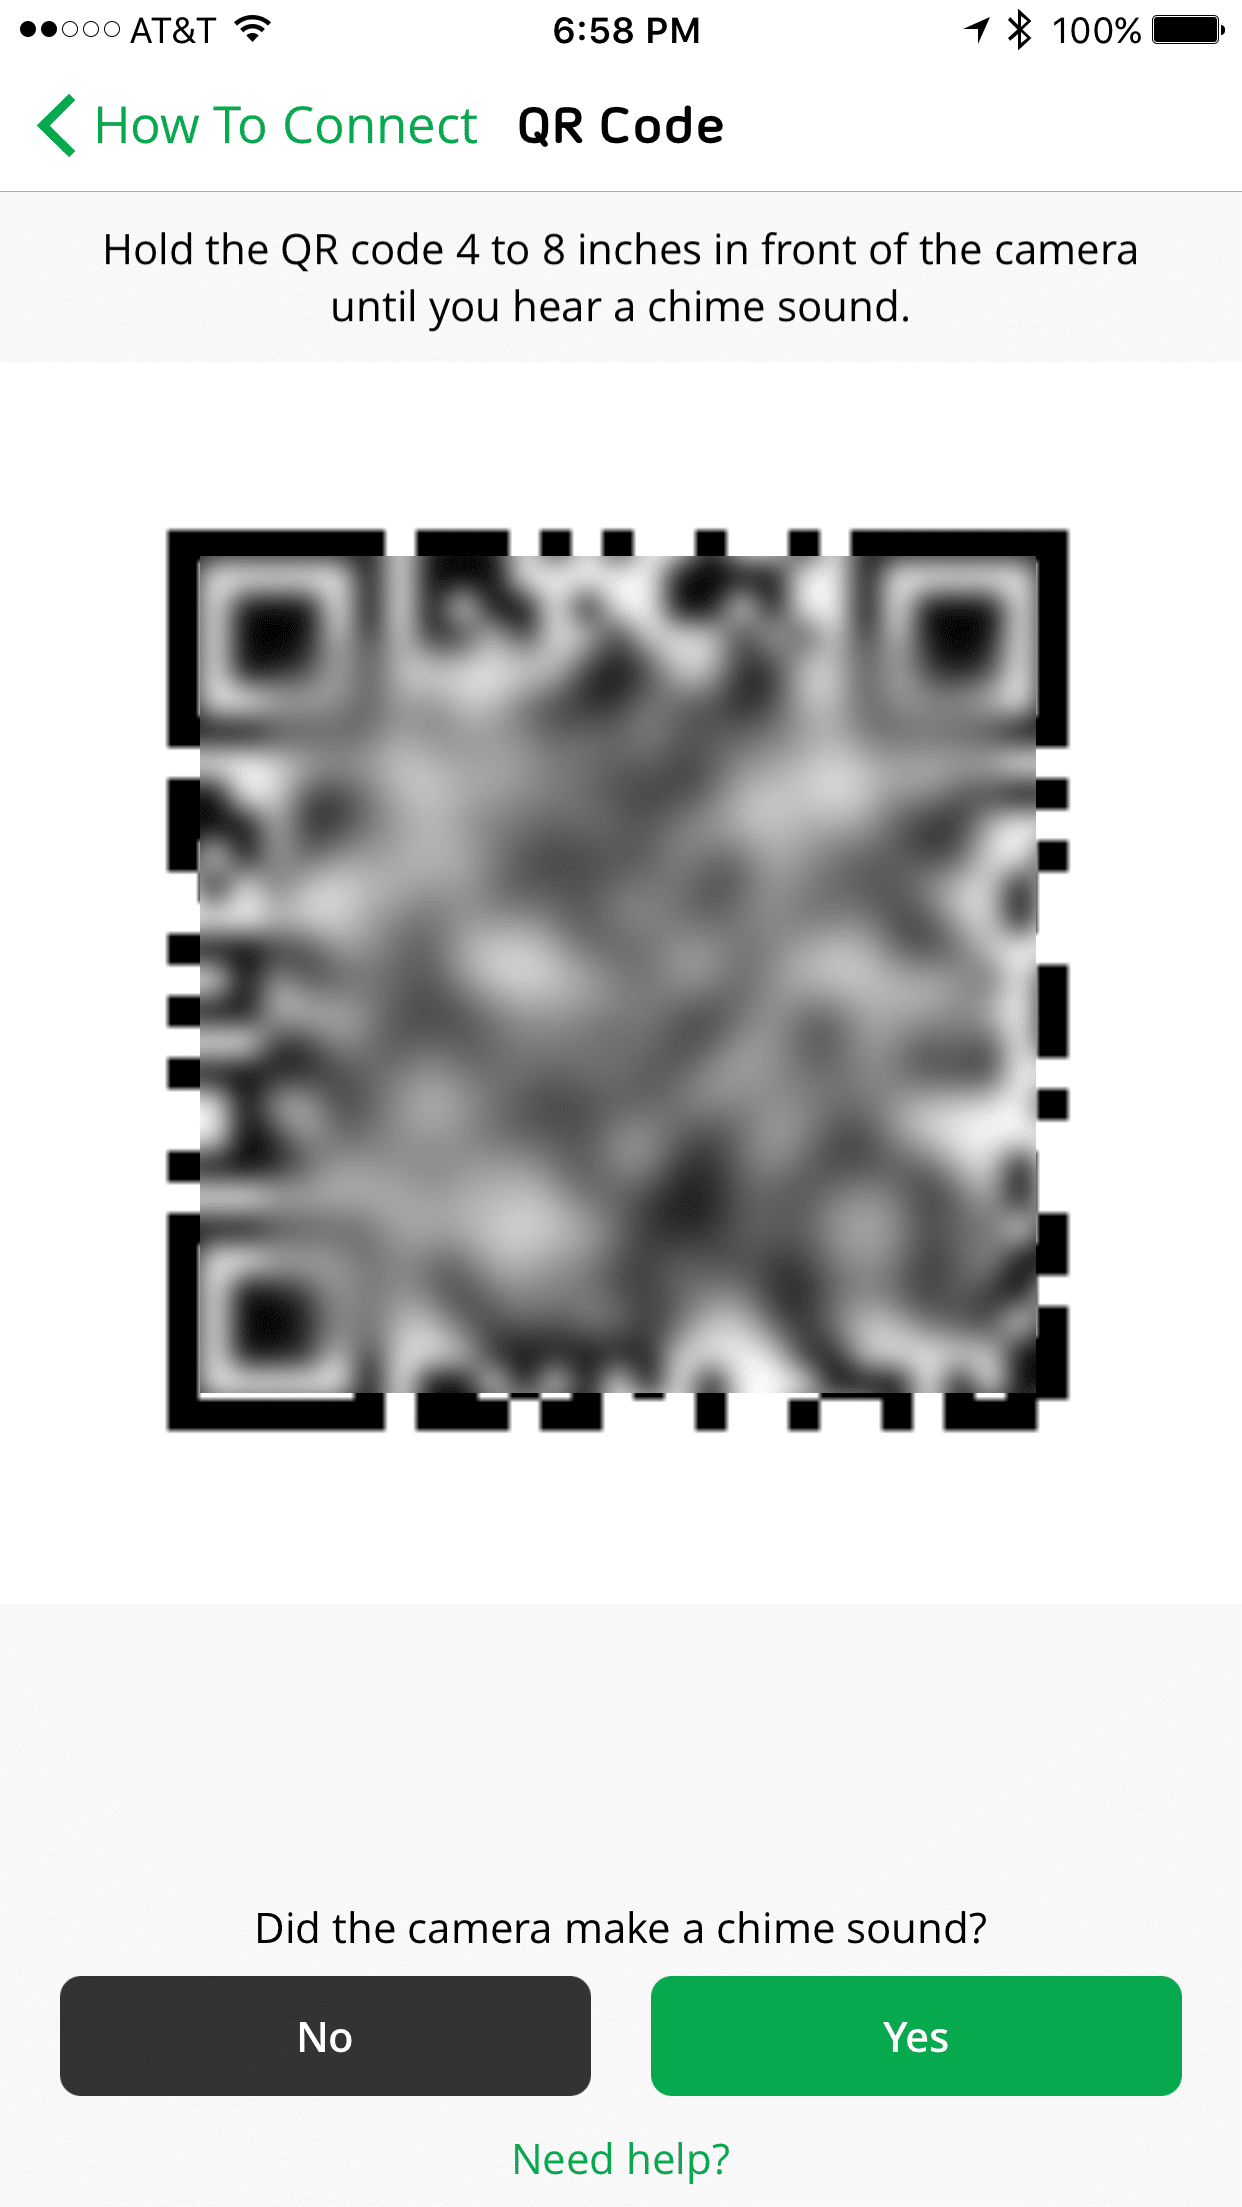
The next setup screen gives you instructions on positioning your Arlo Q camera to be able to read a QR code (which appears on the next screen). This unique code identifies your specific camera. Click “continue” to show the QR code.
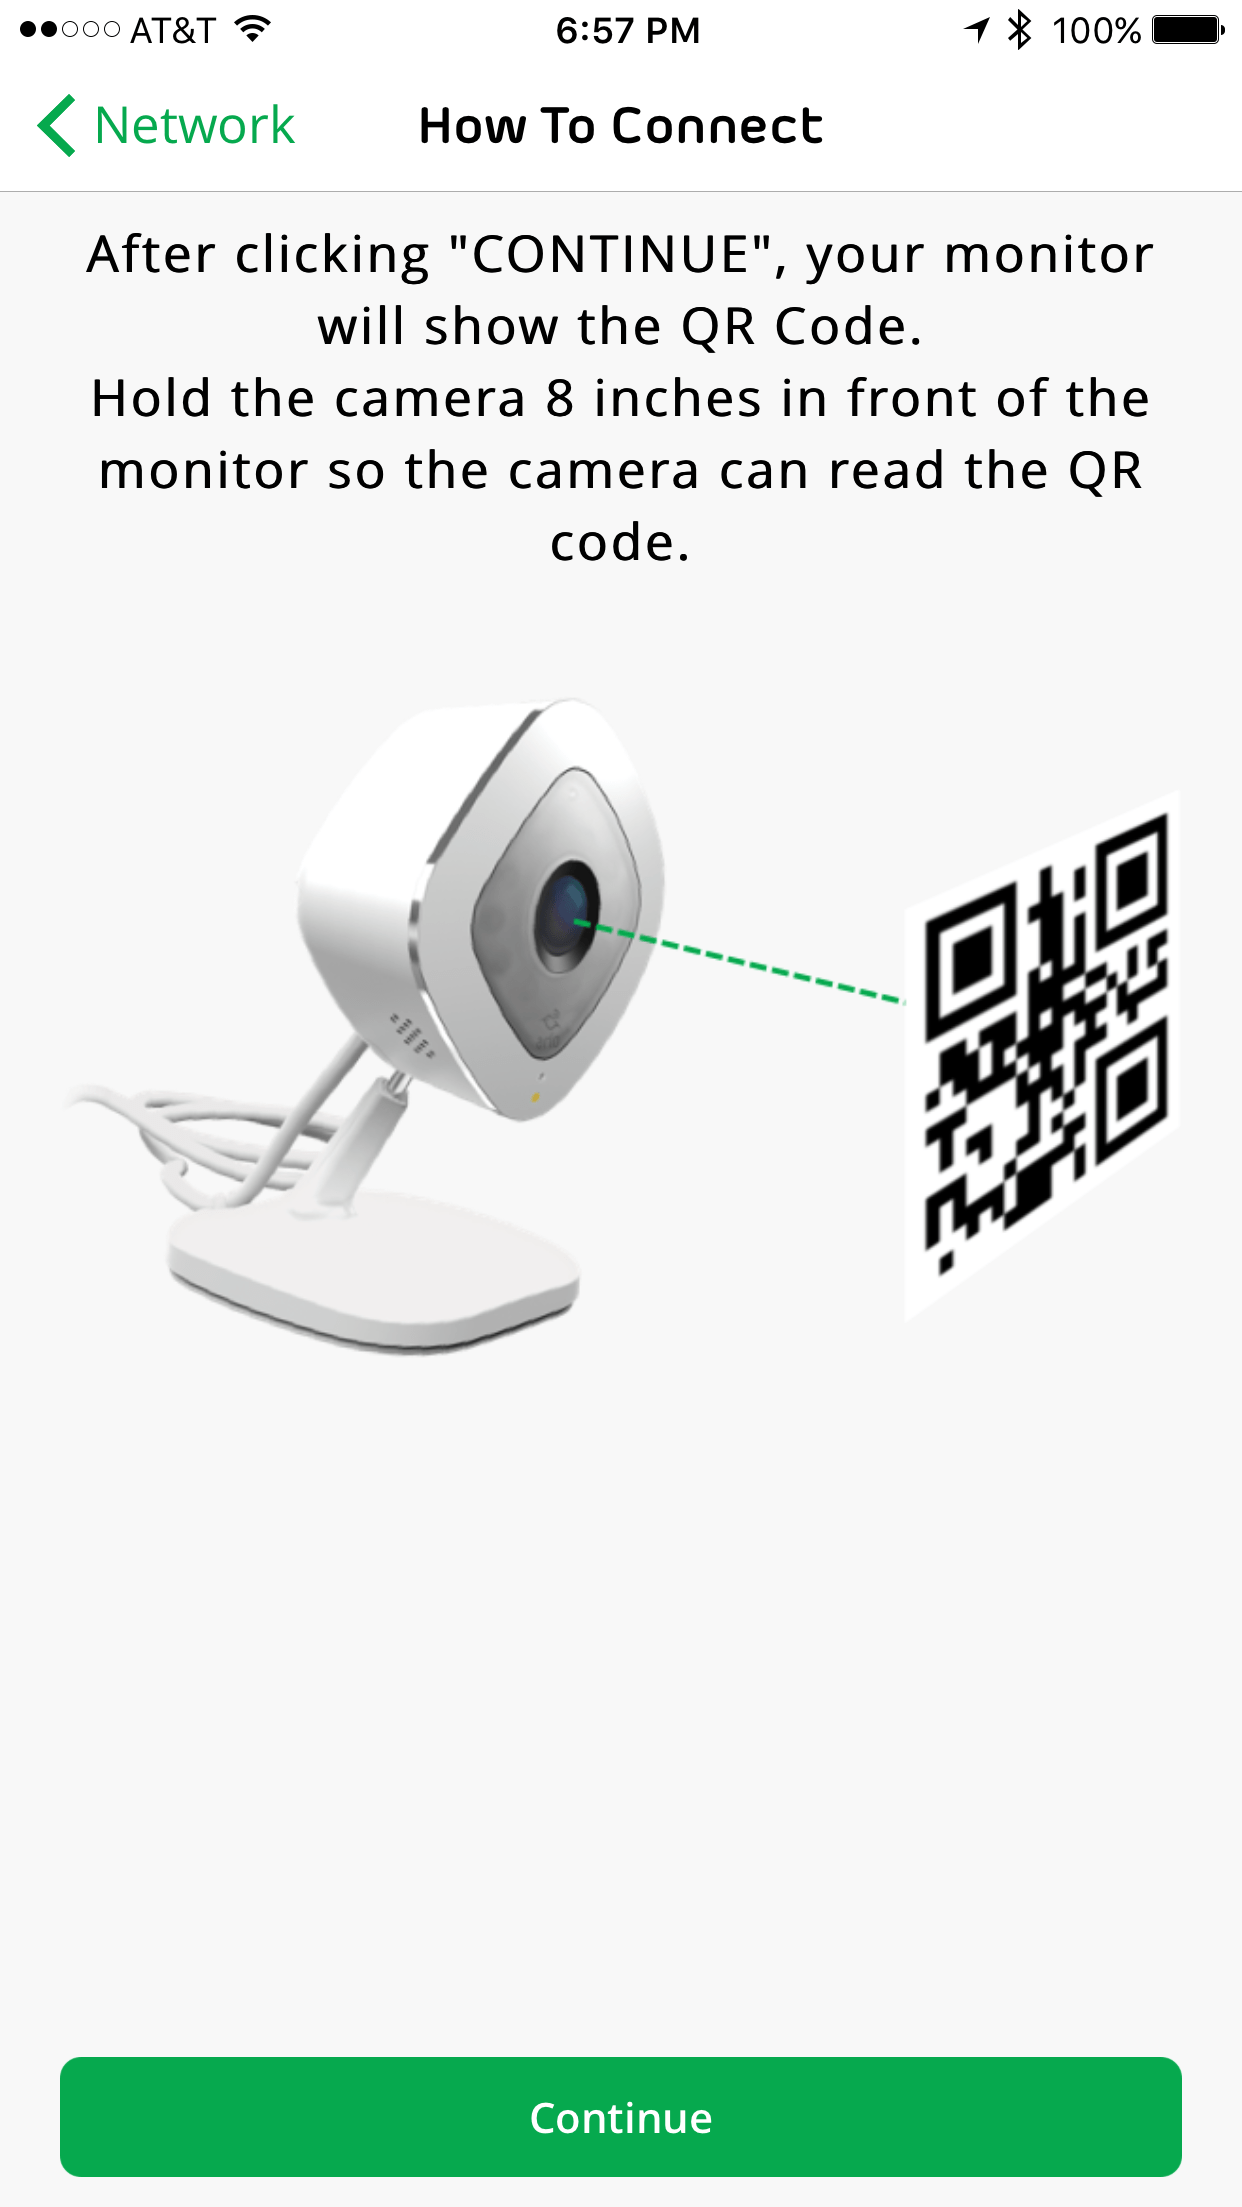
Hold the QR code on your computer, smart phone or tablet screen close to the Arlo Q camera so that it can read it. It’s usually quite quick at reading it, by the way. The camera will chime once it successfully reads the QR code.
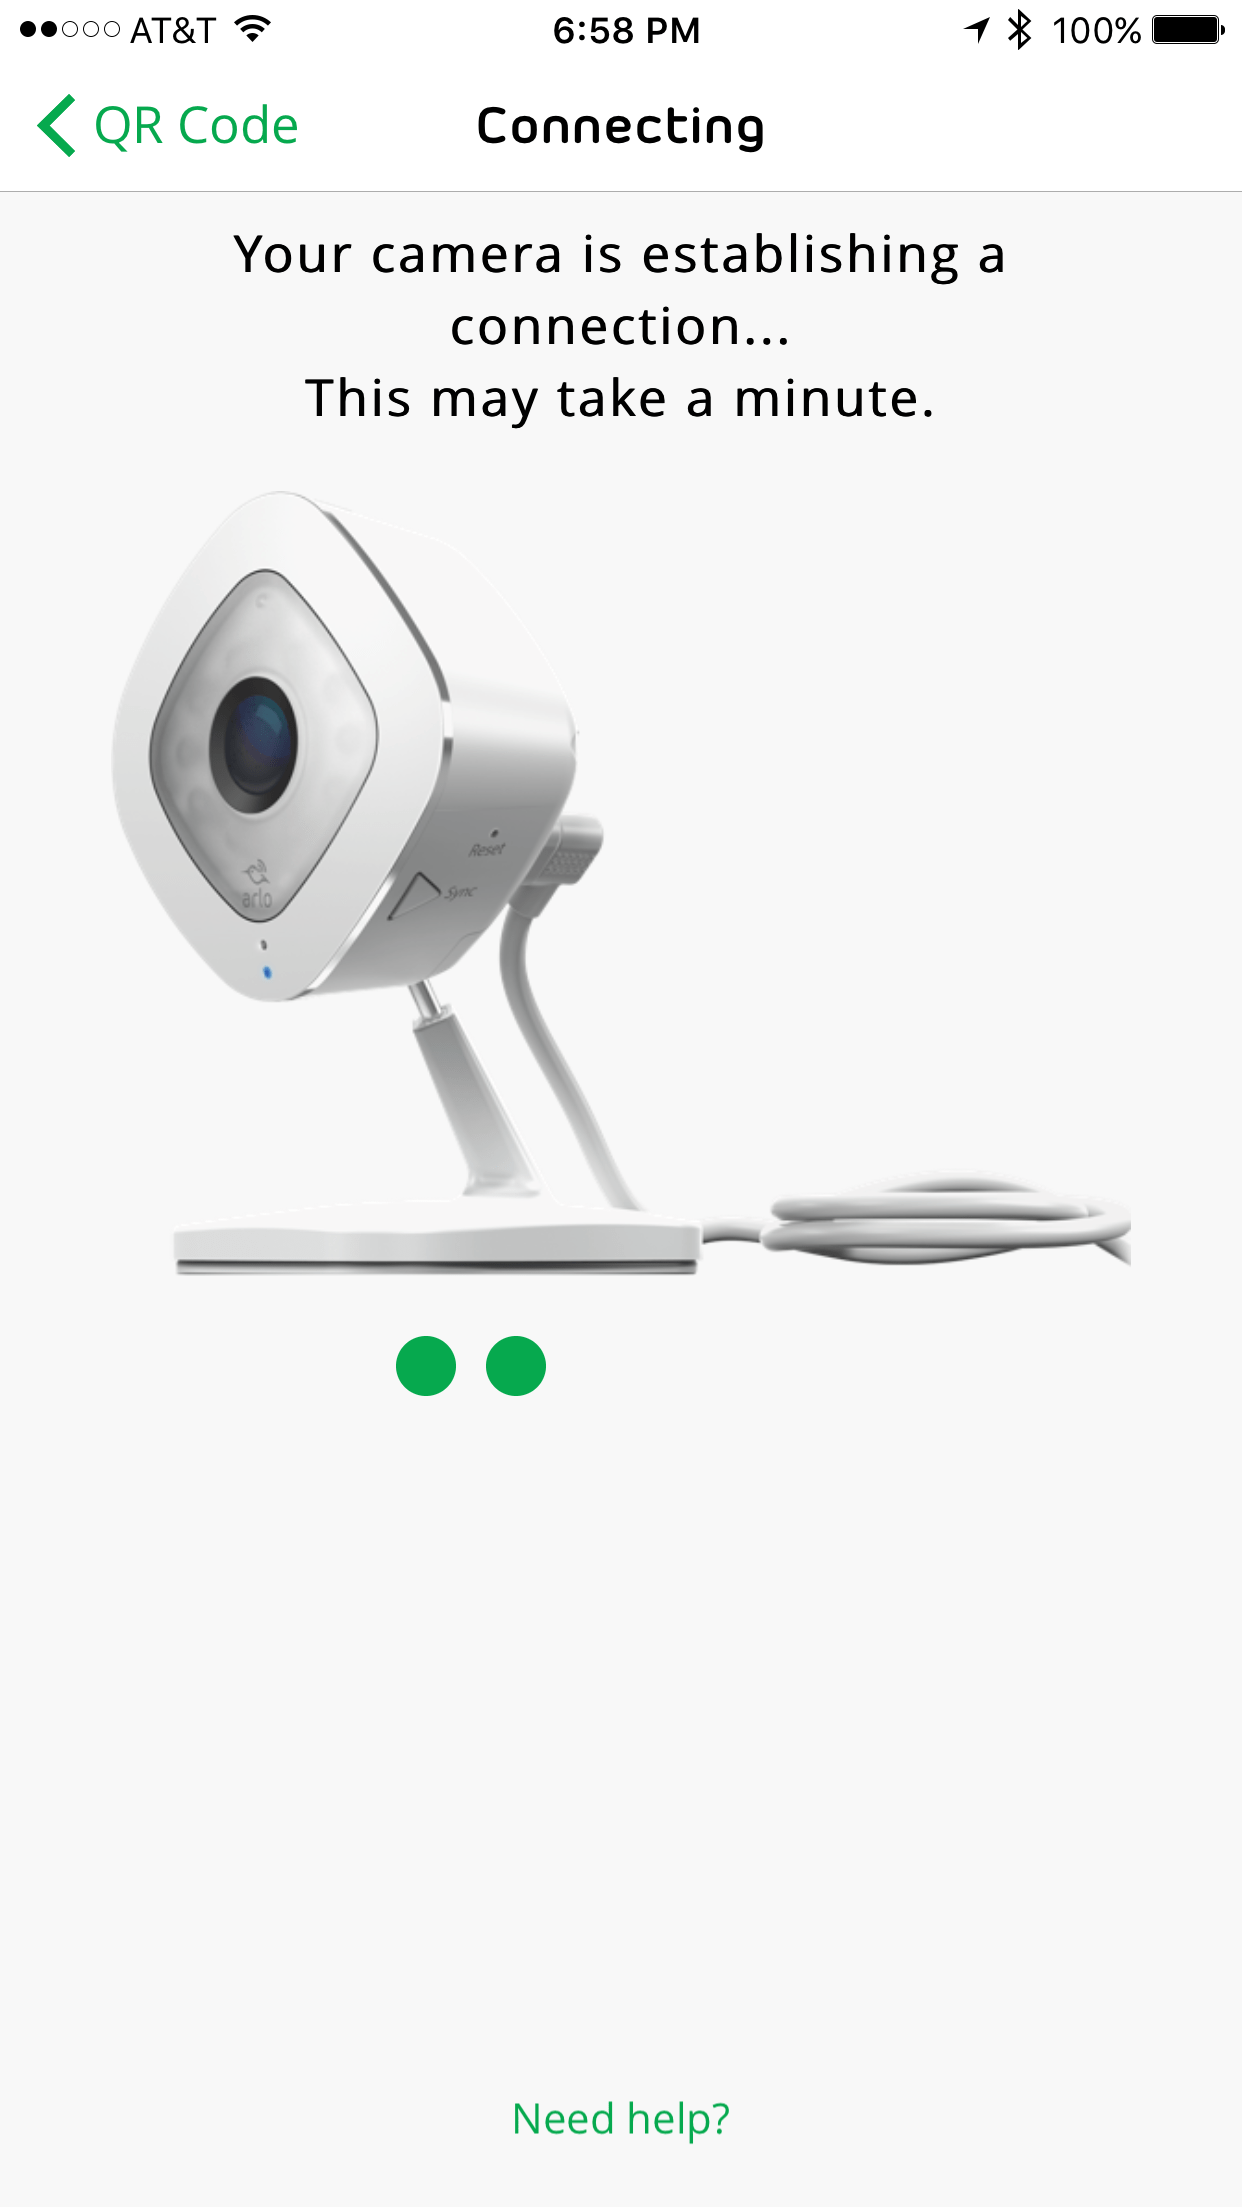
Once the Arlo Q successfully is identified, it will sync the settings across so that it can use your pre-designated WiFi network.
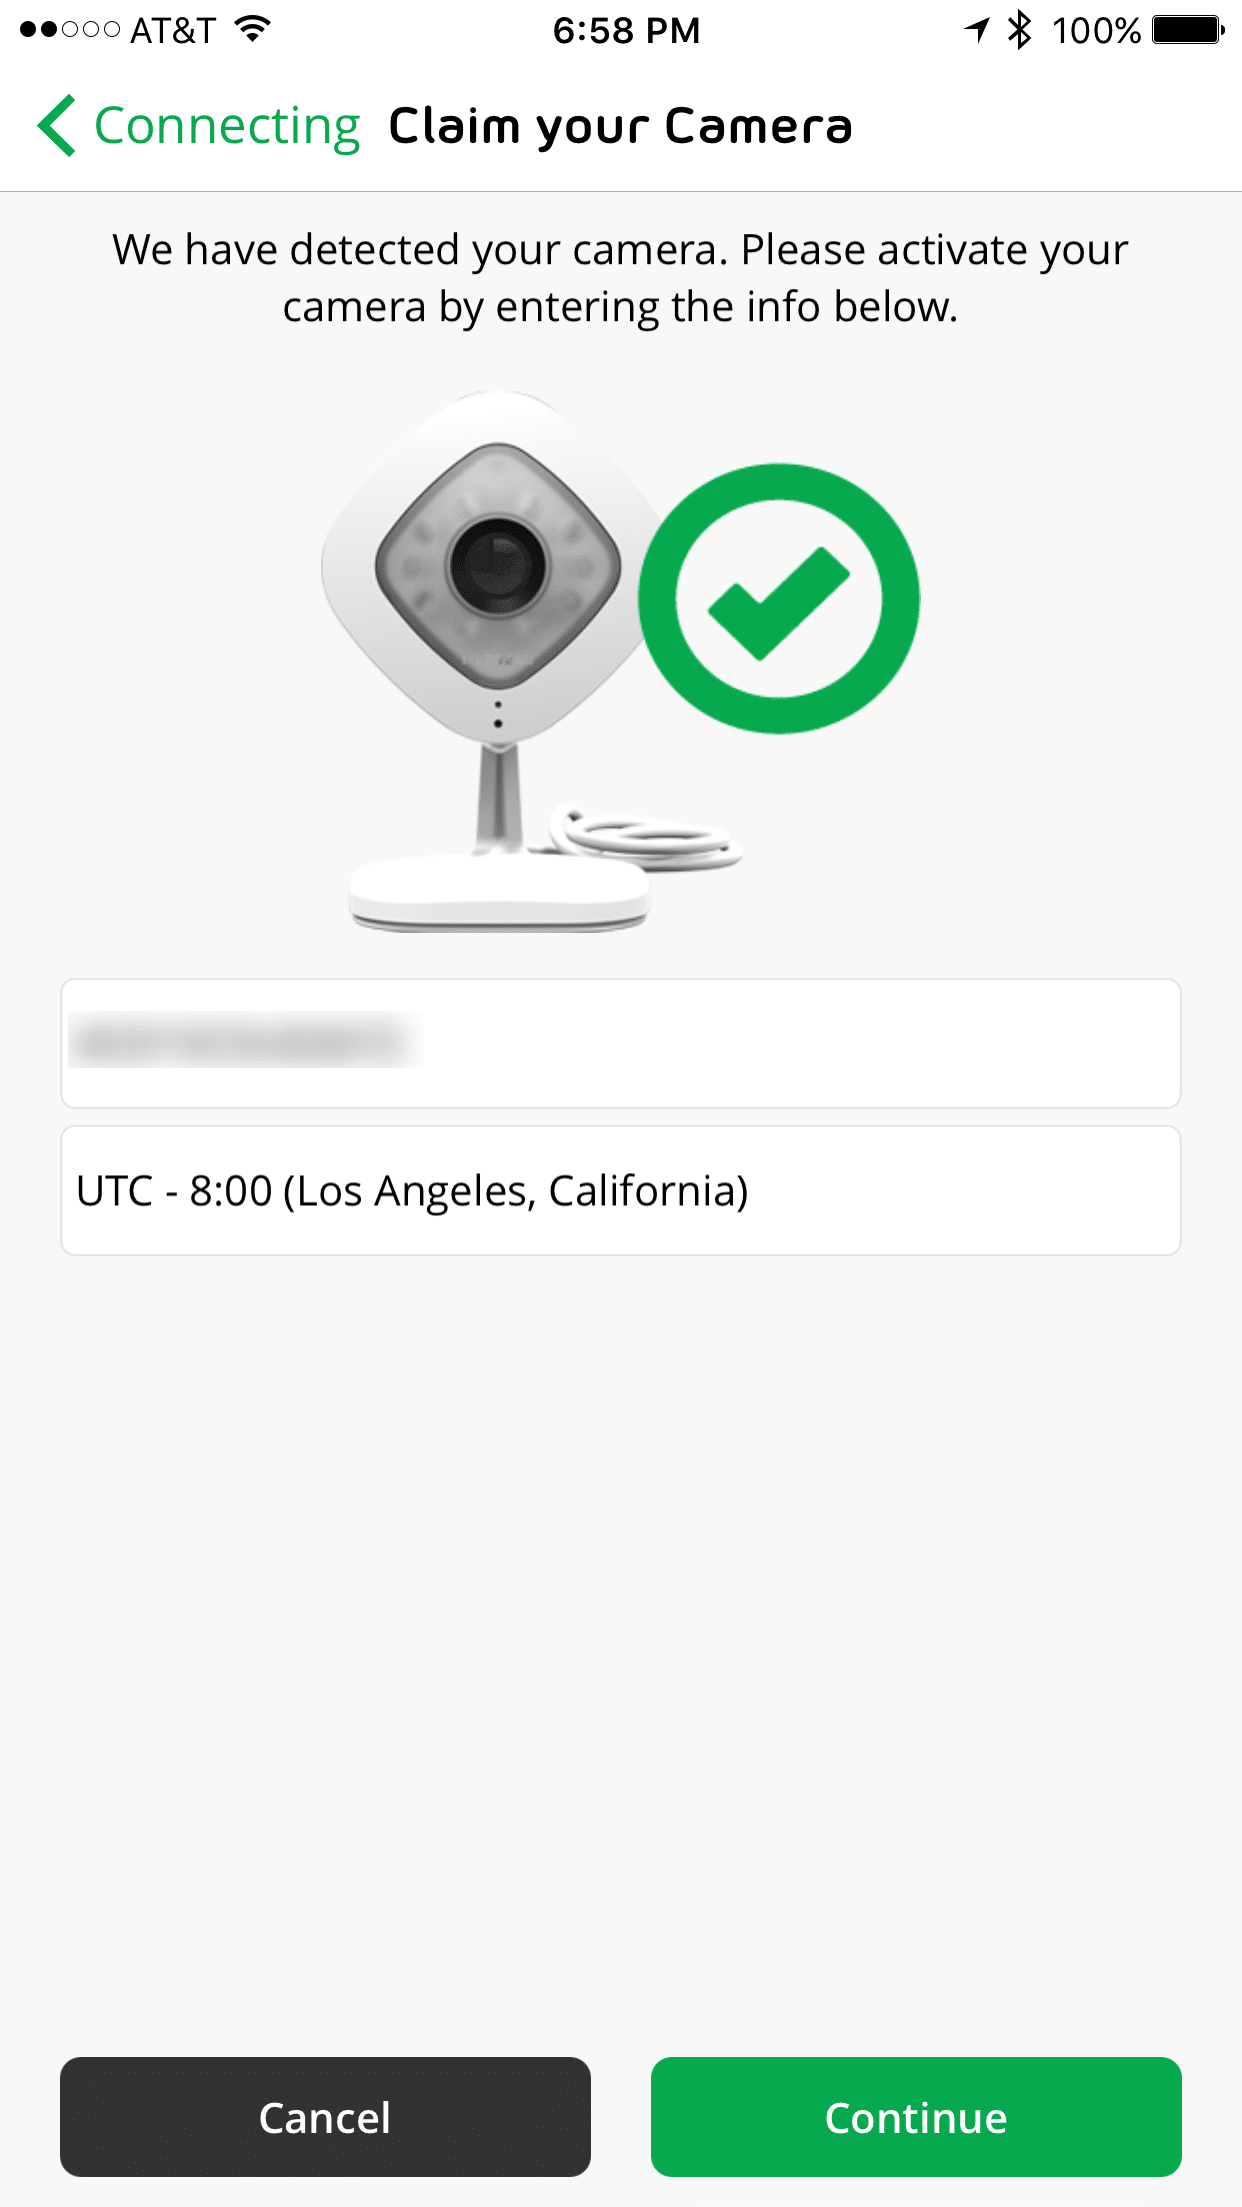
The final step is activating the Arlo Q. You can set a name and your timezone.
After I successfully connected my Arlo Q to my setup, I was told there was a firmware update. This can take a few minutes to run through the process. And your Arlo Q may reboot a few times.
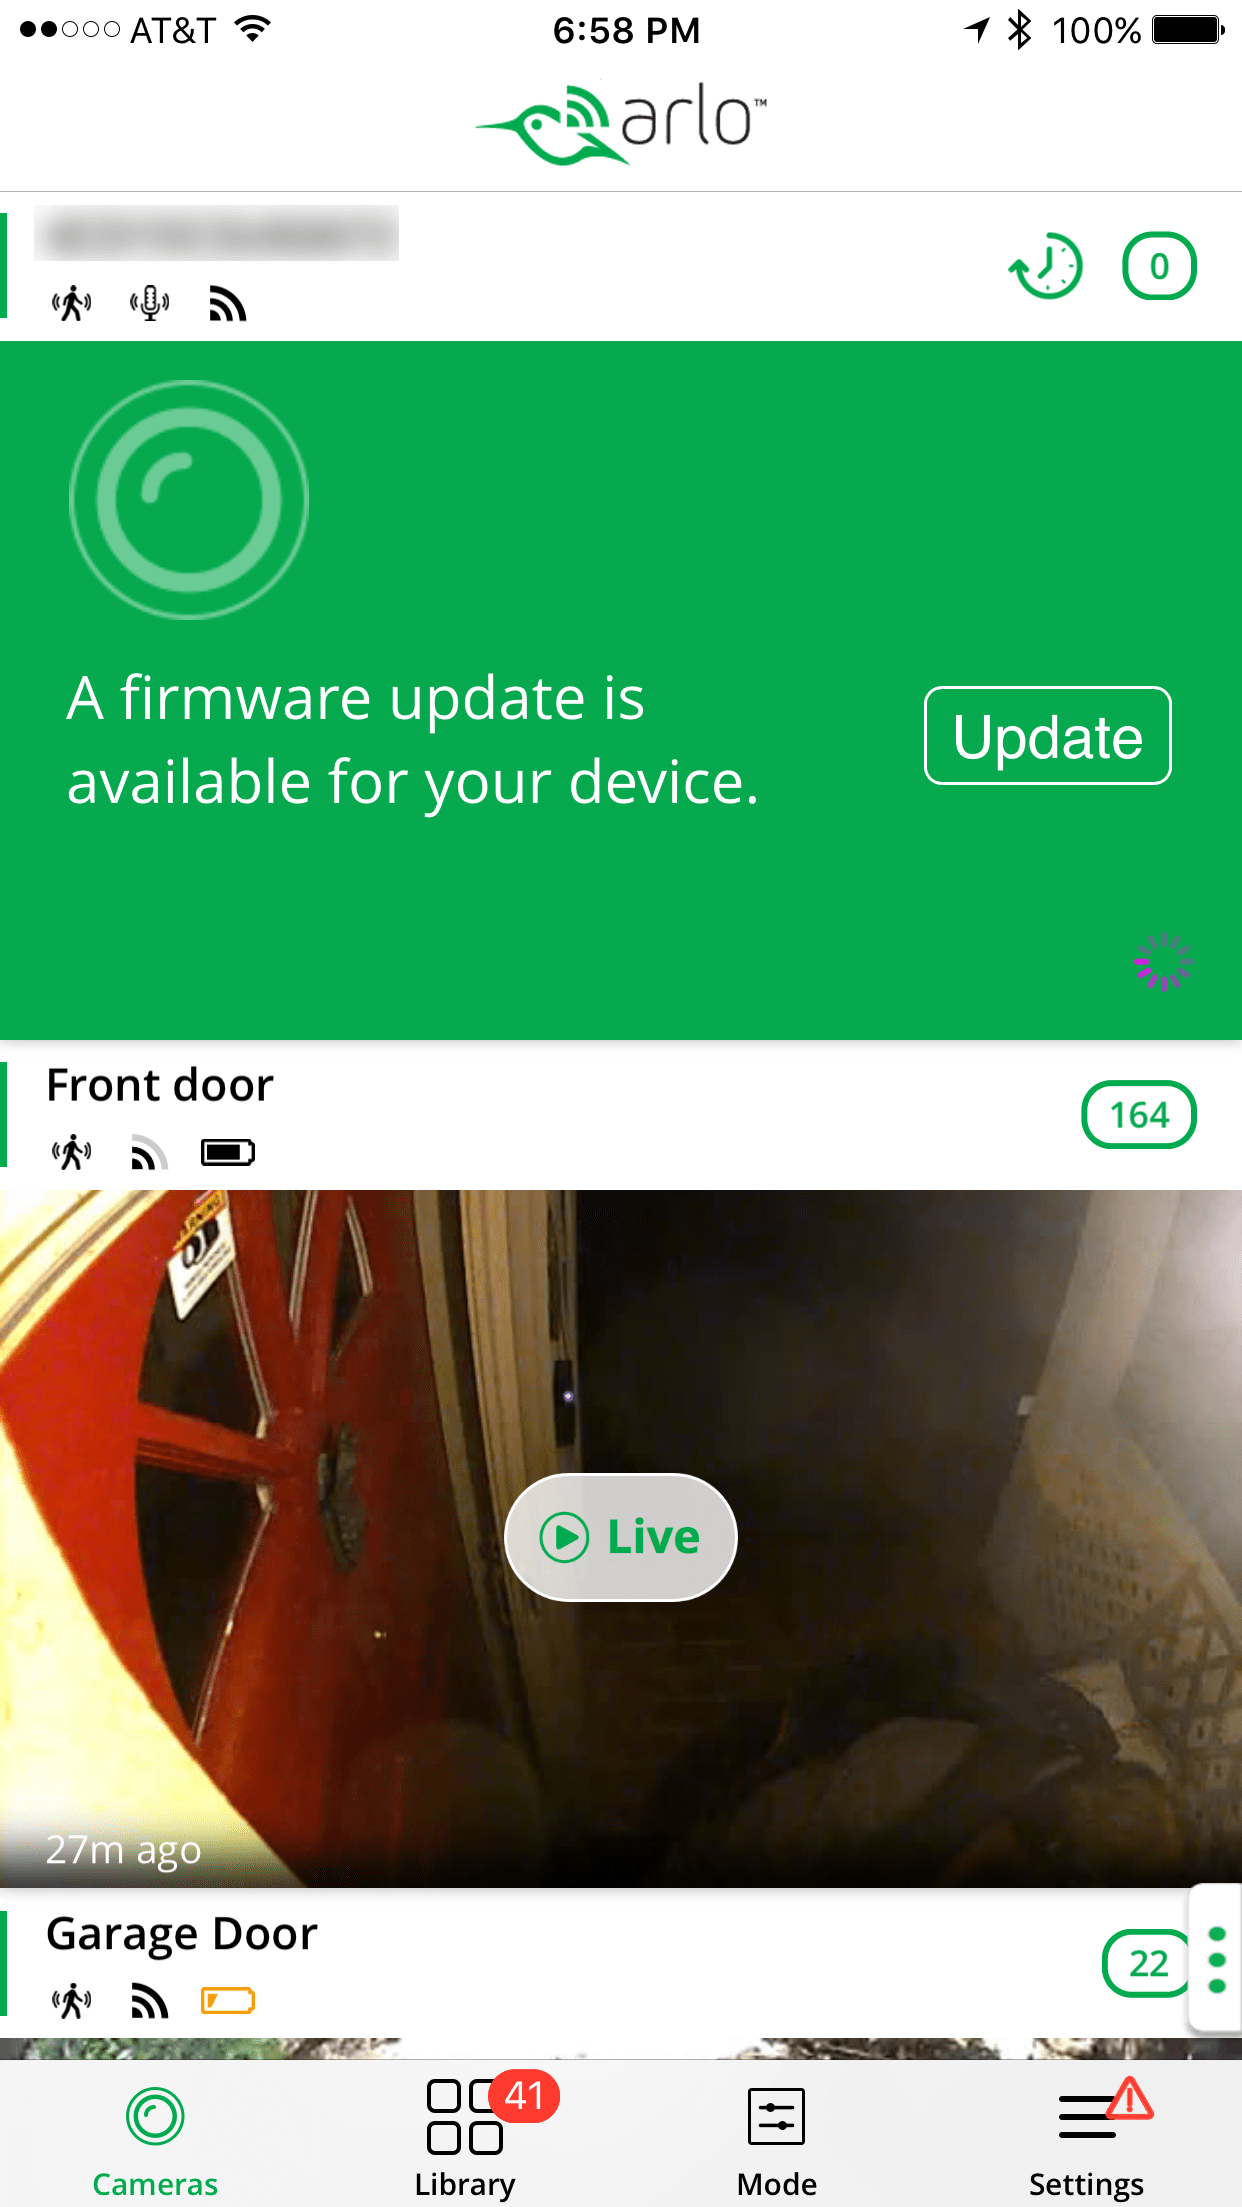
Once you have completed the setup and the firmware updates, your new Arlo Q will show up within the online management portal and the smart phone and tablet apps.
Setting Up Rules on the Arlo Q
The final step in the setup really is a personal one, that of configuring the notification and recording rules. One thing that you will want to configure and test out are the Motion settings as well as activity zones.
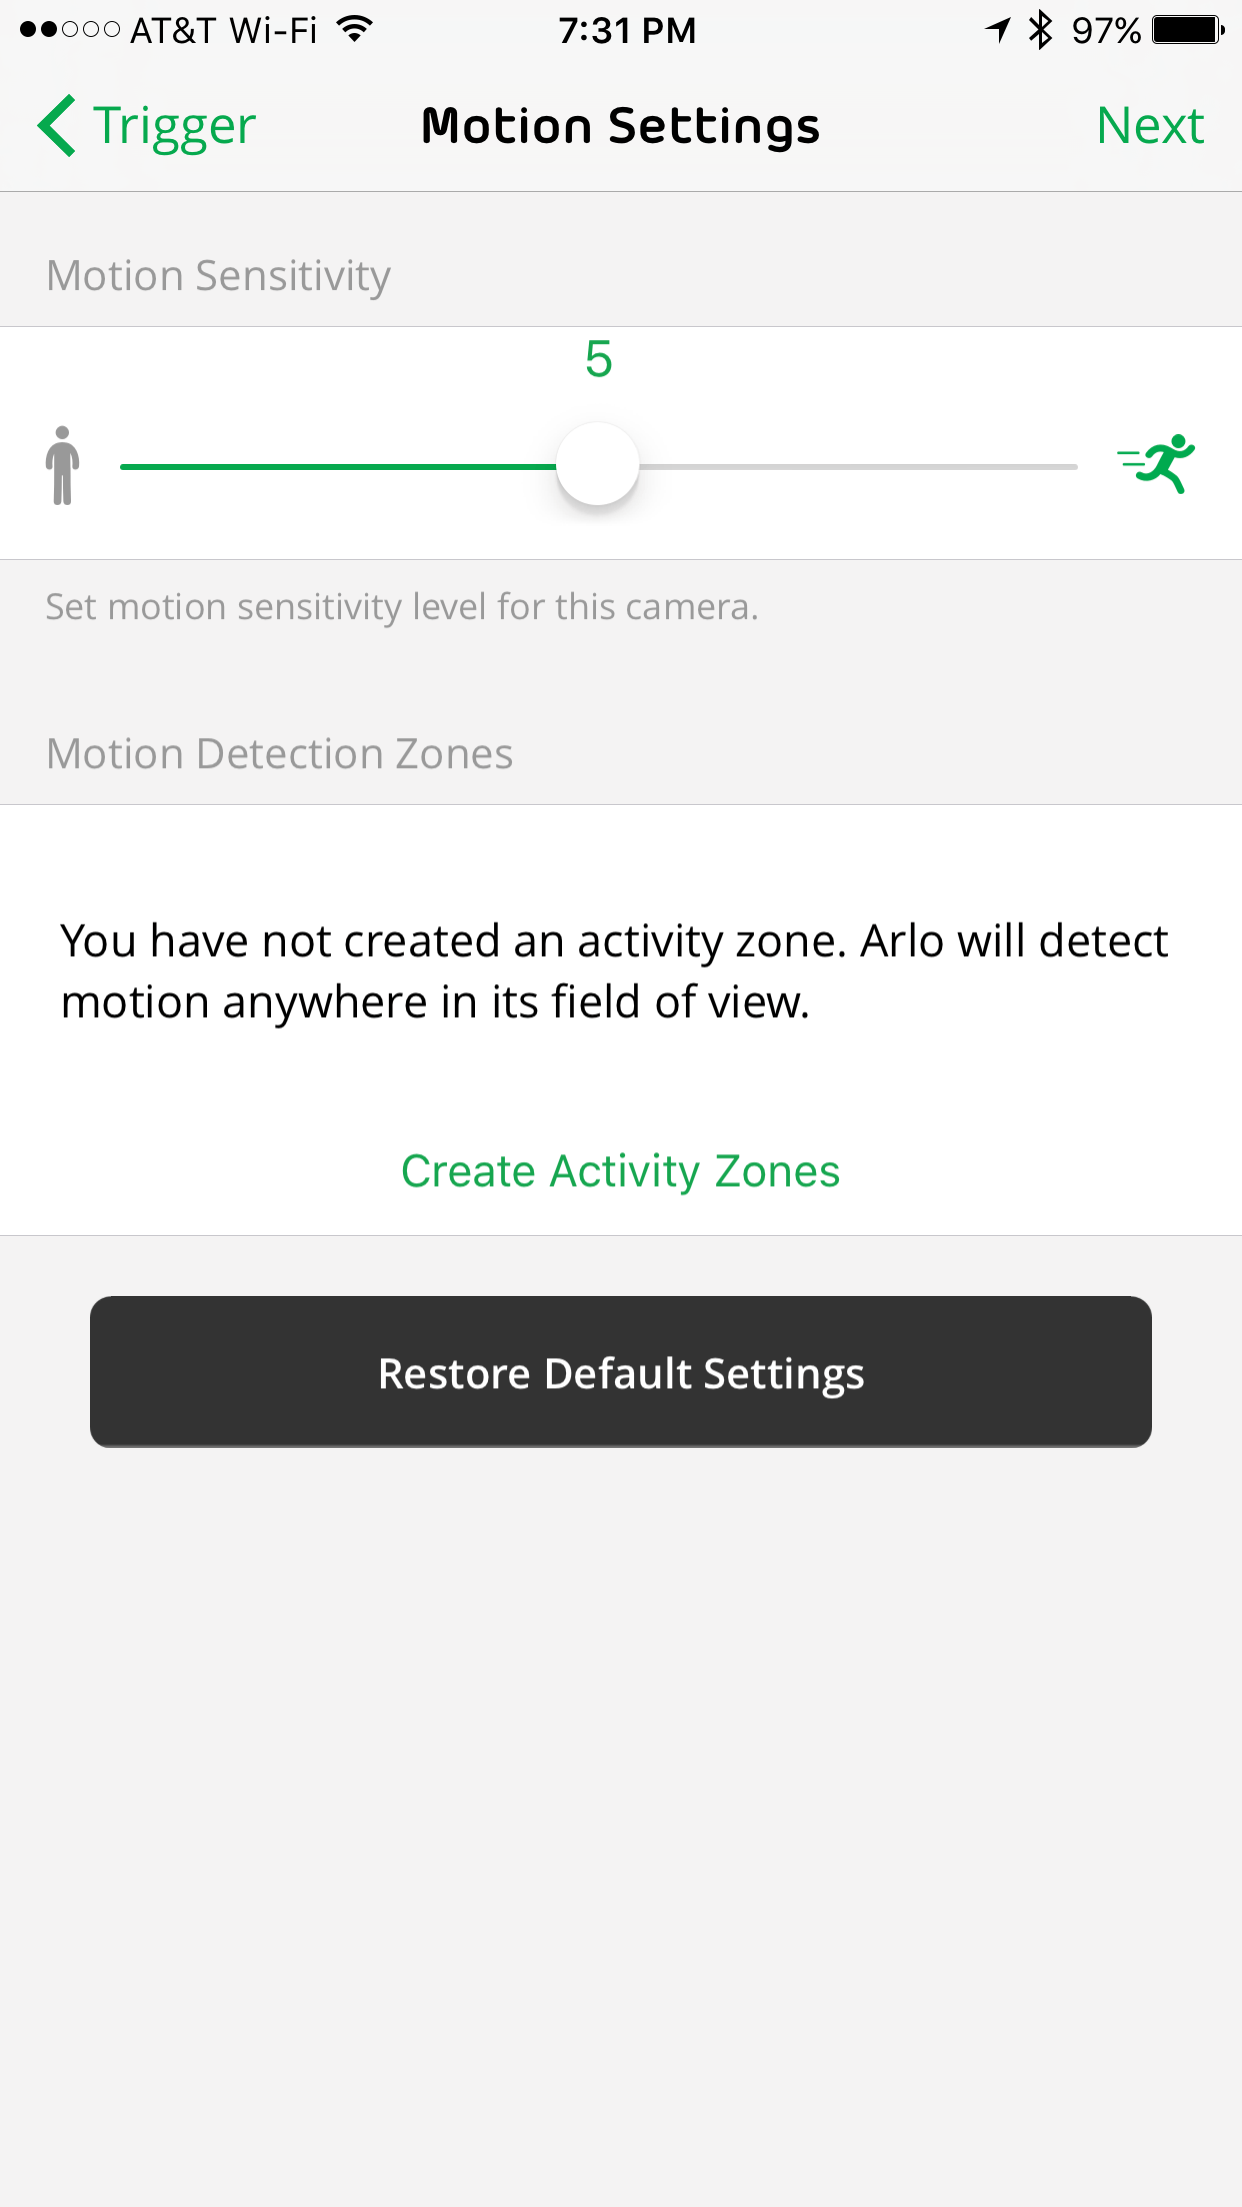
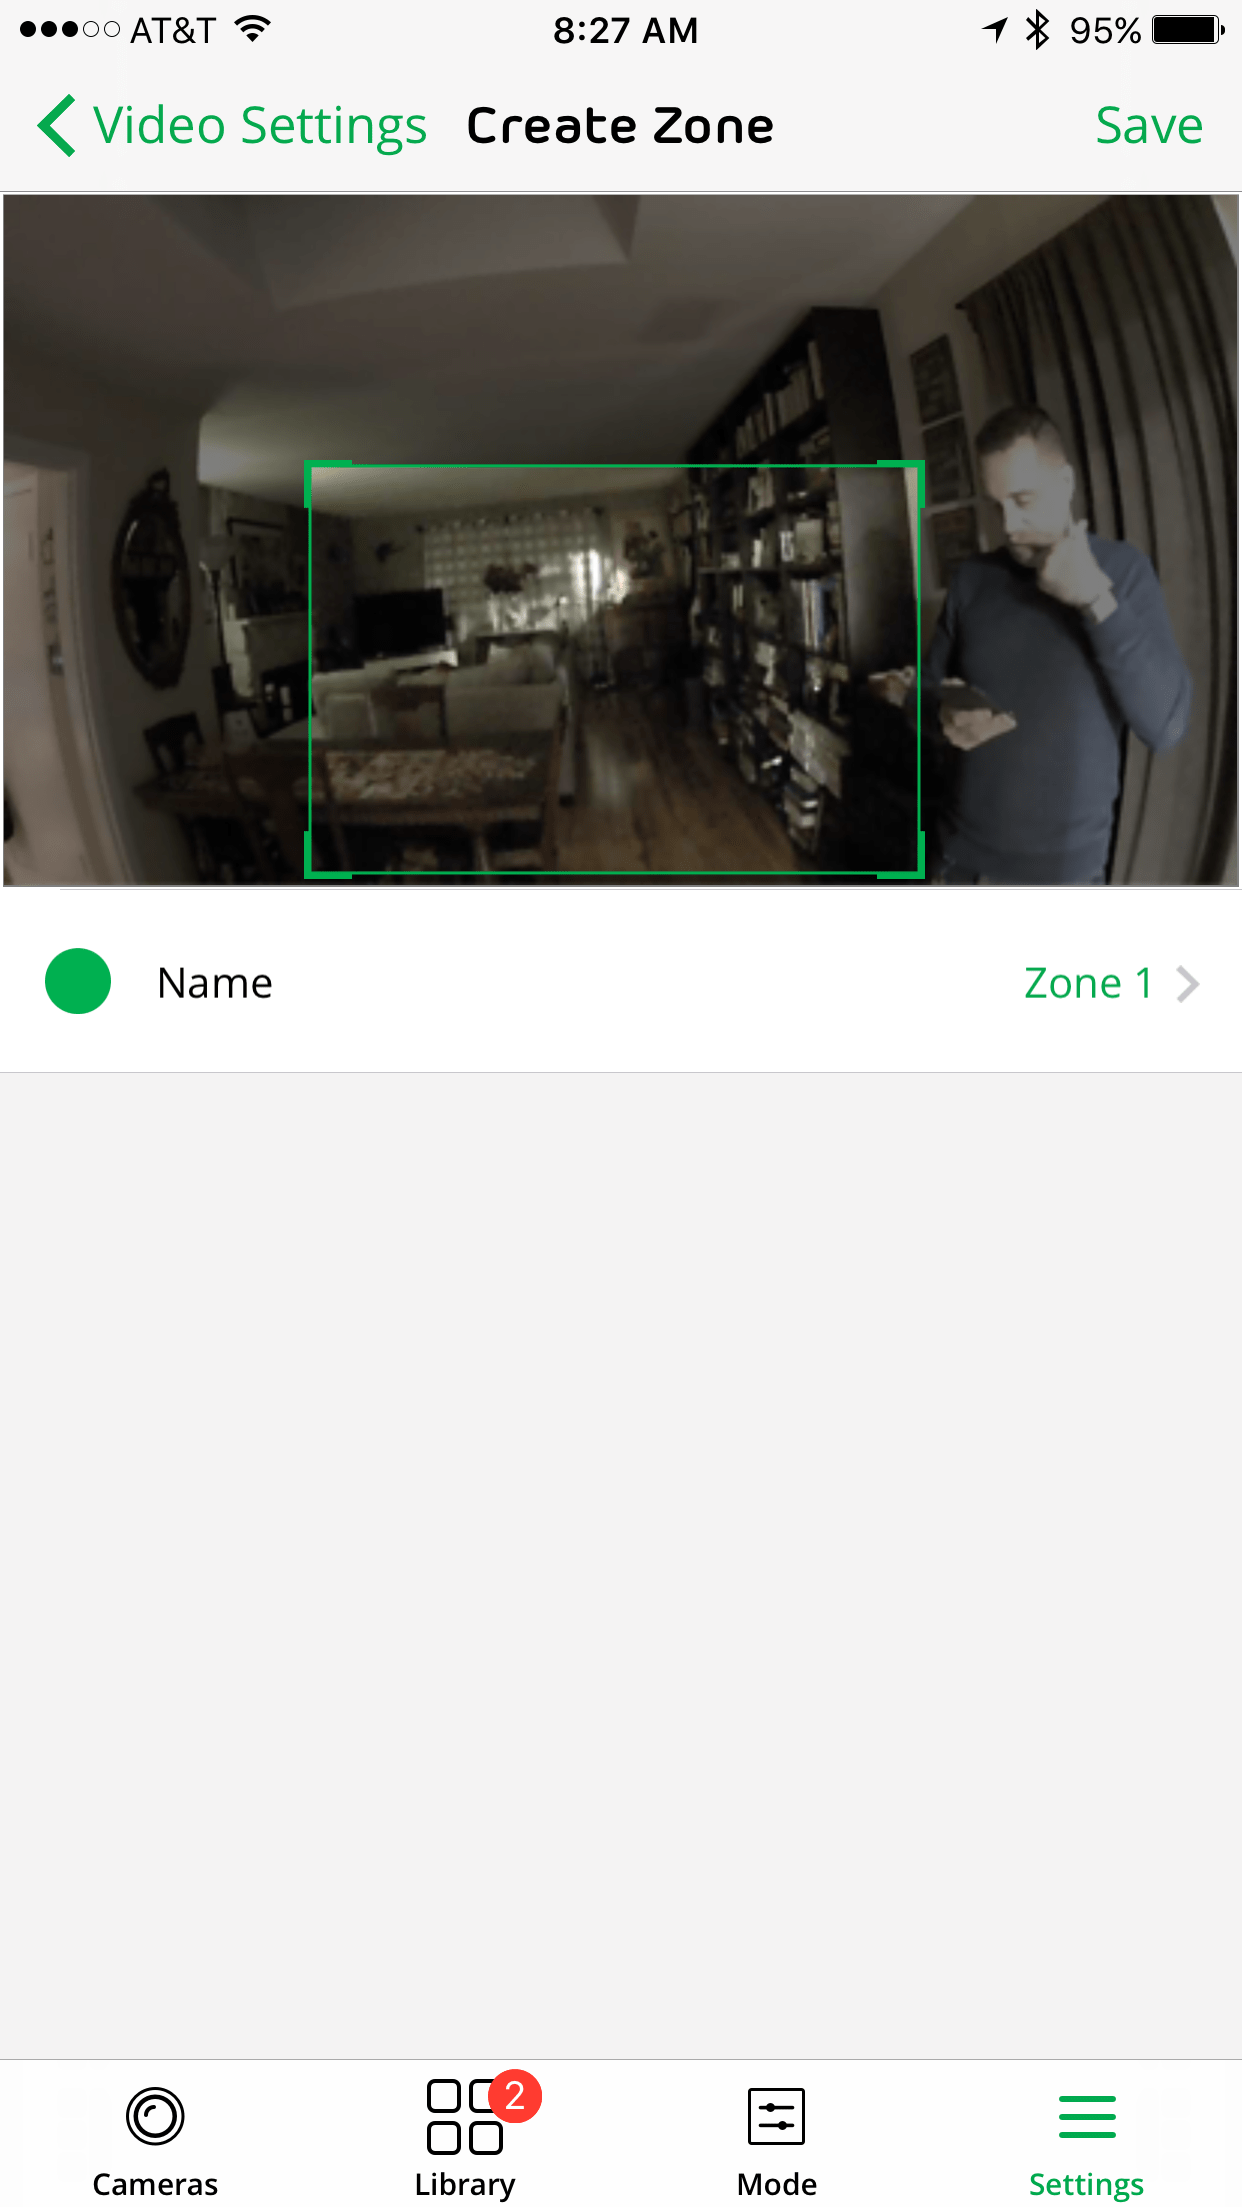
In the Motion Settings, you can use a slider to configure whether you want a lot of motion to trigger the alert or recording, or just a little. Similarly, you can specify different areas of view as “hot spots” where the Arlo Q should look for motion. This could be a doorway or a window or a walkway of sorts. You may, for example, want to exclude highly-trafficked areas or conversely, you may want to set those walk areas to be a trigger. Below, I’m setting up the zones.
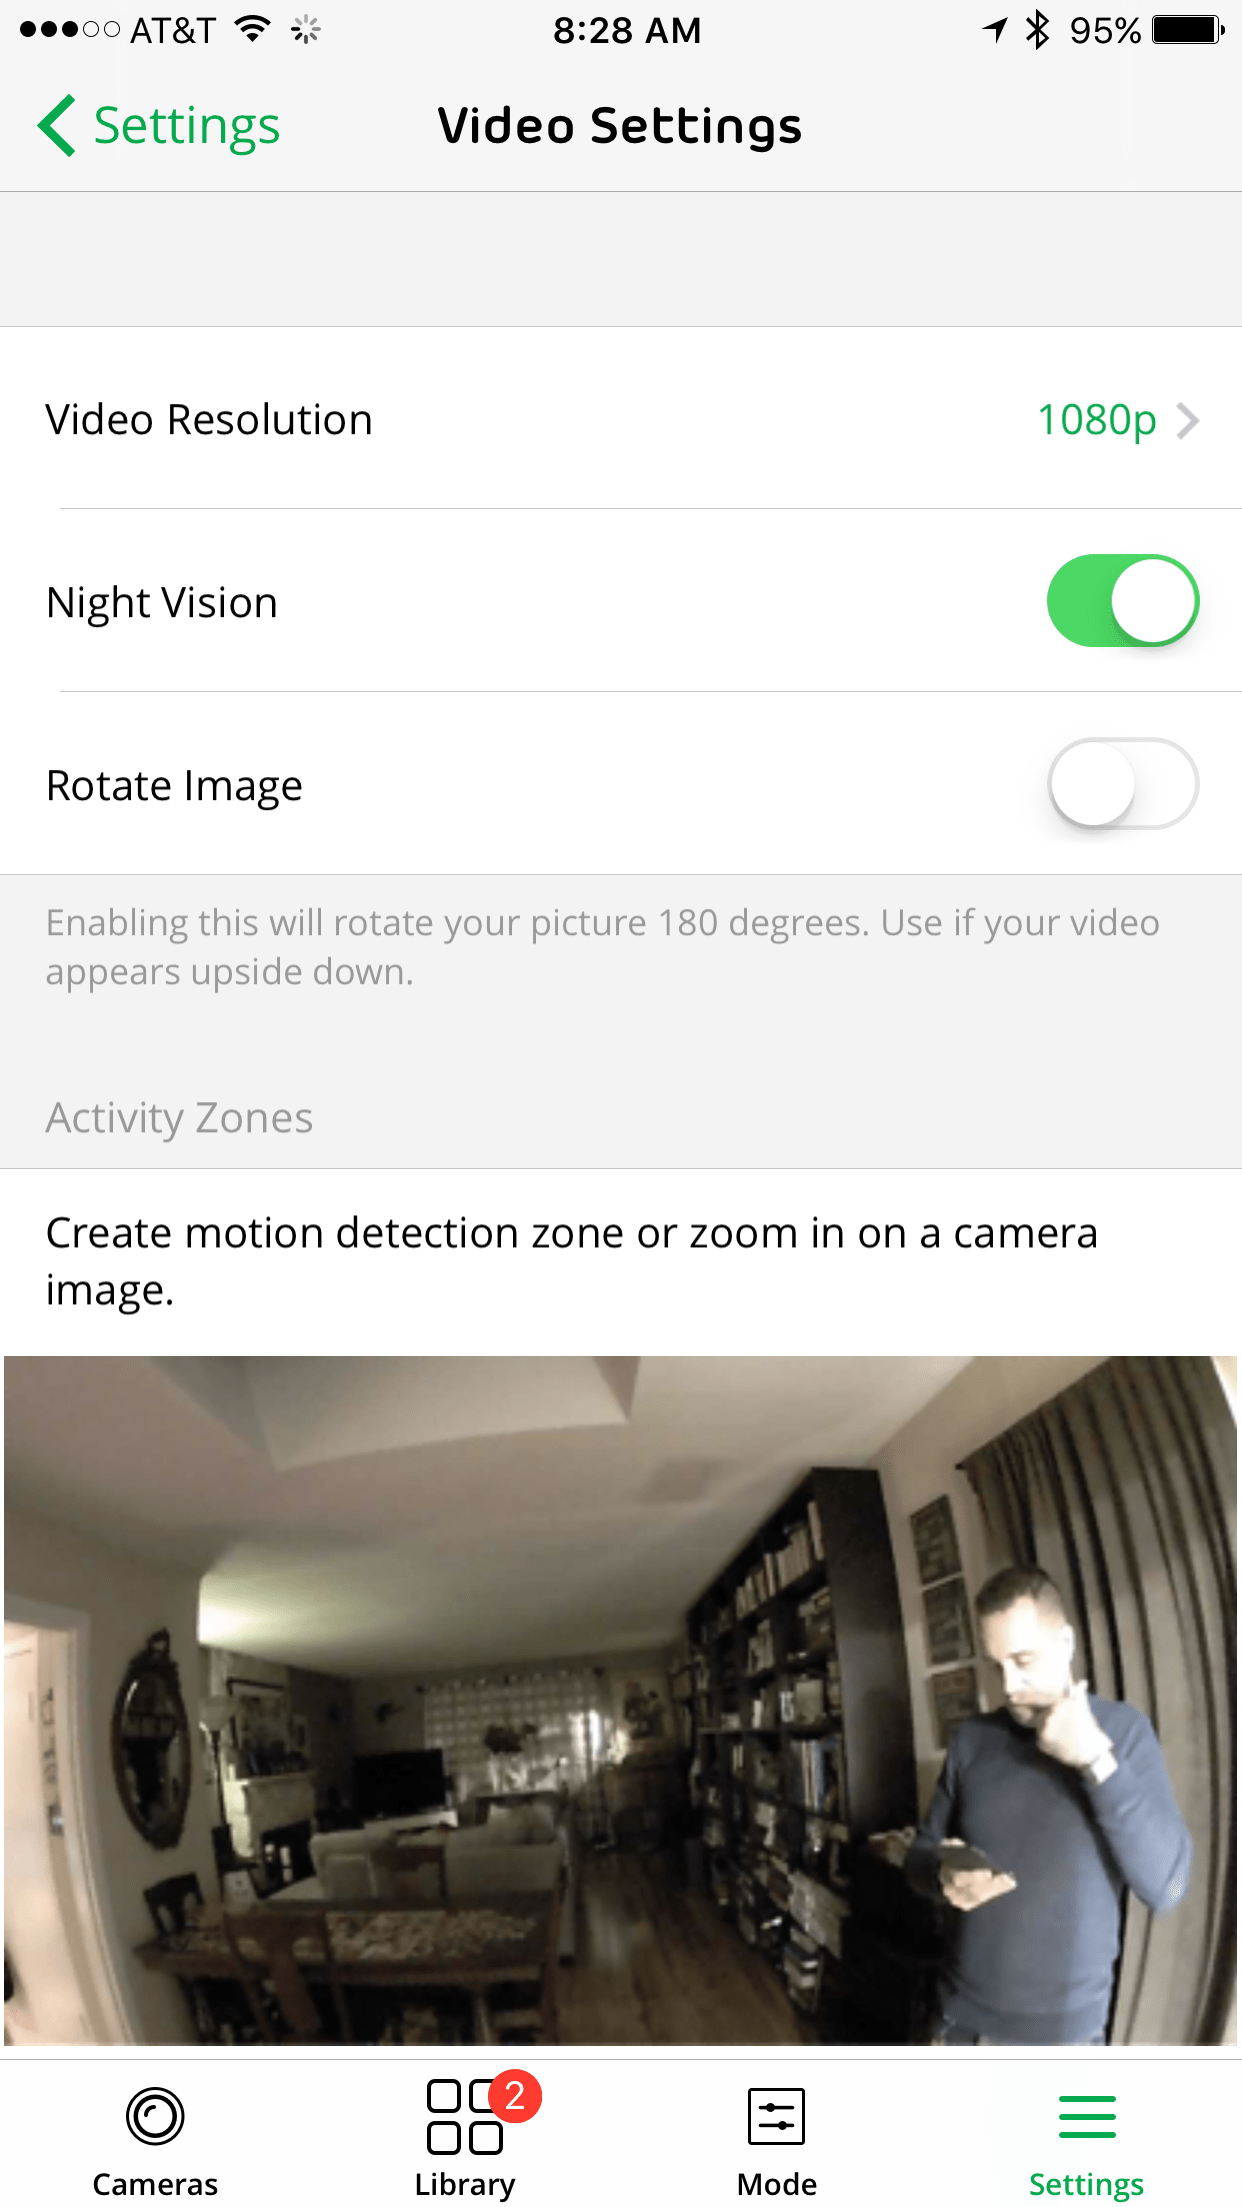
You can also configure other settings of the Arlo Q by choosing Settings > My Devices > (Your Arlo Q). From there, you can configure a variety of things like changing the name, choosing a time zone, deciding if you want the status light to be on or off (I like having it off – it’s a bit less intrusive), changing the WiFi settings (it grabs whatever WiFi network you are connected to currently) and the Video and Audio settings.
Within the Video settings, you can set the resolution (up to 1080p), enable Night Vision, rotate the image and set up activity zones.
If you place your Arlo Q in an area of high traffic, you might want to set up a new Mode for your recordings and alerts. I believe by default, you will get email notifications (and possibly push notifications) right out of the box any time the Arlo Q detects motion. This can get a bit overwhelming so one of the first things that I did was to set up my own custom Mode.
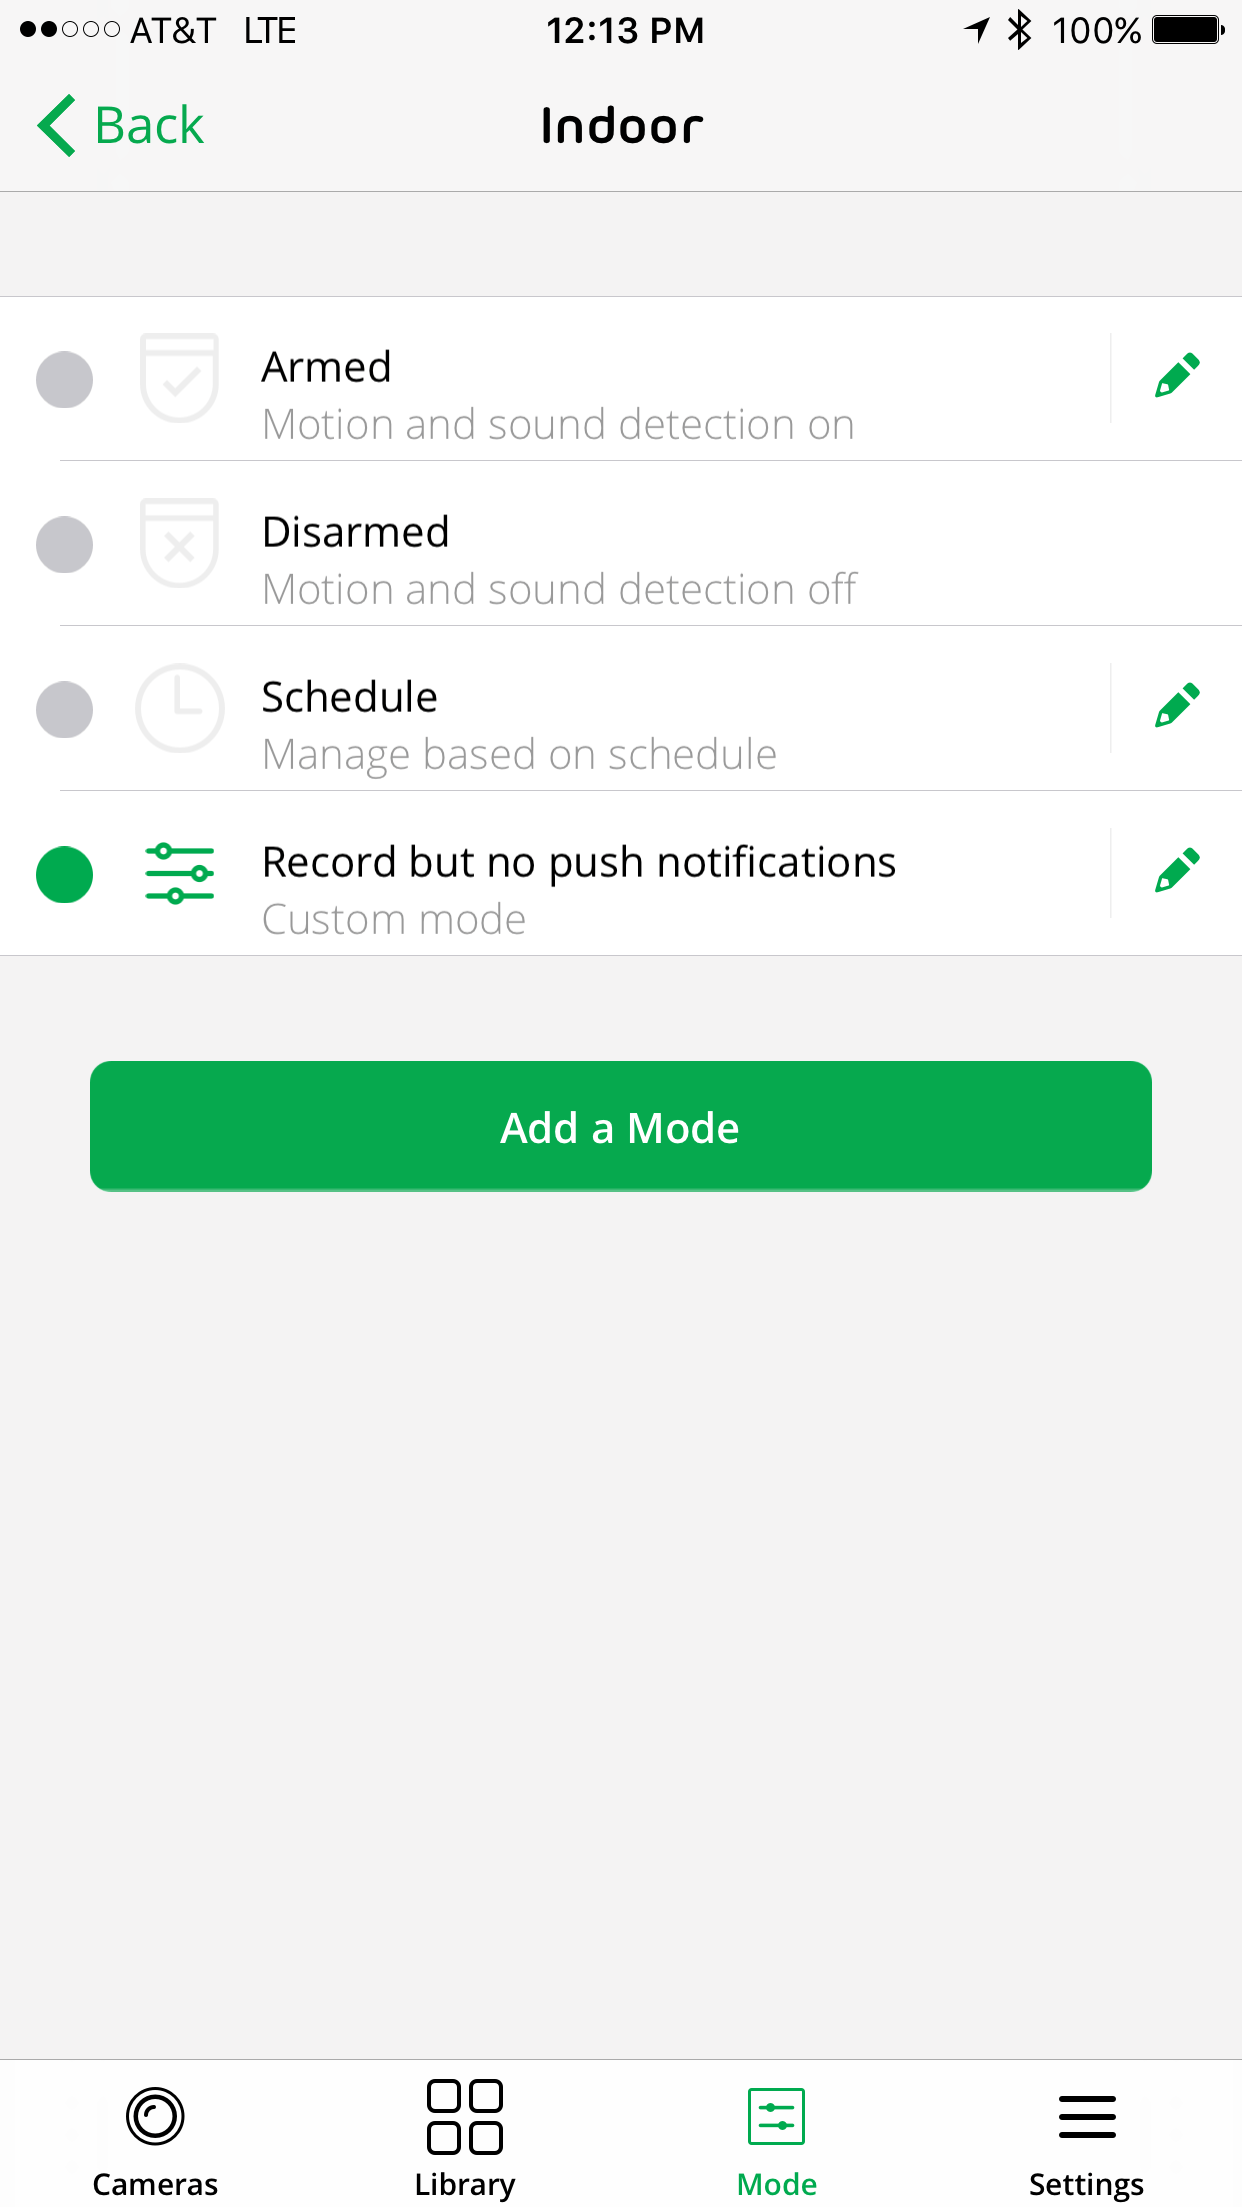
You can not only tie notifications to motion, but also to sound detection. And you can set up a custom schedule to “arm” the Arlo Q if you regularly leave the area for a set amount of time. In a business, for example, you might want to have it arm when you lock up for the night and then disarm when you open back up.
Since I have my Arlo Q set up at home, there is no “open” or “closed” time, and since there is always a lot of activity, I wanted to set up a new Mode that ONLY recorded video and audio when motion was detected. I did NOT want to get emails nor push notifications when activity happened. So I set up the following mode.
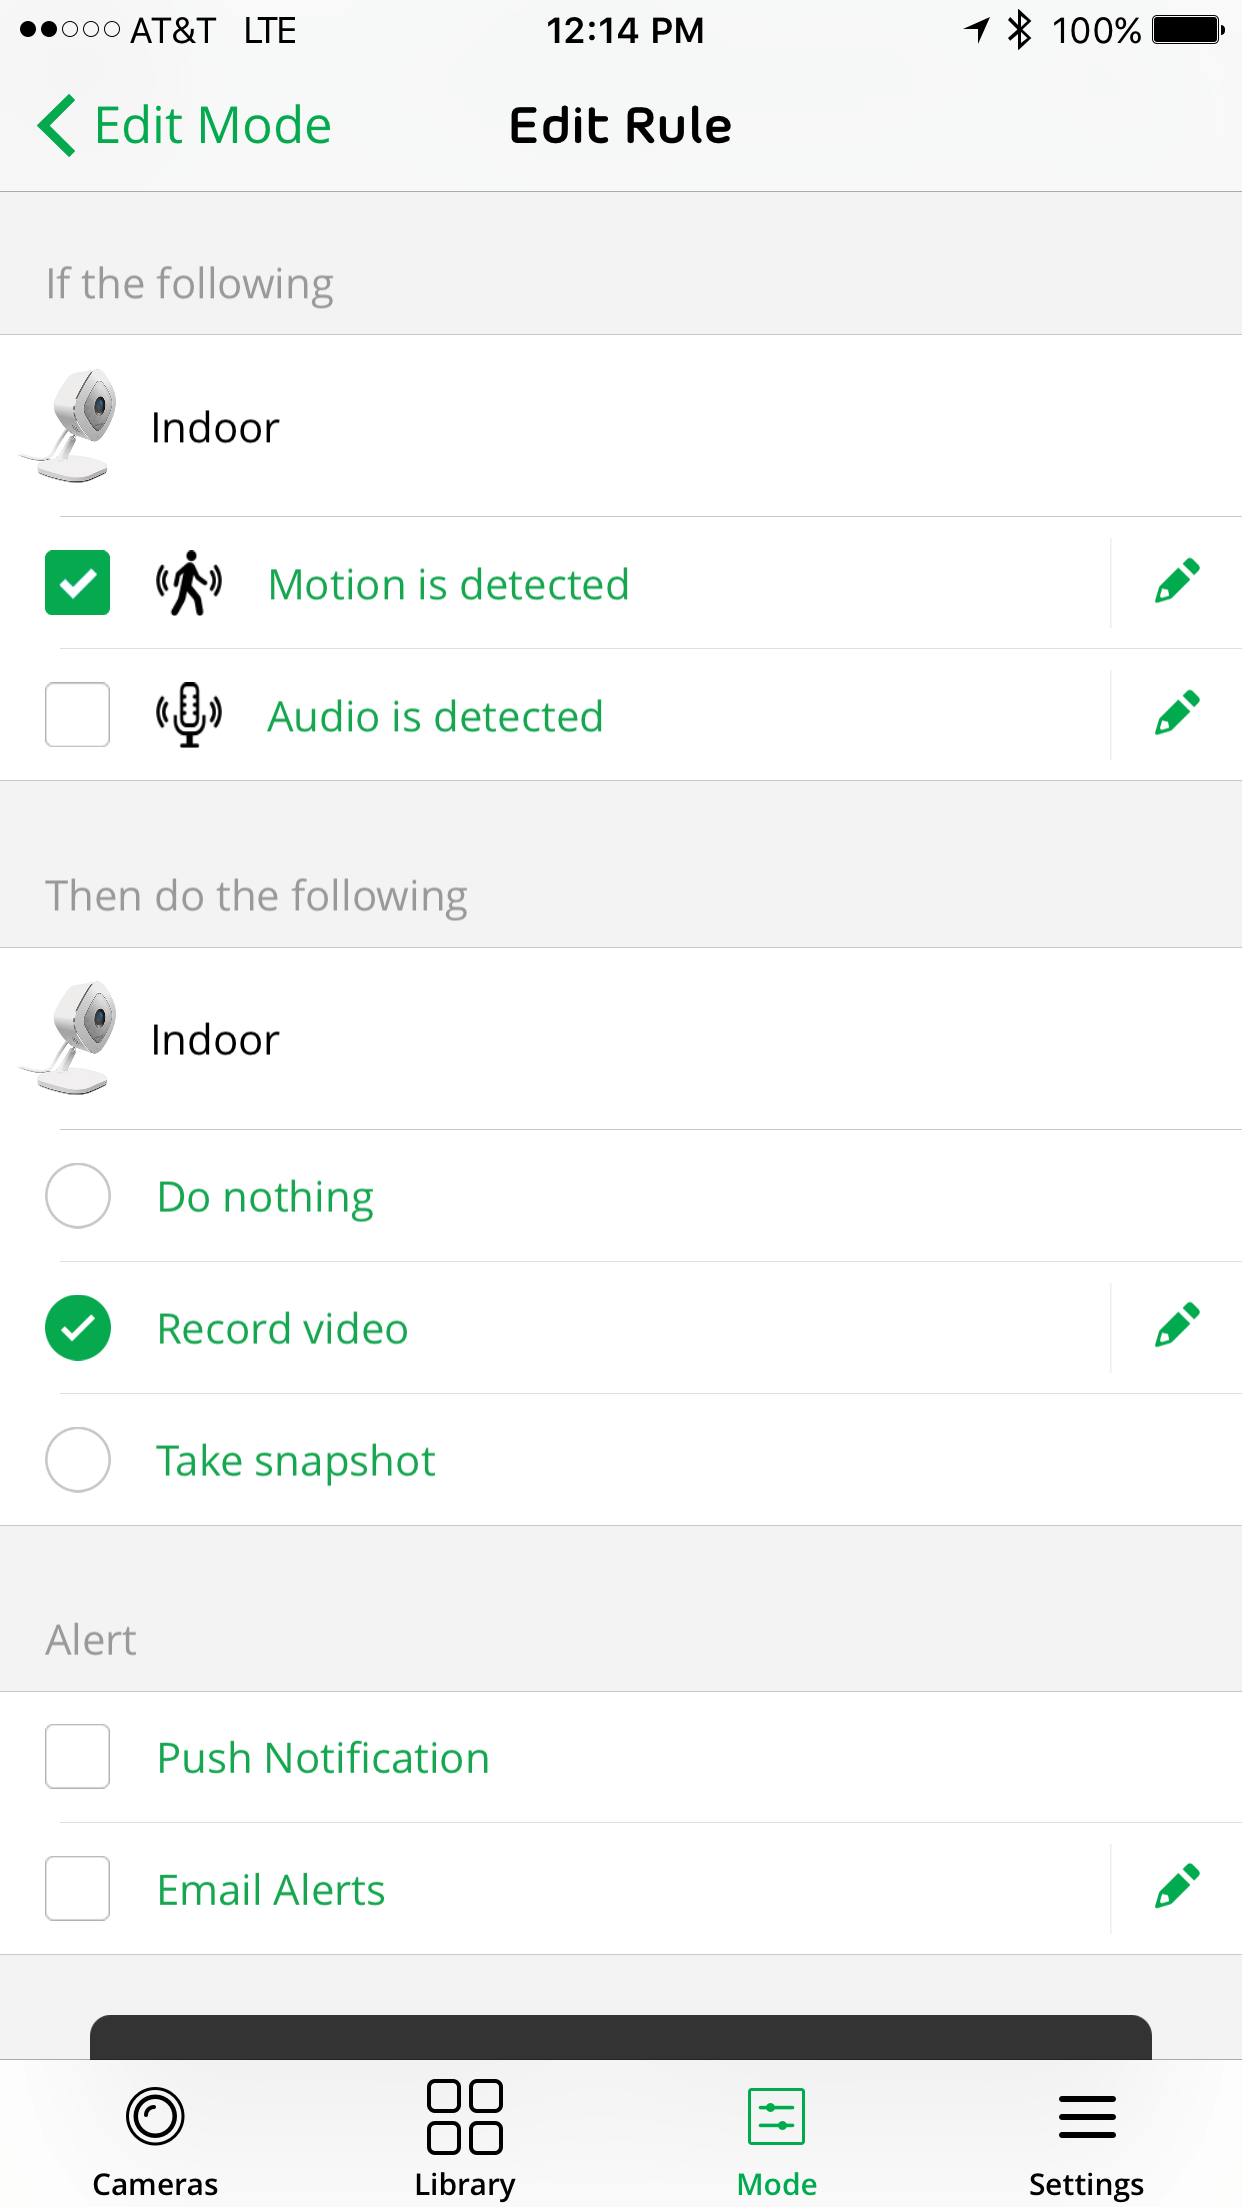
There are lots of configuration options. For this, I had “Motion is detected” and “Record video” as the only checked items. I left the Alerts turned off.
Obviously, you can configure the Mode to be whatever fits your needs. And you can change the modes by simply pressing to activate them. So if you go on vacation, for example, you can set it to the built-in mode of “Armed.”
Some Arlo Q Usage Observations
Probably one of the nicer features of the Arlo Q is being able to have two-way audio. From your smart phone, for example, you can have a “conversation” between both devices. It’s important to note, there is a bit of a delay between when you say something and when it comes out of the speaker on the Arlo Q. You then have to wait to hear the response. So, conversations are a bit stuttery but definitely doable.
The other nice feature is the night vision. No matter what the lighting, the Arlo Q seems to be able to pick it up. Obviously, the resolution is better with good, daytime lighting. But even at night, items are quite visible even in complete darkness.
Another nice thing about the Arlo system is that you can record video (and with the Arlo Q, audio as well) and store up to a week’s worth of recordings for free in the Arlo cloud. There are other tiered plans should you need a longer period. Since my Arlo Q is in a high traffic area, it records a LOT of video, but still, these clips are stored for free in their cloud. There is an optional 24×7 Cloud Recording option to record and store everything.
Lastly, if you do get an Arlo system, do take some times to go through each and every menu and configuration item. There are a lot of things that you can set (or un-check). Recently, Arlo had a major (for the good) update of the interface and administration and moved some of the trigger alerts to rules tied to specific cameras. After the update, I hadn’t been receiving Alerts and only then discovered that I needed to update my Modes and the Rules therein to fix the alerting.
As I mentioned, you can purchase the Arlo Q as a stand-alone indoor camera. You do not need to have an Arlo hub to make it work. You just need to bring your own WiFi. The Arlo Q retails for $219.99 (and you can get it on Amazon for $219.00 – it will drop in price, I believe, eventually). This price is well within other comparable security cameras on the market, just be sure you look for extra add-on costs that others might have like storing your recordings.
One way or another, having real-time, day or night, high-definition and remote-viewing recording (with 2-way audio) is a good way to enhance your home or business security and give you some peace of mind. The NETGEAR Arlo Q packages this up nicely in one, easy to set up solution.
[StandardDisclosure]
HTD says: The Arlo Q keeps an eye on you, your home, your pets, your family, your business – your life.
HighTechDad's Ratings
-
Ease-of-Use
-
Family-Friendly
-
Price Point
-
Features
Summary
The Arlo Q keeps an eye on you, your home, your pets, your family, your business – your life. Being able to have an always-on, network-connected watchdog at your home or business gives you security and peace of mind. The Arlo Q is extremely easy to set up as a stand-alone camera or integrate into an existing Arlo network (which is what I did). Being able to monitor from afar is critical for parents, regardless of whether your kids are old or young (and it’s great for pets too – especially being able to tell Fido remotely to get off of the sofa!). While a bit pricy compared to other networked cameras, the technology is solid and performs well.


