
I am no stranger to setting up WiFi. I have tested countless WiFi routers at home. I have configured WiFi for my parents. I have experimented with Open Source builds like WW-DRT and Tomato. And I have mesh and WAPs around my home currently. I would be comfortable saying that I’m “slightly experienced” but by no means “an expert” when it comes to WiFi. But, the thought of installing the new Google Nest Wifi mesh systems did scare me a bit. You see, I’m used to geeking out and tweaking configurations directly on the WiFi router. But Nest Wifi pretty much (with some exceptions) abstracts many of those settings away – hiding them from users. Why? As I discovered as I set up and tested the Nest Wifi, they want to keep things simple. Did it work? Read on! (*Disclosure below.)
To set the scene here, I need to provide a tiny bit of background information. I recently had fiber installed in my house, which I love, by the way. With these study- and work-at-home times due to COVID-19, I believe it is critical to have very fast upload and download speeds (see my article and video for why). But, I had a potential issue. The router provided by my fiber company (specifically the BGW210-700 gateway) was pretty locked down and know to cause issues when you plugged another router behind it. Geeky things like “double NAT” and “reduced throughput” were things that kept popping up as I did some research into if and how the Nest Wifi mesh could be integrated into my home network.
I even mapped out multiple lists of things to test in the setup, ways to roll back to my old configurations and previous router, and apologies I would have to say to my wife and kids after I broke the network when everyone relies on it all of the time. To play it safe, my previous router was set up in bridge mode (as a WAP – Wireless Access Point). I was ready to roll back to that configuration if all hell broke loose.
Guess what? No hell broke loose. No wife or kids were upset. No contingency plans had to be implemented. And after a few weeks, things still seem to be running smoothly.
Geeky Background
I won’t geek out too much on networking and Wifi. The problem is, everyone’s needs are different. And people like configuring their home networks uniquely as well. And, unlike me, most people just want to plug things in and have them work. Personally, I like tinkering under the hood quite a bit to understand how things work.
In my research, I had read that many times when you plugged in another router behind the one from my fiber provider, it wouldn’t work, or speeds would be very slow. I had gone into the advanced configurations of the BGW210-700 gateway so that I could 1) turn off their WiFi and 2) set up my own DHCP settings. Why? I like having the cutting edge Wifi, and for DHCP, I have a pretty big network of connected “things” at home (80+), so I didn’t want to start changing network addresses too drastically.
So I had my plans. If one thing failed during the setup of the Nest Wifi, I would try two different things. If those didn’t work, I would approach it from another angle. And if what I thought was going to be hours of configuration hell blew up in my face, I would just go back to my previous setup (and cry inside for a while).
But I didn’t need to do any of that. And no inner tears were shed.
High-level Specs on the Nest Wifi
Before I dive into the setup, configuration, and usage of the Nest Wifi, let’s get some of the tech specifications out of the way. For starters, it is important to understand that this is an evolution of the Google Wifi hardware. It’s been redesigned and relaunched as Nest Wifi.
Also, this is a mesh system. If you don’t know about mesh Wifi, I highly recommend reading up about it (Google’s explanation). Many networking companies now offer various versions of mesh in addition to their standalone WiFi routers. The TL;DR version is you have a router and then one or more mesh points. The router connects to your cable/DSL/fiber modem, and then the mesh points connect automatically to the router. Some points even use a different wireless connection to send traffic back and forth. You then place mesh points around your home and connect them to your router. This then creates a blanket of seamless coverage throughout your home, all using the same SSID (Wifi network name and password).
Mesh is different than setting up Wireless Access Points (WAPs), which you can bridge to your router or network either via backhauling or connecting via existing Wifi signals or an ethernet connection. Mesh networks magically do all of this complicated networking stuff for you.
If you use the Google Home ecosystem (something that I have started truly embracing much more recently), you already have the app you need to set up, configure, and manage the Nest Wifi. If not, you will want to get it. Especially because one of the mesh points also acts as a smart speaker for “OK Google” actions. But again, setup coming shortly.
Regarding the Nest Wifi, here are the key specs to know:
- AC2200 MU-MIMO WiFi – 4×4 (5GHz) and 2×2 (2.4 GHz)
- Simultaneous dual-band supporting 802.11 a/b/g/n/ac
- Handle up to 100 connected devices
- WiFi point
- Coverage: up to 1600 sq ft per point
- 360-degree speaker sound with 40mm driver
- Far-field mics for Google Assistant
- Power port
- Lighting for speech indication
- 768 MB RAM & 512 MB Flash
- Dimensions: 102.2mm diameter x 87.2 mm high
- WiFi router
- Coverage: up to 2200 sq ft per router
- Dual gigabit ethernet ports
- Power port
- (Note: no speaker or mic capability)
- 1 GB RAM & 4 GB Flash
- Dimensions: 110mm diameter x 90.4mm high
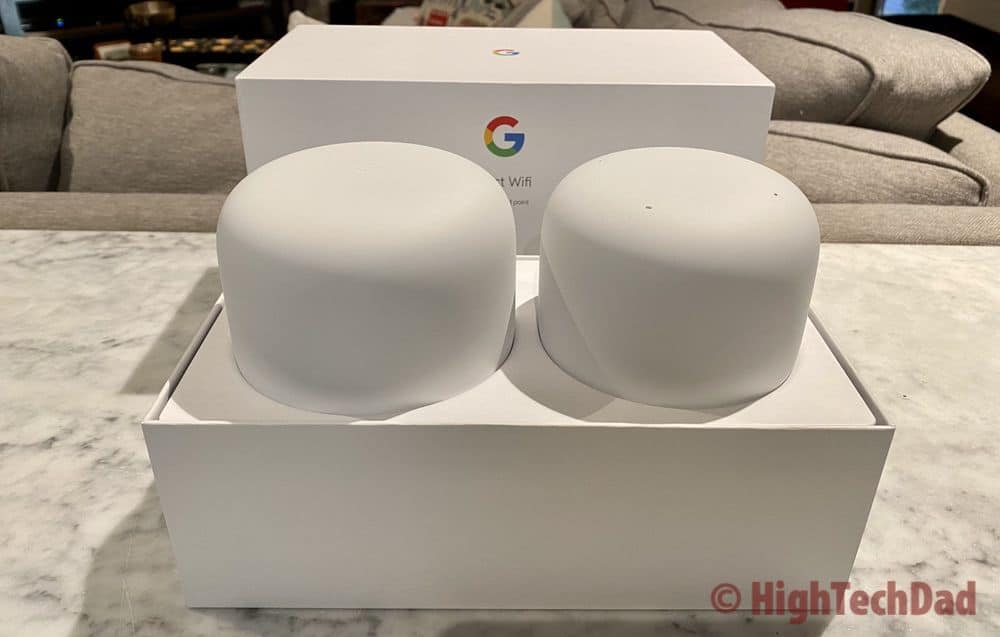
Depending on which Nest Wifi pack you pick up (there are many different configurations), what you get in the box may vary. I had the 1-router and 1-point pack, which is about right for my home’s size and layout. After testing over the past few weeks, I probably would have been a bit happier with either an additional Point or another Router.
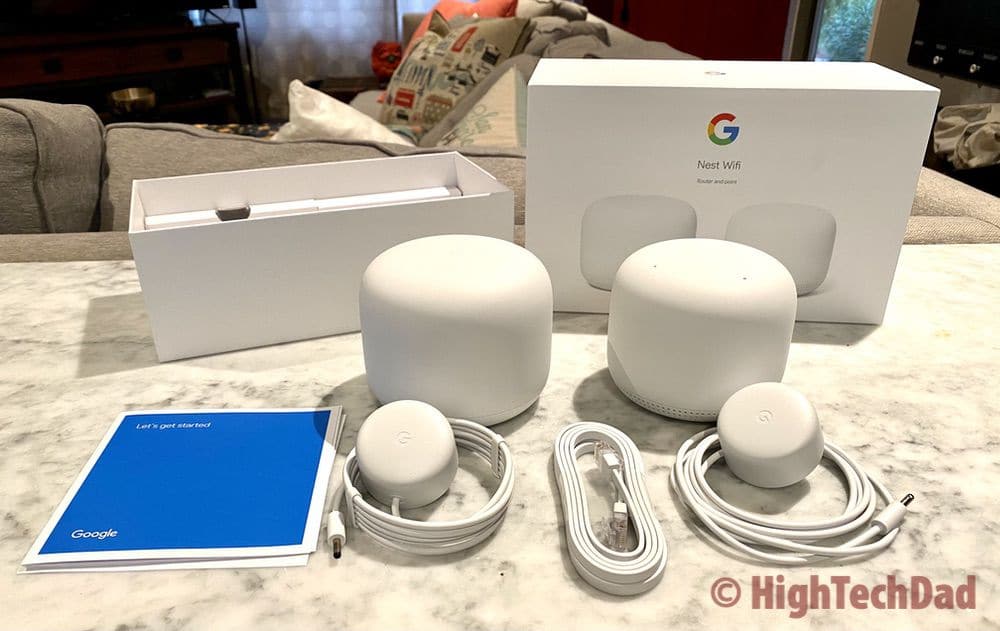
In the box of the 1 and 1 Nest Wifi pack I got was:
- 1 Nest Wifi router
- 1 Nest Wifi point
- 1 6.5ft Ethernet cable
- 2 Power adapters
- Instructions
So now that you know what comes in the box and the technical configuration apprehension I had, let me walk you through the setup. I took screenshots along the way (so, sorry for all of the images below).
Setting Up the Nest Wifi
Unlike how I used to configure other WiFi routers in the past, there is really only one way to set up the Nest Wifi. You have to use the Google Home app (available for iOS and Android). With other routers, I used to skip apps and wizards and went directly to the router’s IP address and then geeked out on the various configurations. You can’t access the Nest Wifi router via an IP address, only via the app.
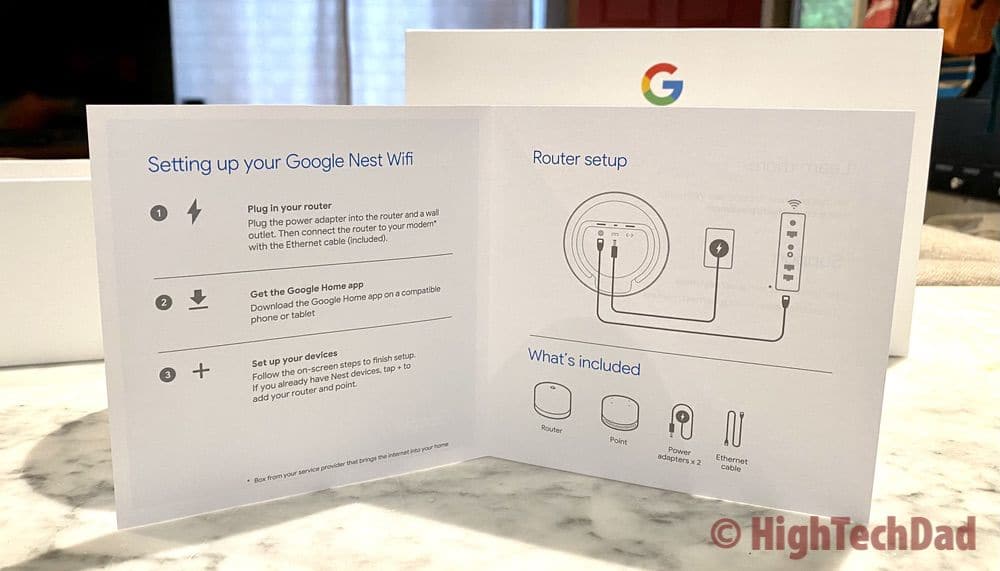
According to the 3-step instructions shown above, the first step is to plug in the Nest Wifi router. This is pretty straight forward. Plug one of the power cords into the Nest Wifi router and into the wall. Then connect the Nest Wifi router to your cable/DSL/fiber modem (or router if they are all-in-one like mine).
Then you need to launch the Google Home app. So, using a wizard it was! As I already had the Google Home app because my house is really trying its best to be as “smart” as possible, I launched it and began the Nest Wifi configuration.
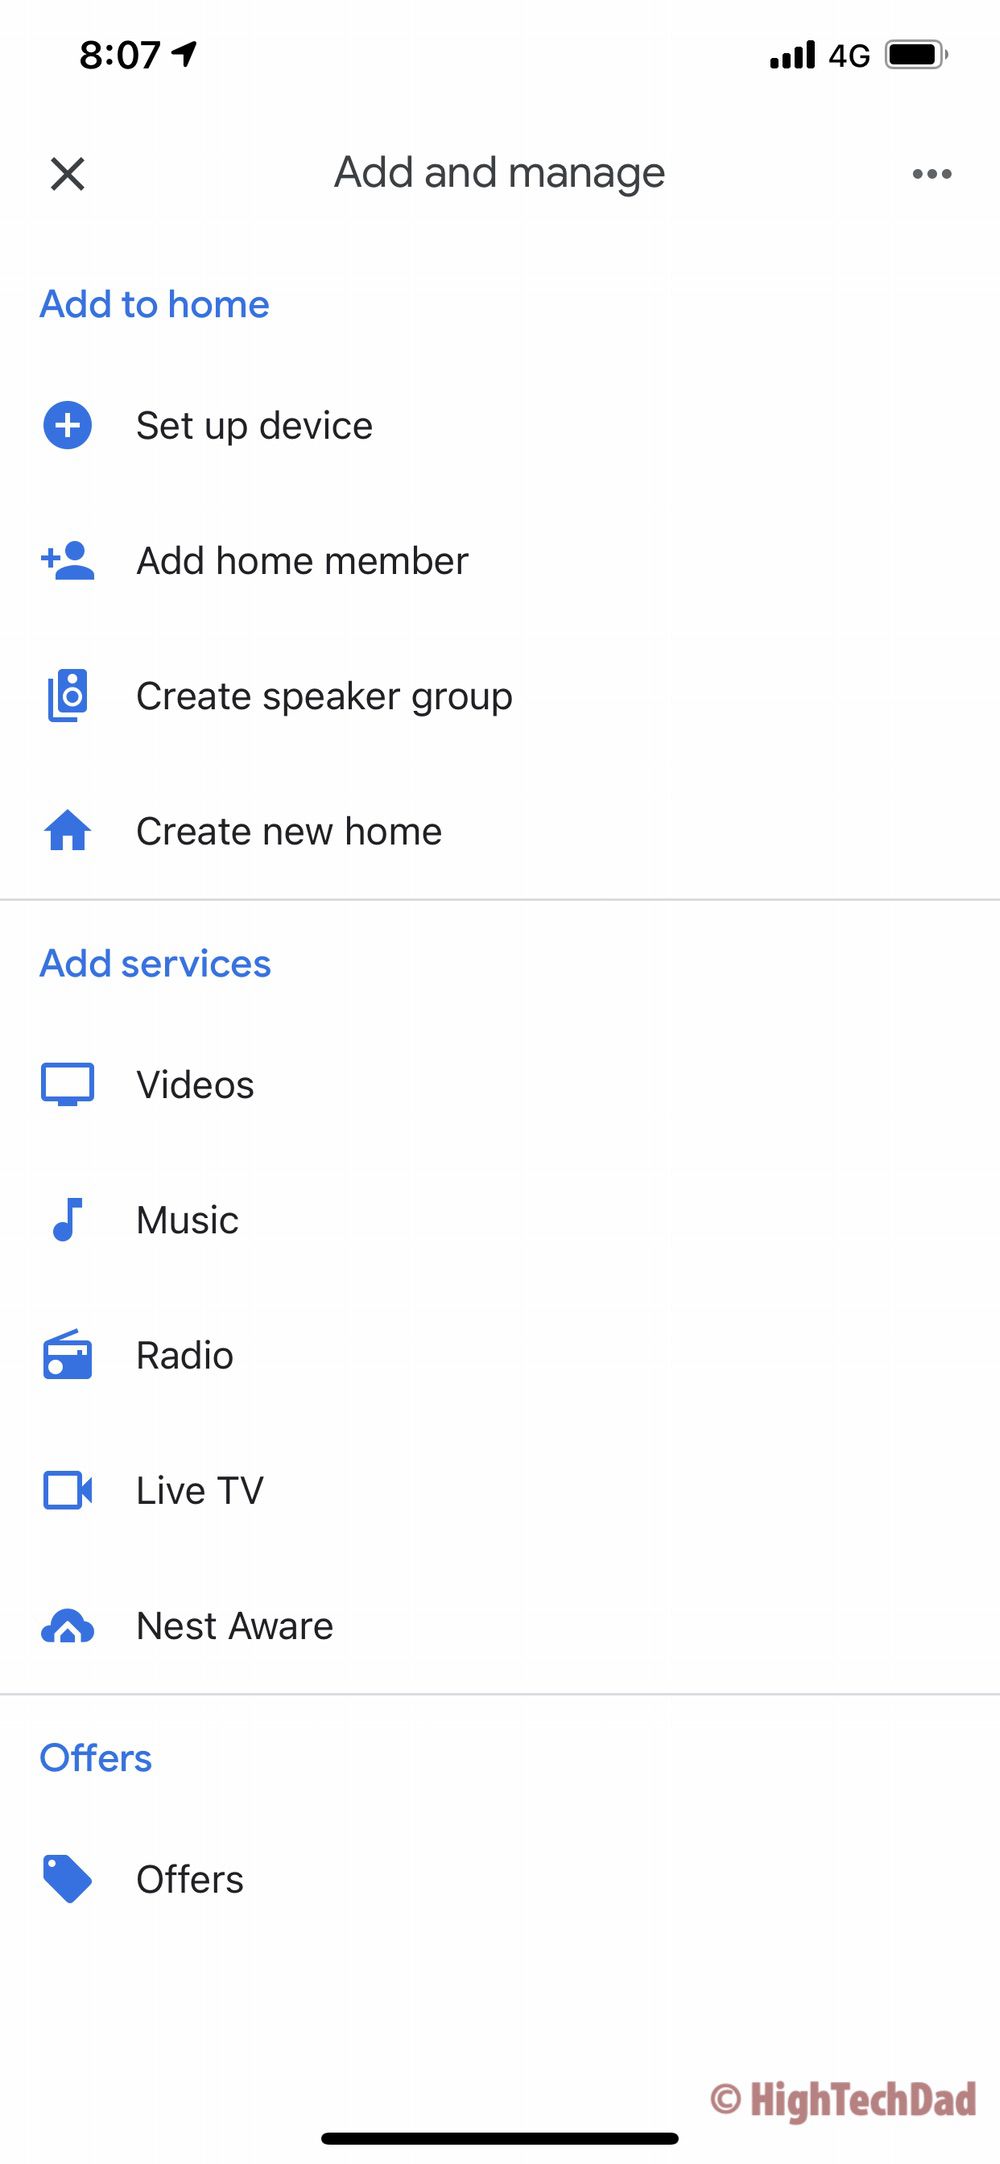
I then clicked on “Set up device” to add the Nest Wifi.
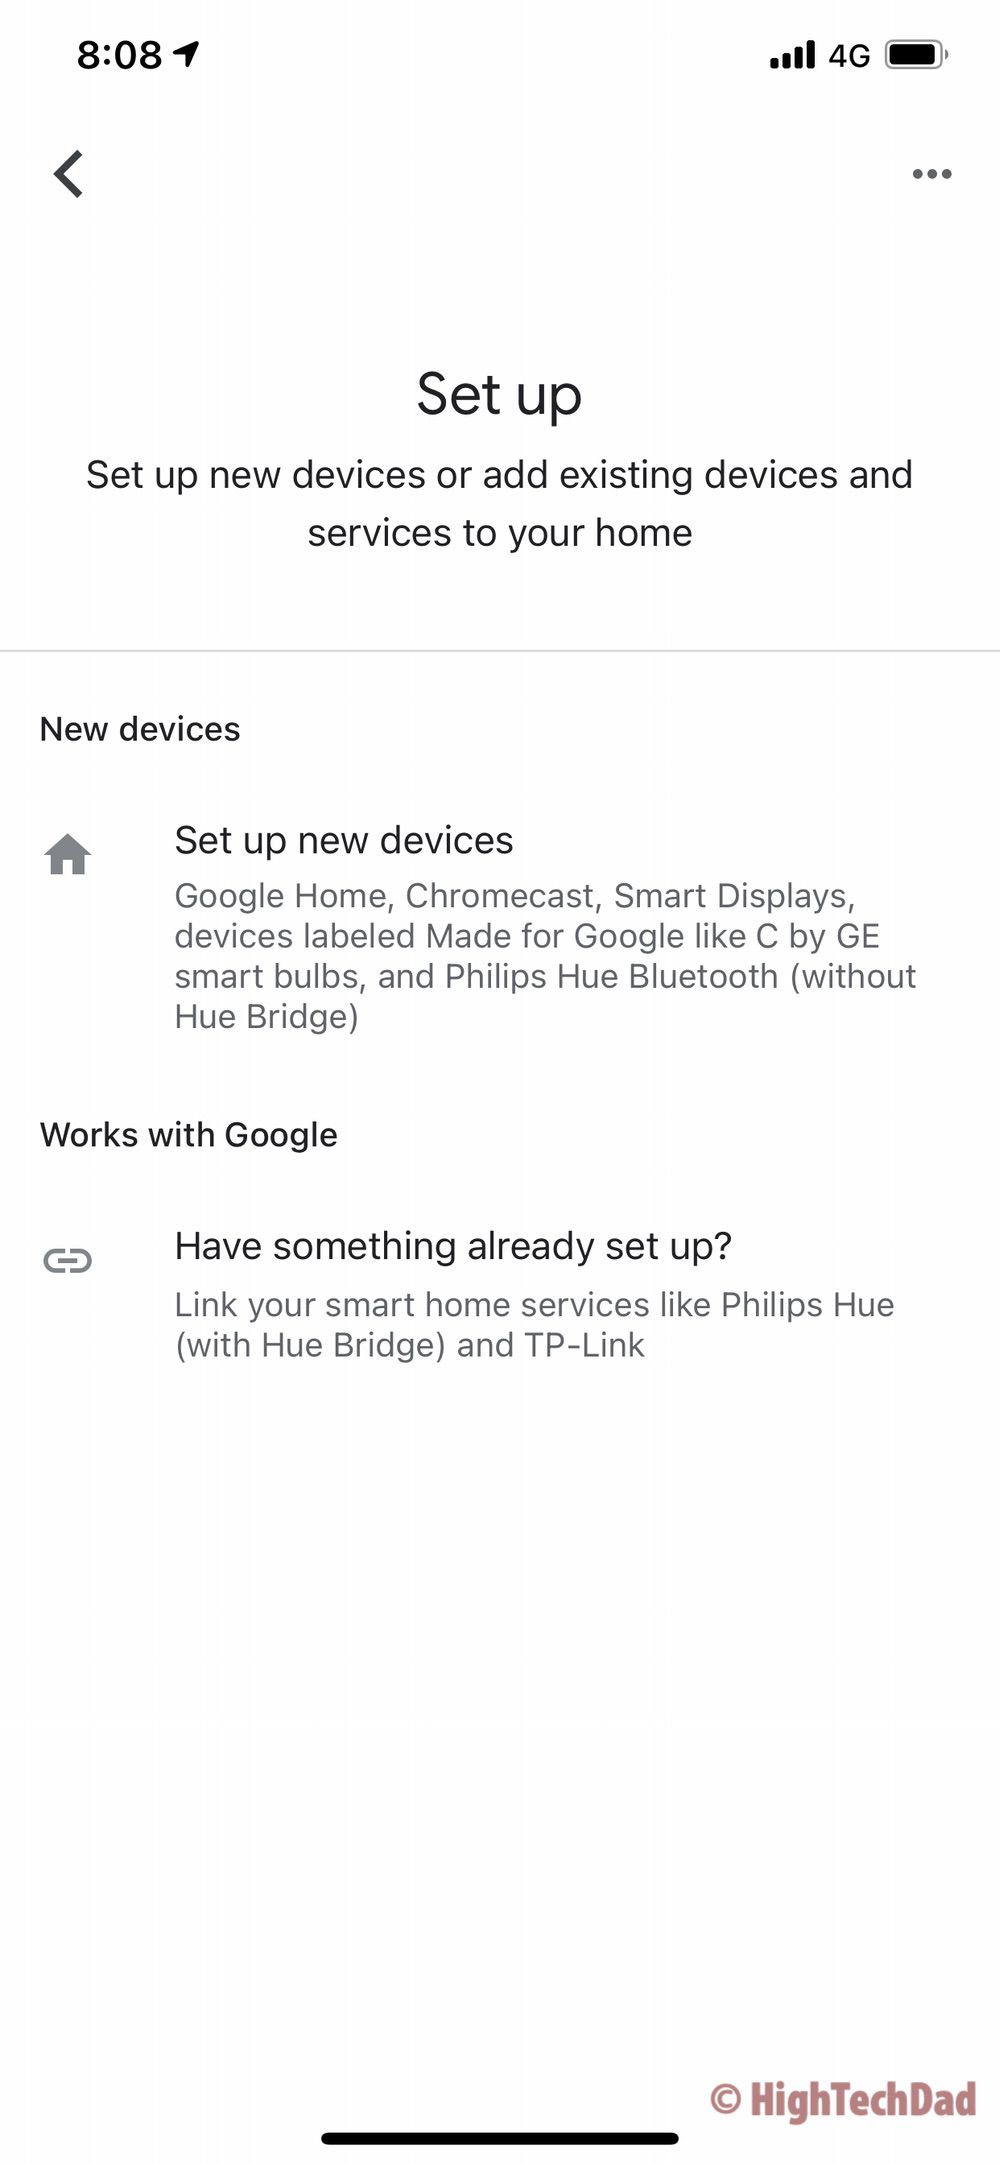
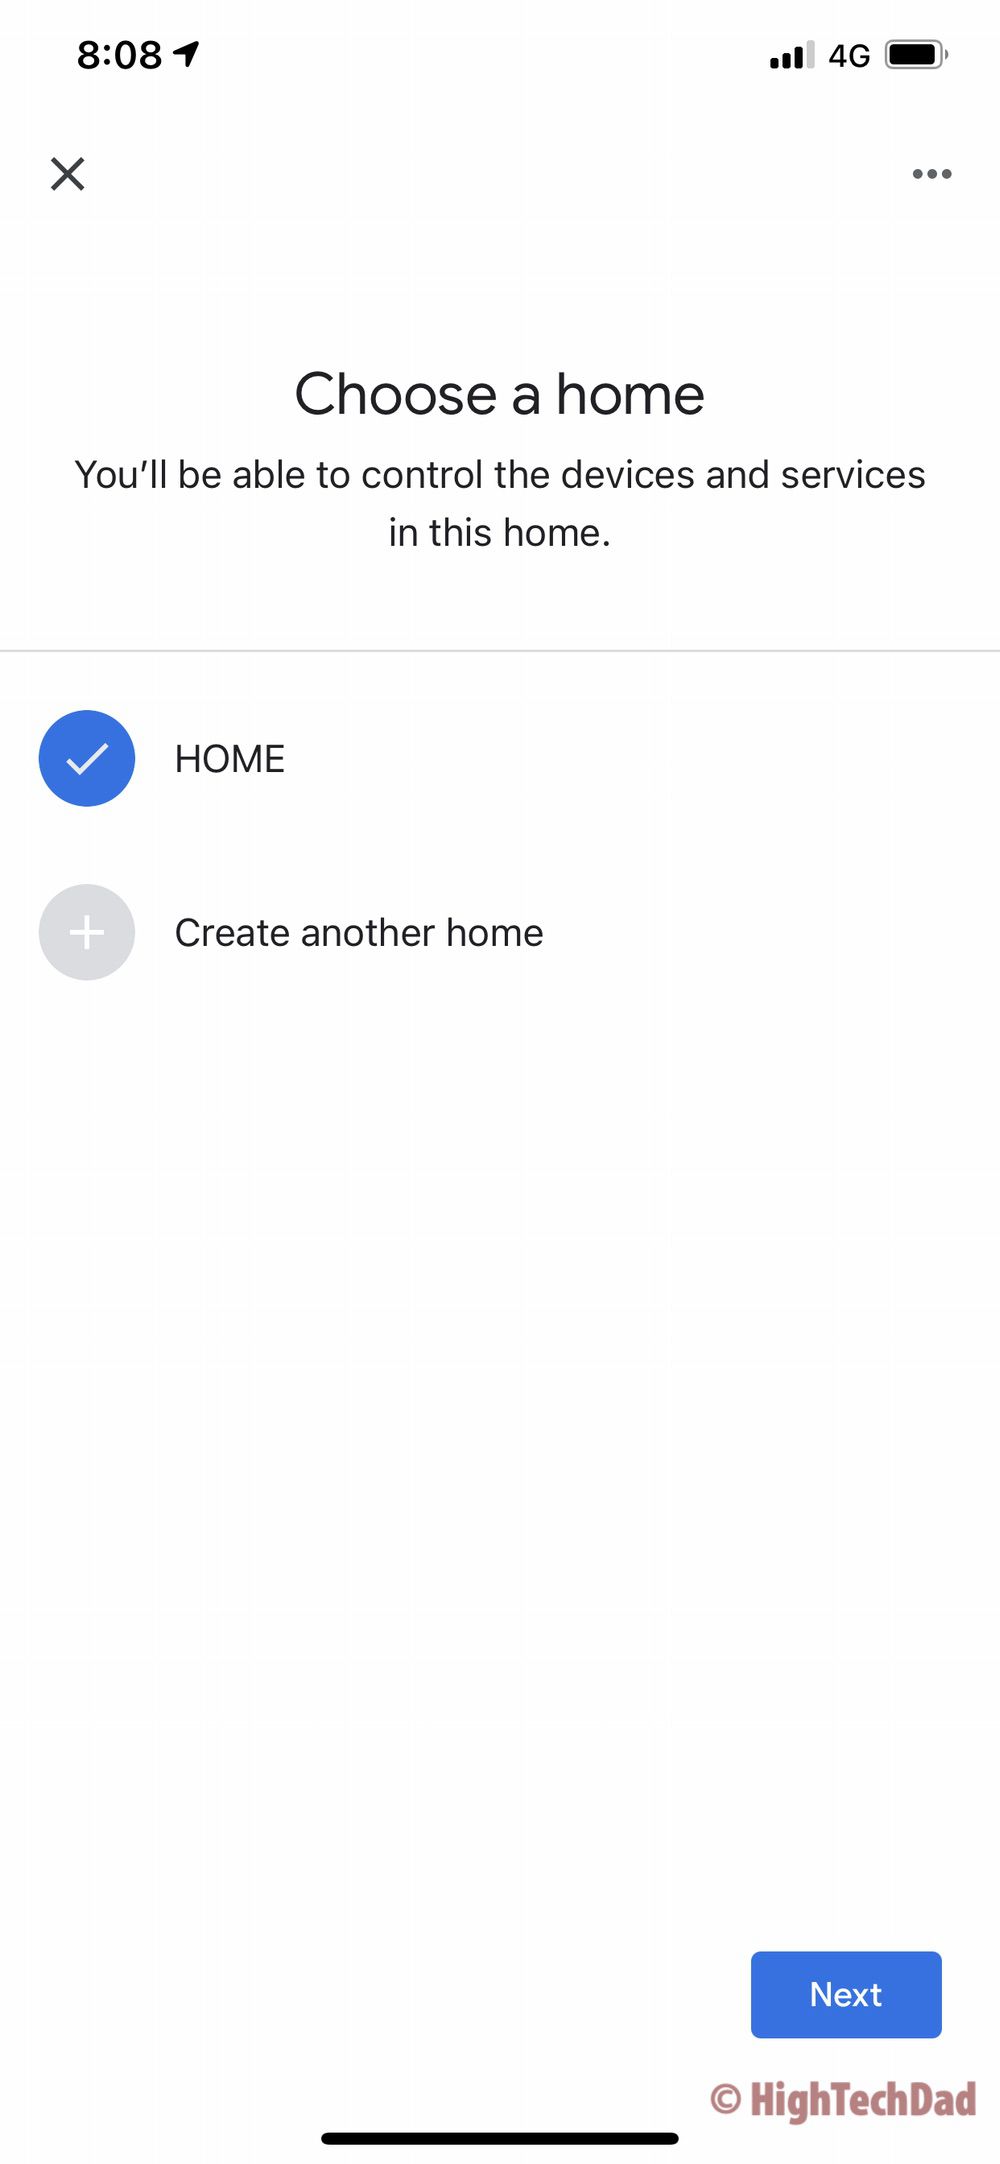
Clicking on “Set up new devices” is the way to go here. Next you choose where the device will live, in my case, my “Home.”
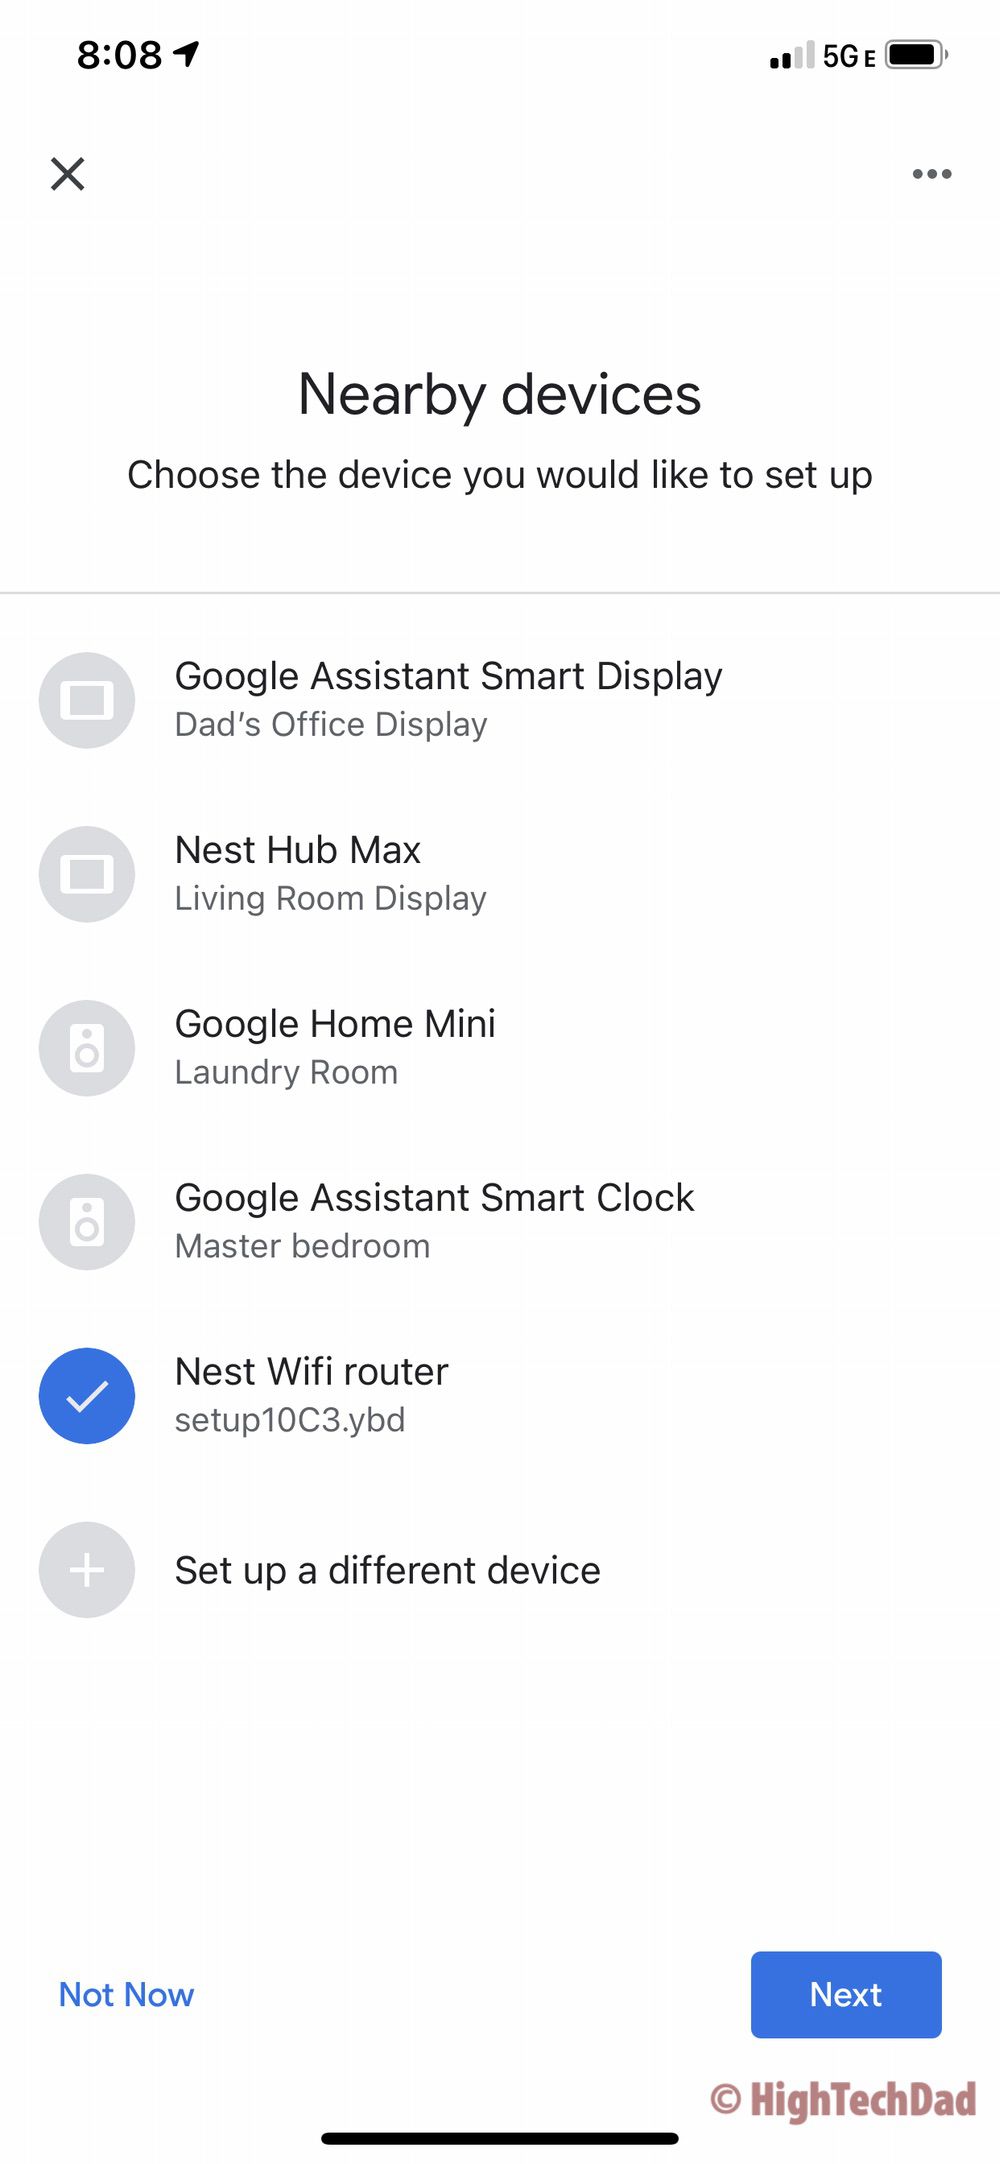
Then Google Home starts its “Looking for devices” dance of objects. Then, anything it discovers shows up in a list. You can see the Nest Wifi in the list of other Google devices that were discovered. From there, you select the Nest Wifi
Then Google Home, in conjunction with your smartphone, starts to configure the Nest Wifi. You do need to have your smartphone close to the Nest Wifi. I believe behind the scenes, it connects first via Bluetooth then via an Ad Hoc WiFi connection, but I could be wrong. I put my faith in the hands of the Google engineers!
There are some more wizard screens you need to go through – one around turning on stats for the Wifi router and point and one related to Nest Wifi cloud services. Supposedly, by sending anonymous usage information, this can improve the products over time and analyze your network. I figured I’d help out.
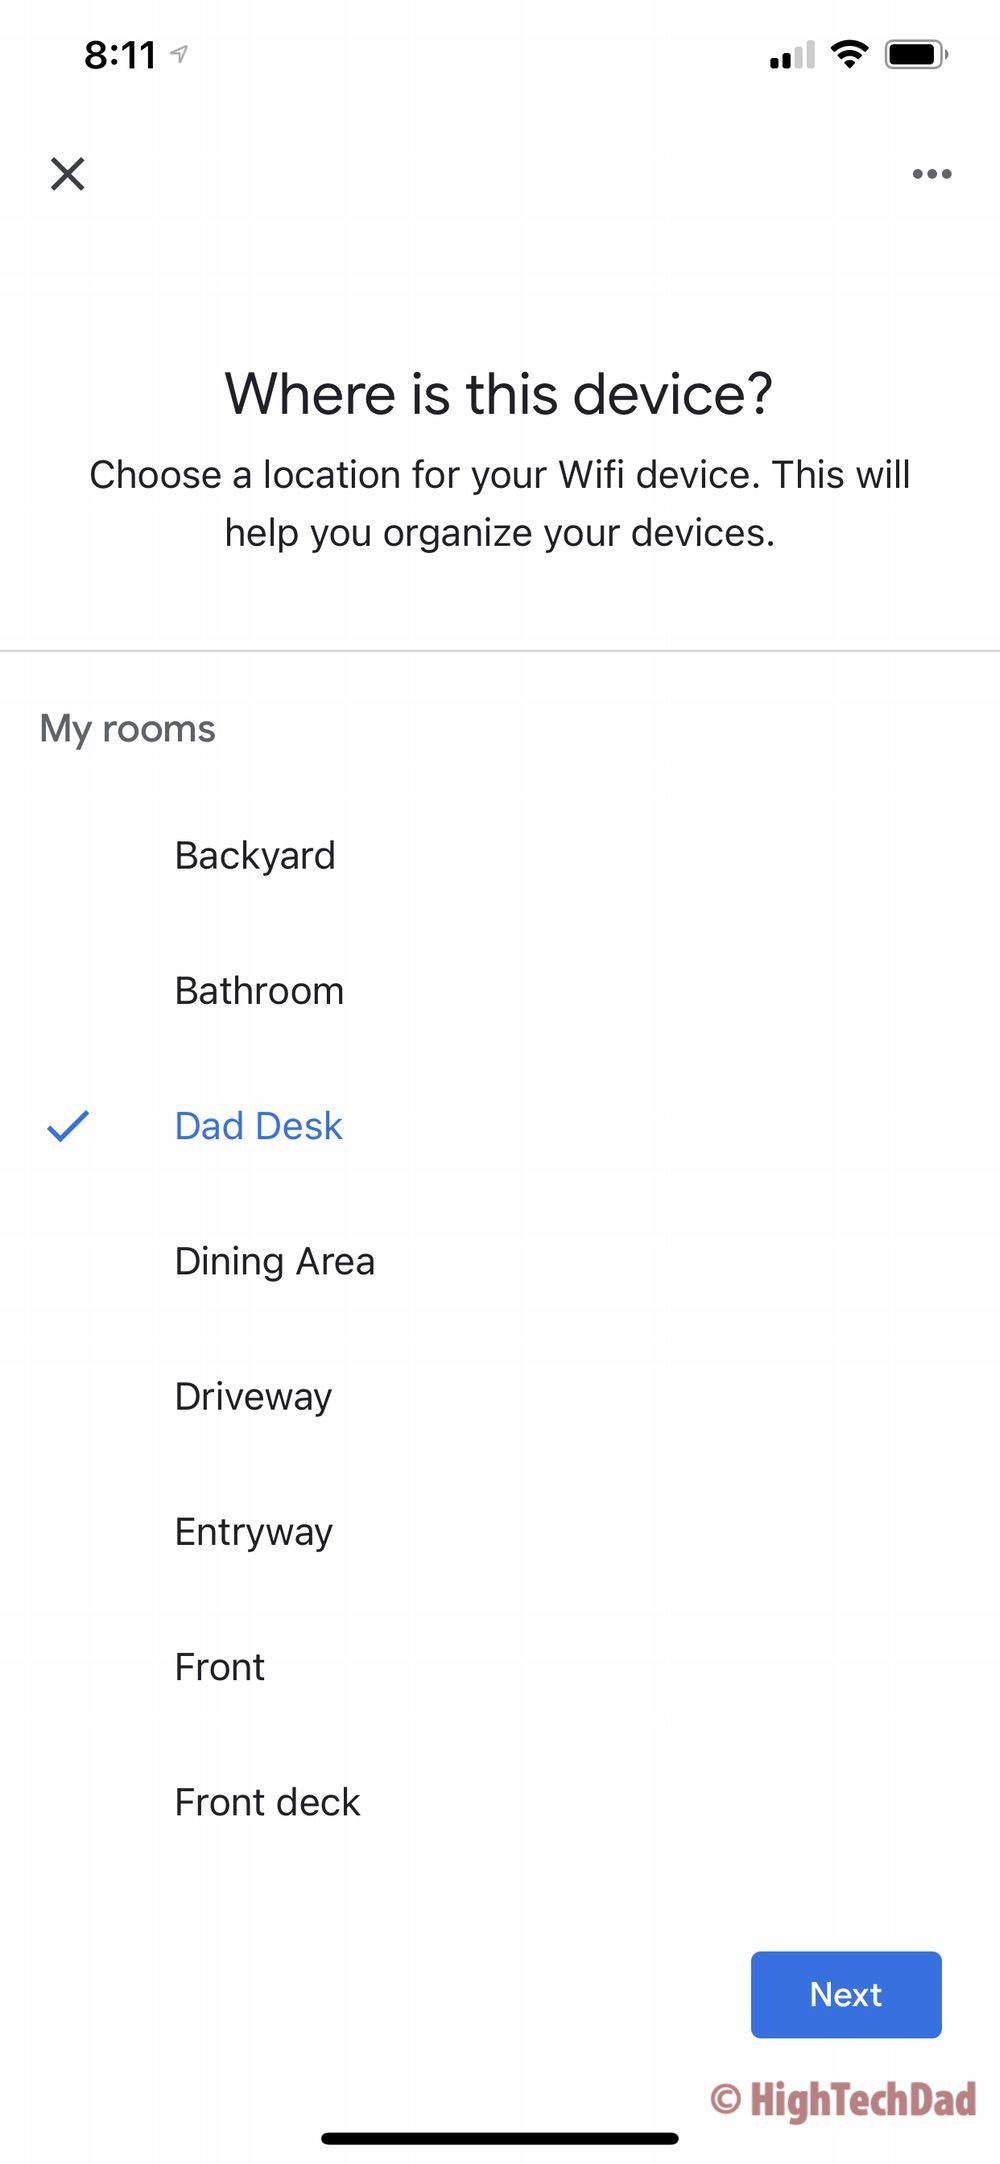
Next, you say where you will be placing the Nest Wifi. I wanted mine close to where I work (and this is where my fiber comes into the house), so I set it to my desk (I also have some other configured items there).
Now it was the moment of truth. Would the simple wizard be smart enough to get my network up and running? Below are the images of that step of creating the Wifi network, having it FAIL (yes, I started to freak out), checking my Wifi on my iPhone, and then the results of retrying the process (it WORKED!).

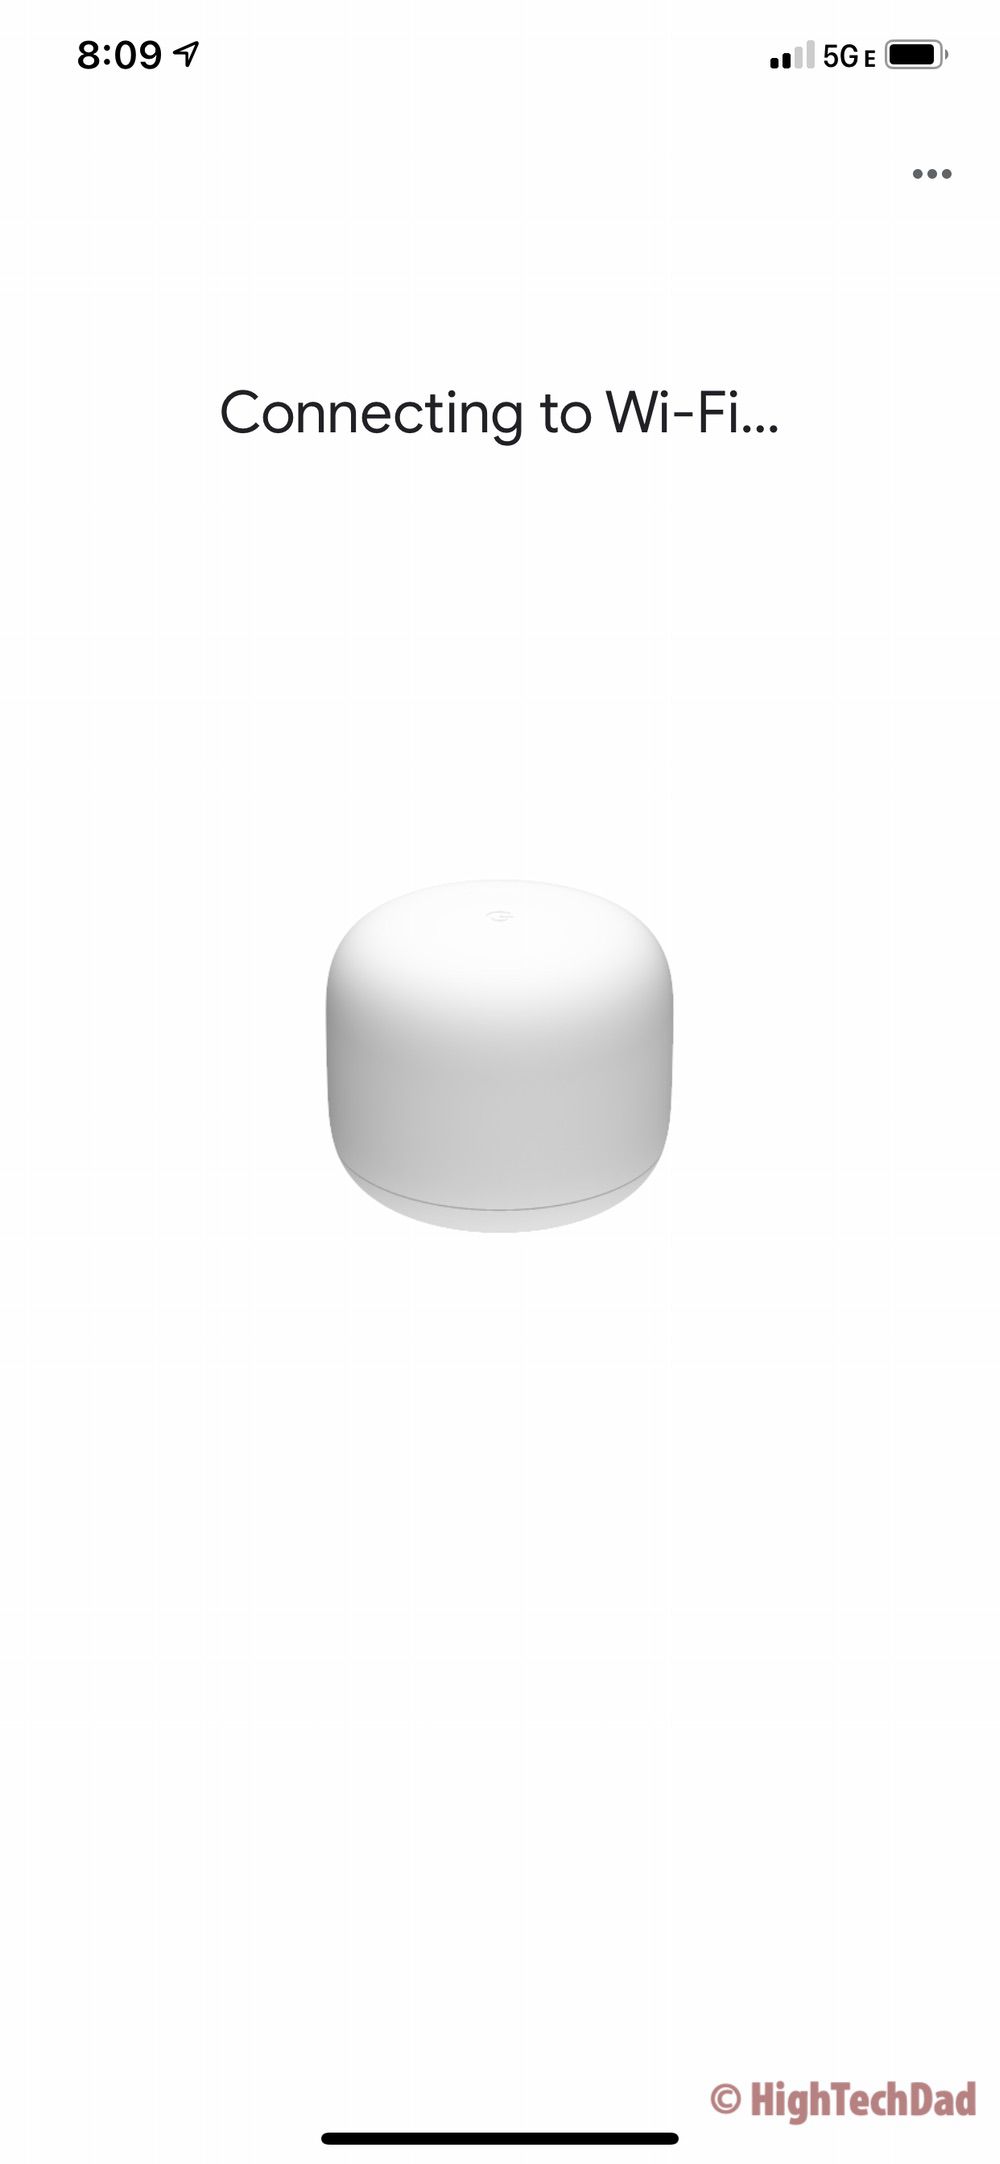
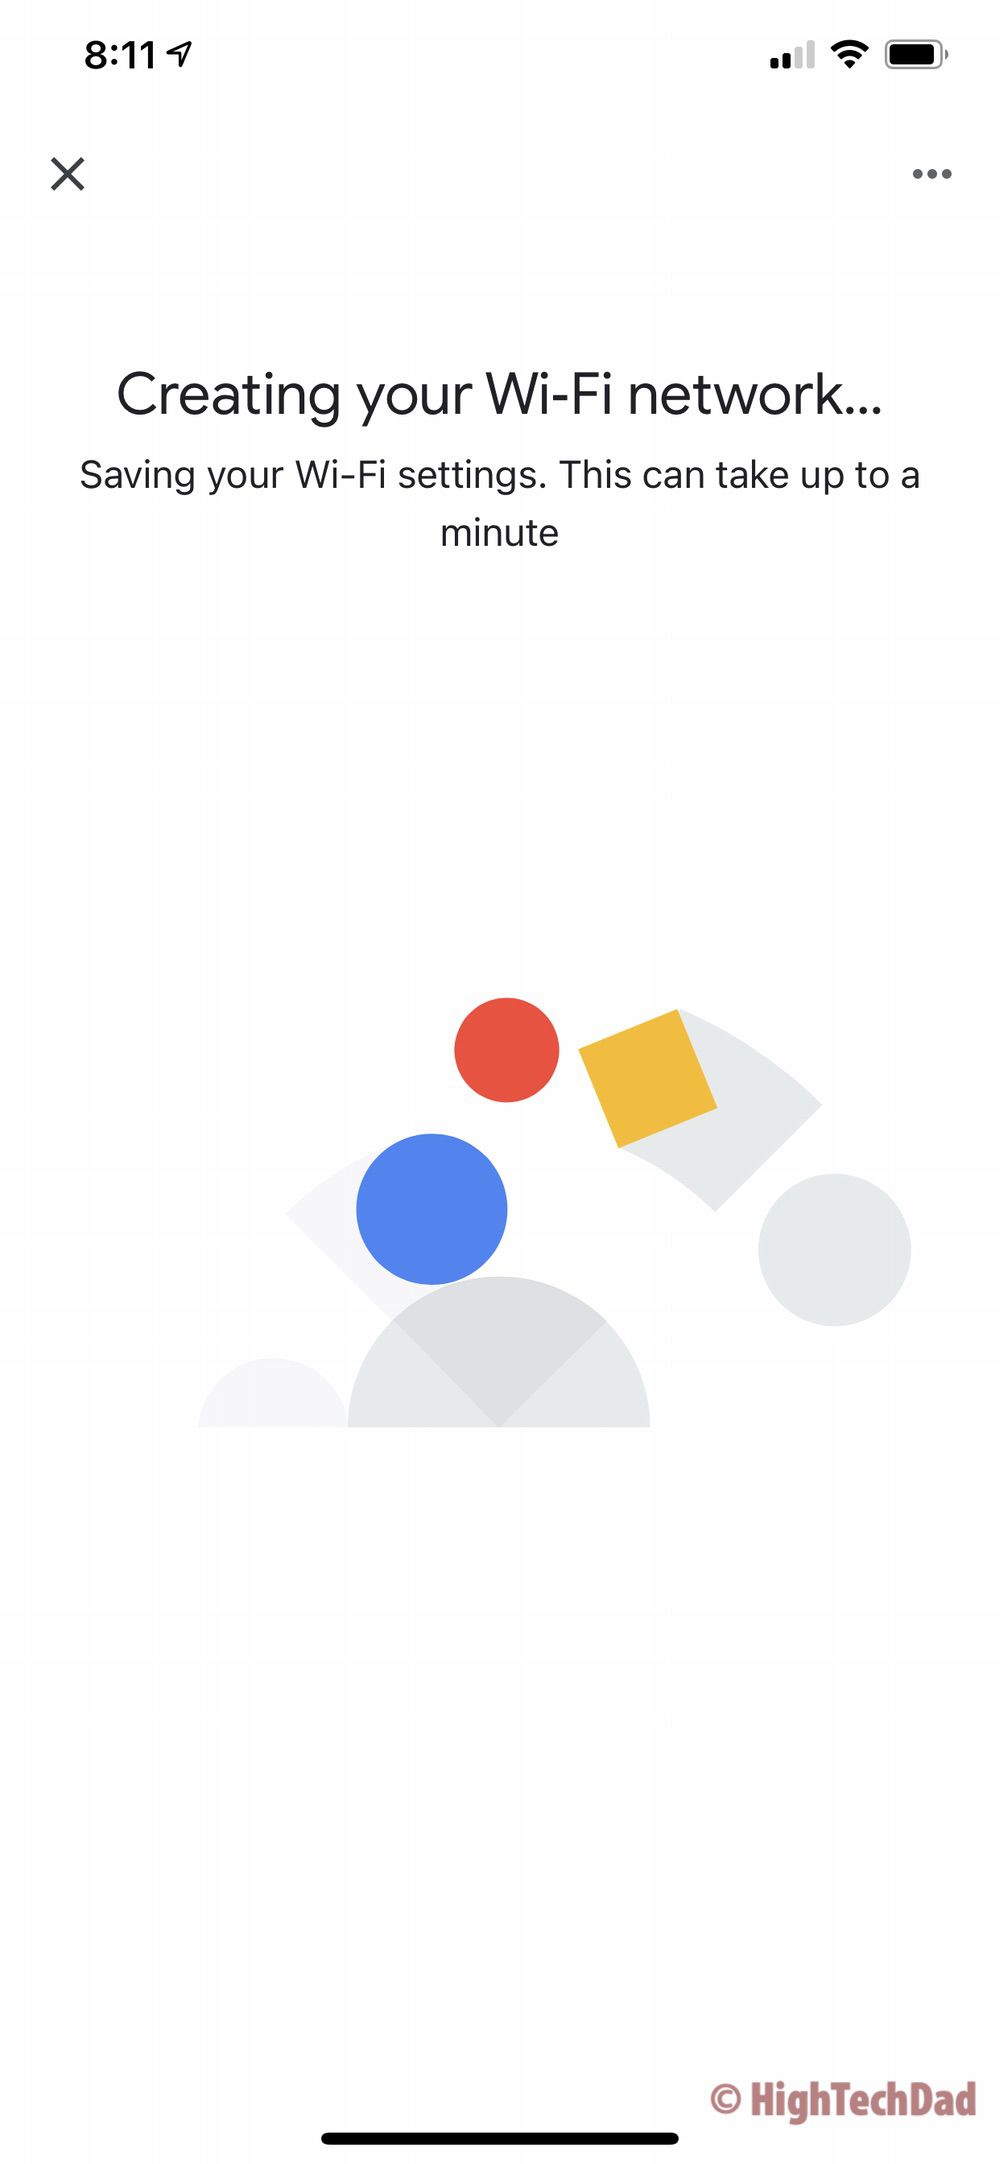
creating WiFi network -
Fail! Nest Wifi’s first attempt -
iOS Wifi – no internet connection -
SUCCESS! Wifi network created
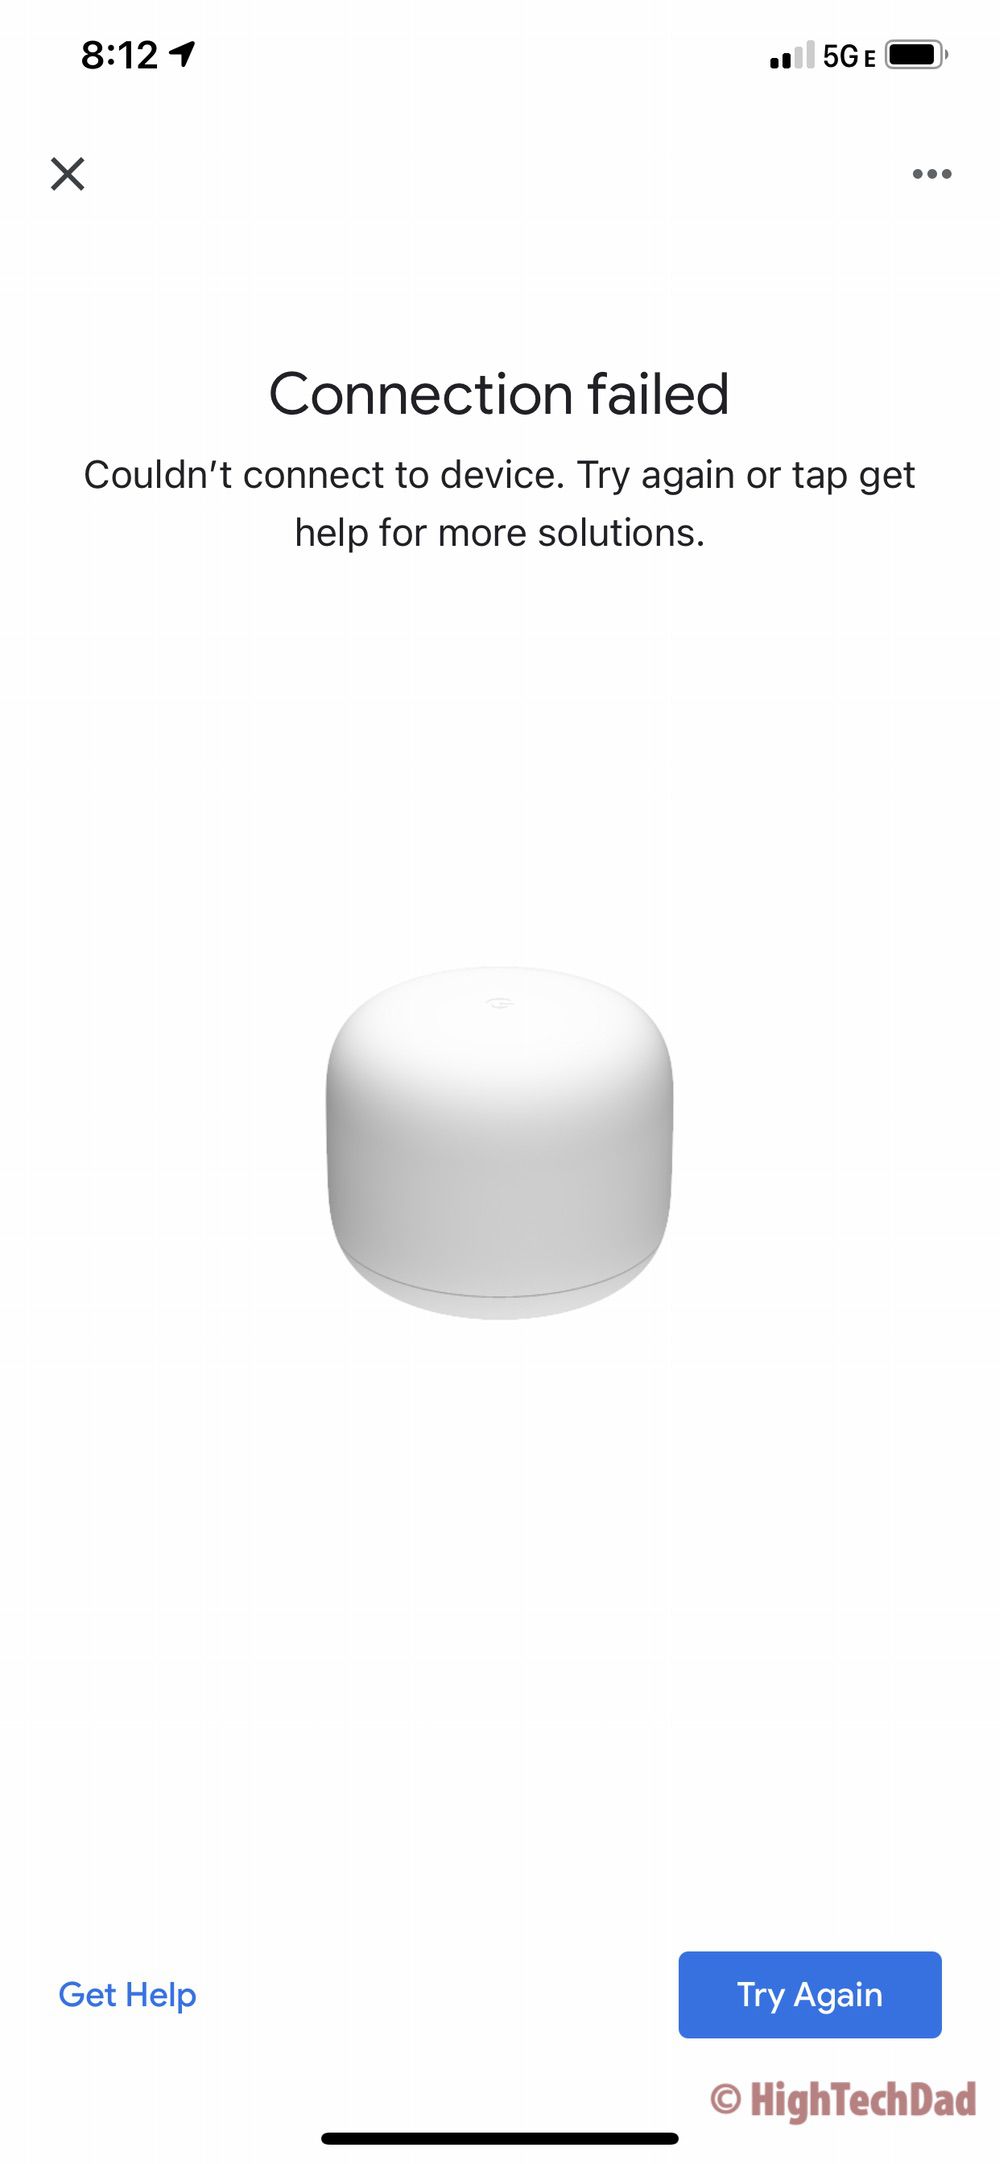

My heart skipped a beat when the set up first failed. But a quick retry got it up and running very quickly with absolutely no issues. So much for my contingency plans and having my family freak out on me. So the next step was to set up the Nest Wifi Point. I kept the Point close to the Nest WiFi Router for this step. I figured I could move the Point later once it was connected.
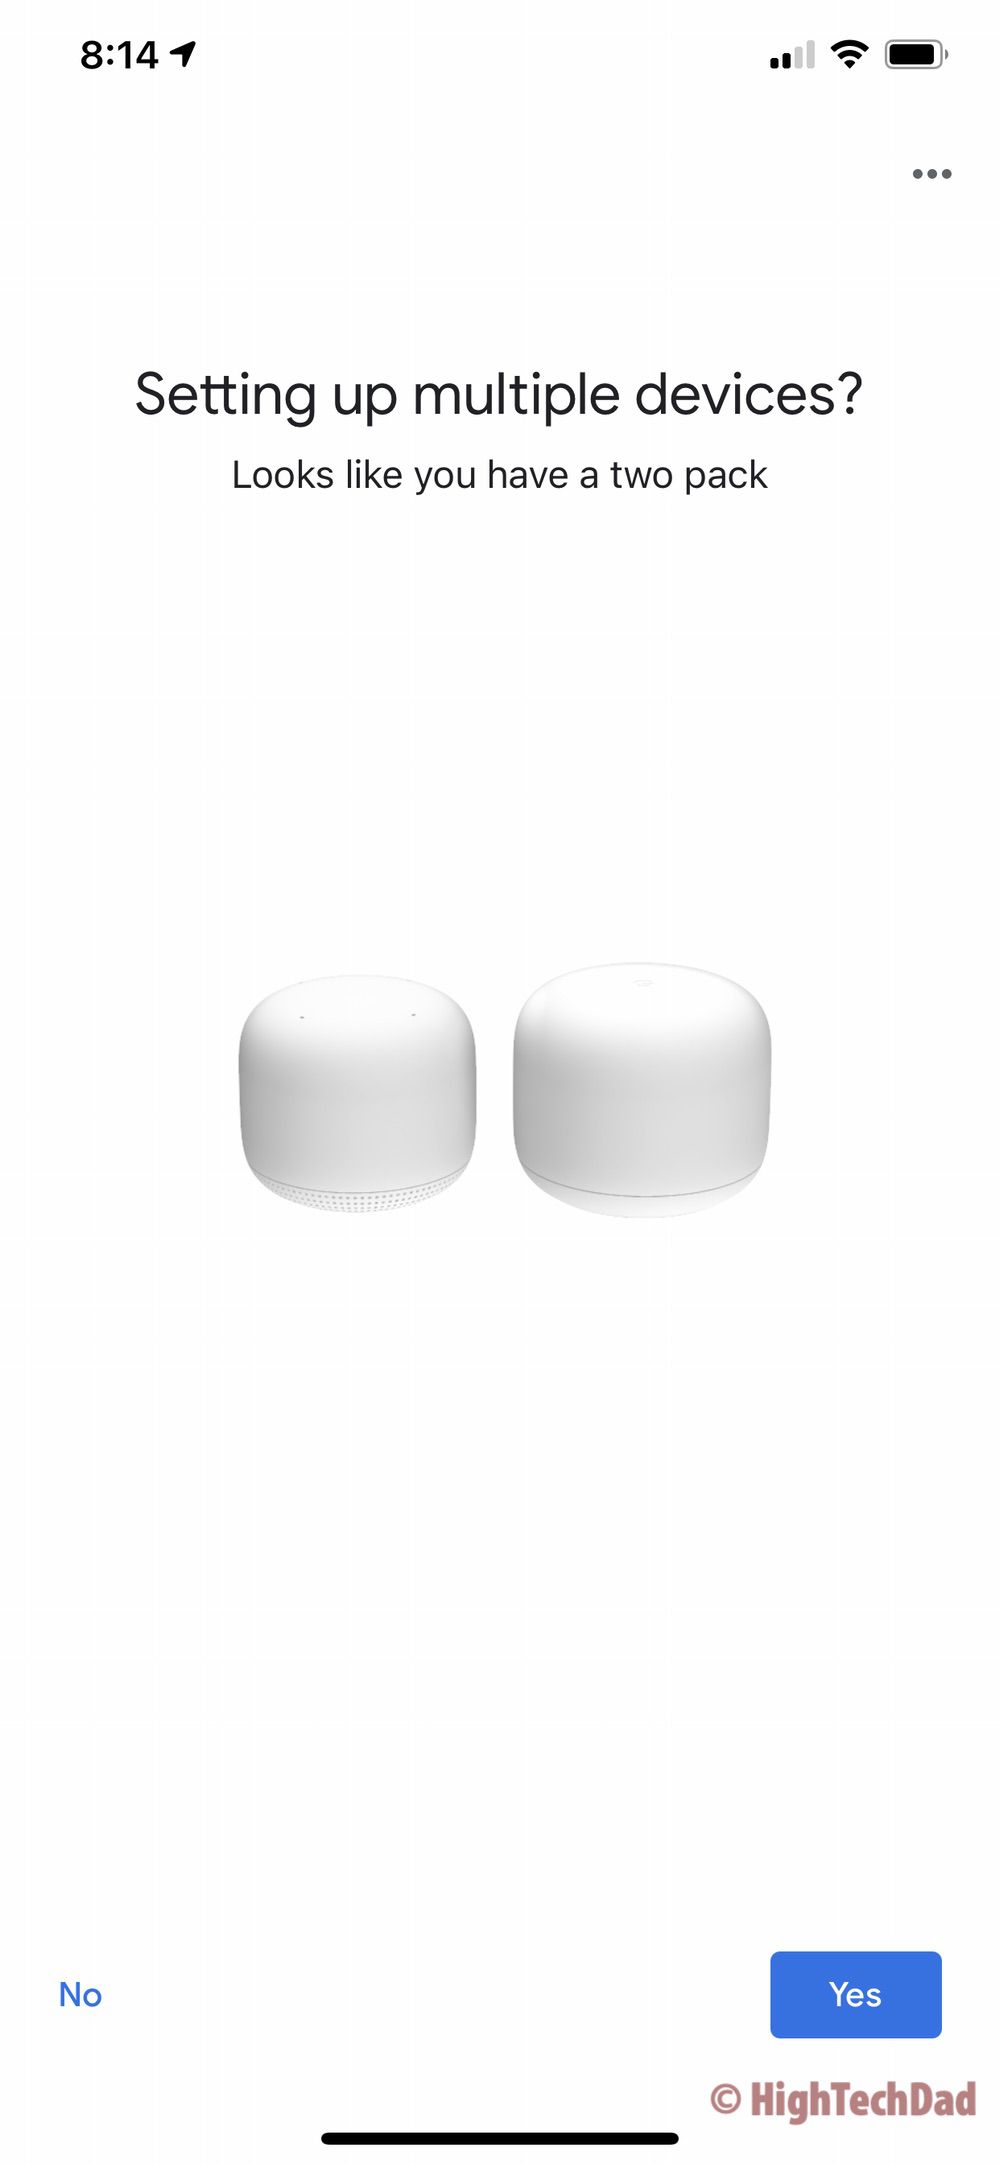
The amazing thing was, Google Home knew that I had a “two pack” (router and point). So it immediately went into setting up that. There are a few walk-through screens that I will skip from showing, but basically, Google Home takes you through the WiFi point setup. It will automatically discover it (hopefully) and will then move into “mesh mode.”
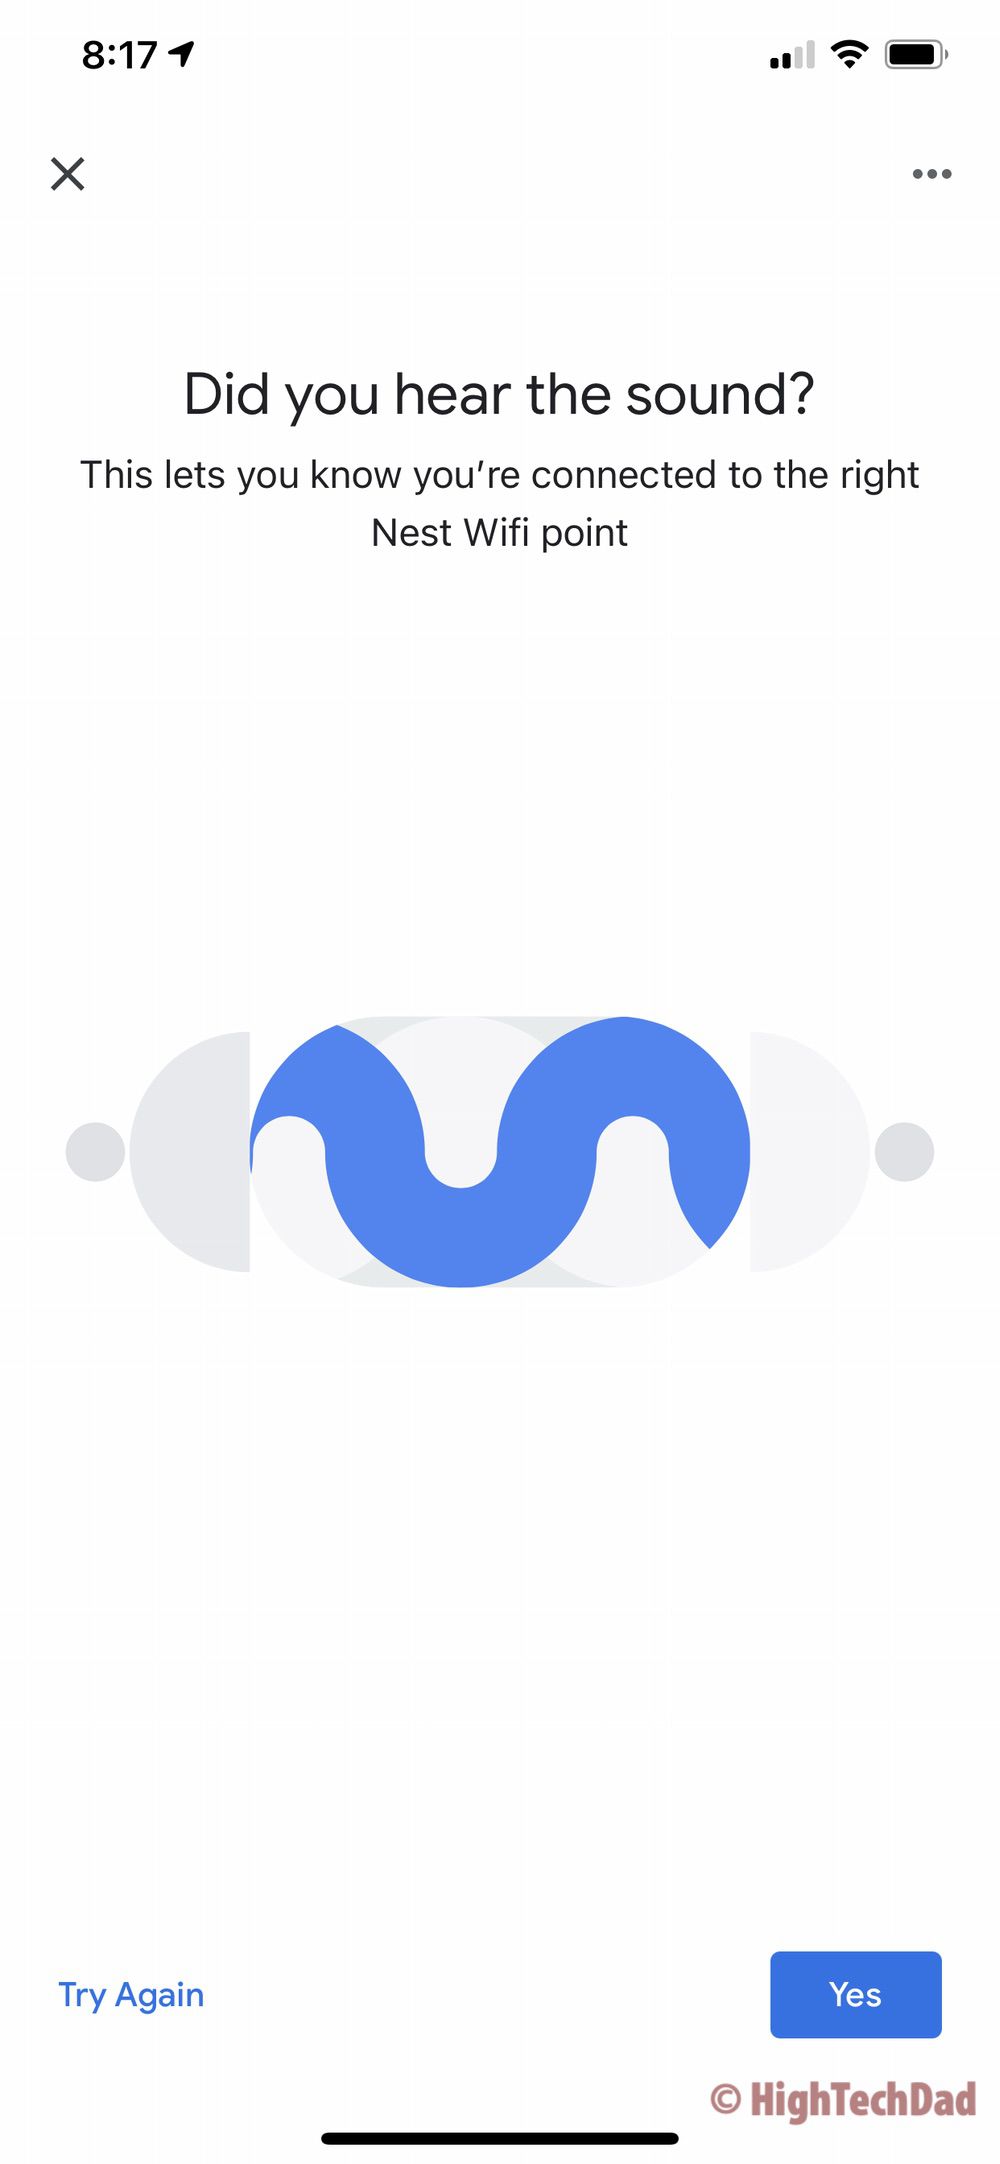
Since the Nest Wifi Point is also a speaker, you may get prompts along the way, including a tone to ensure you are connected to the proper Point.
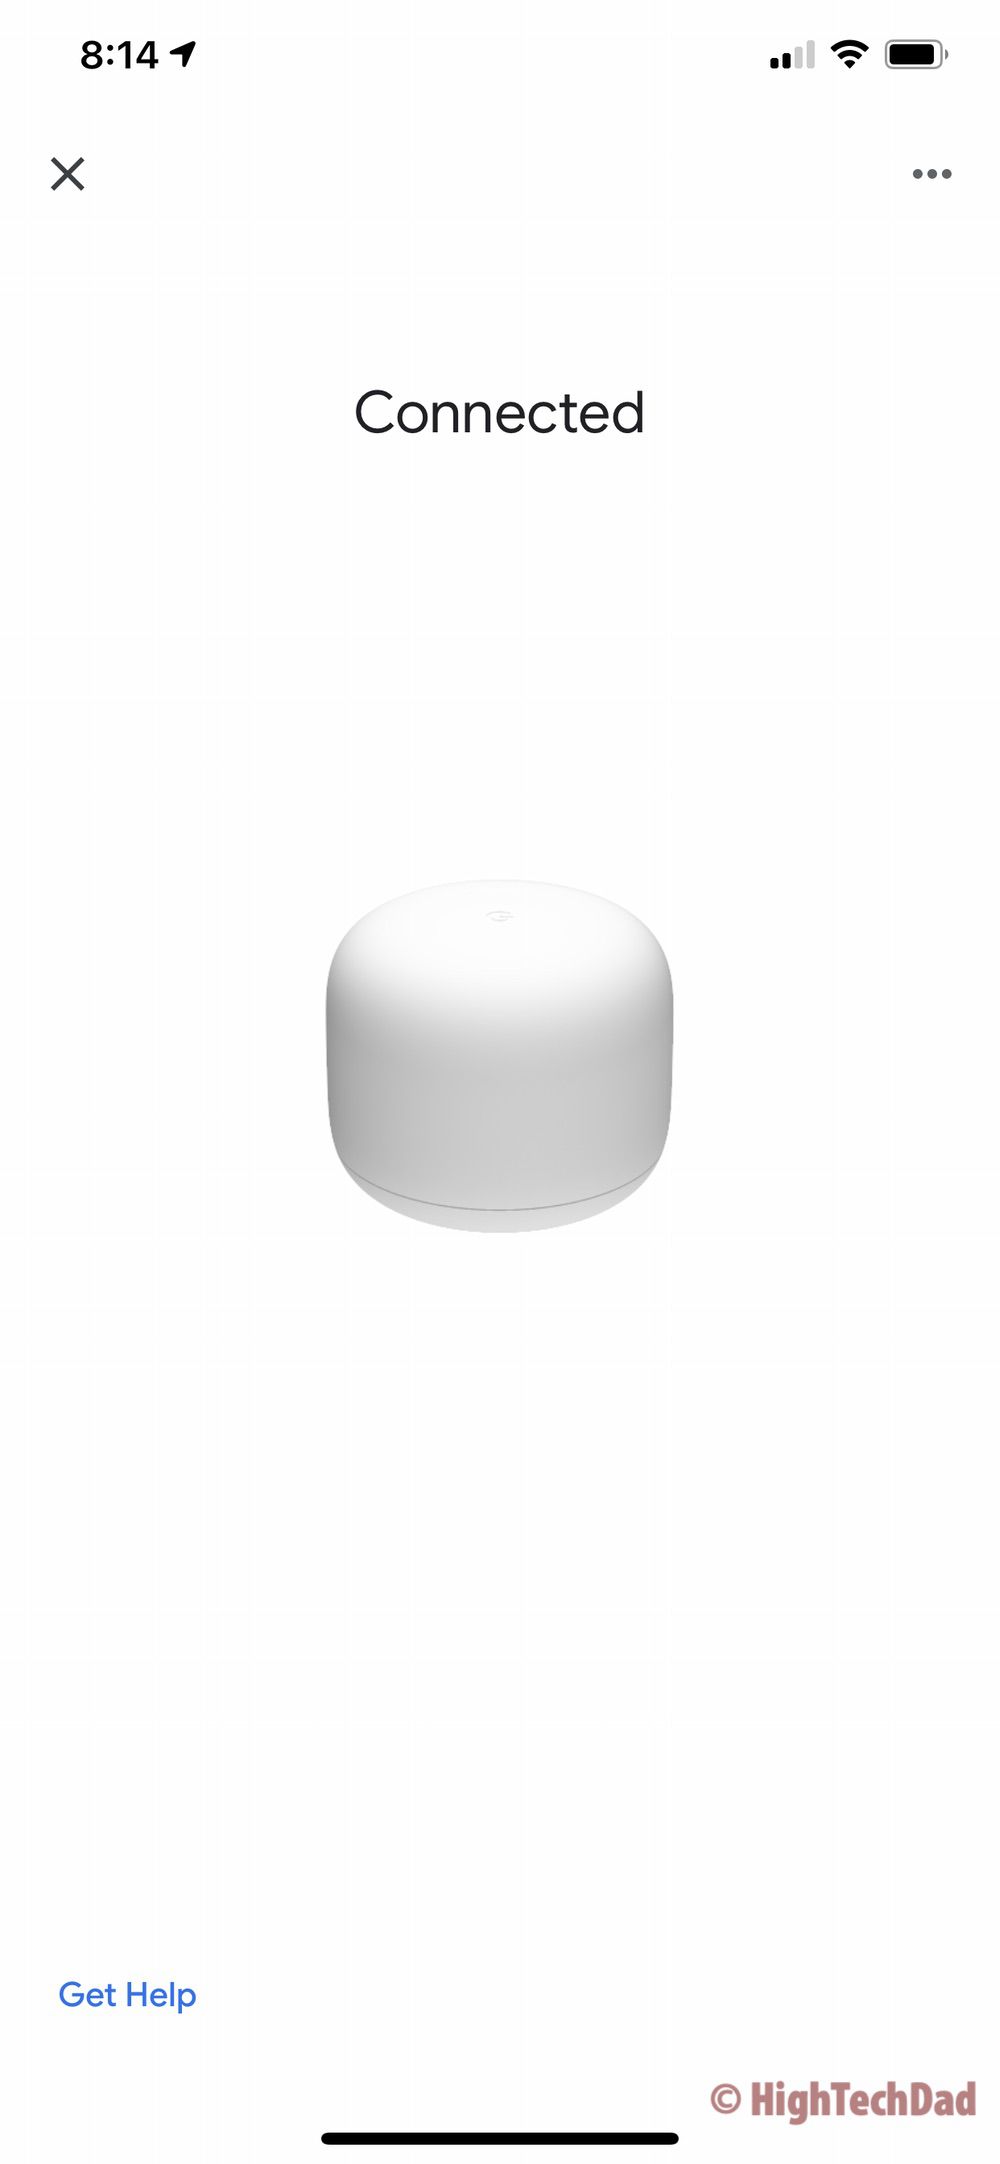
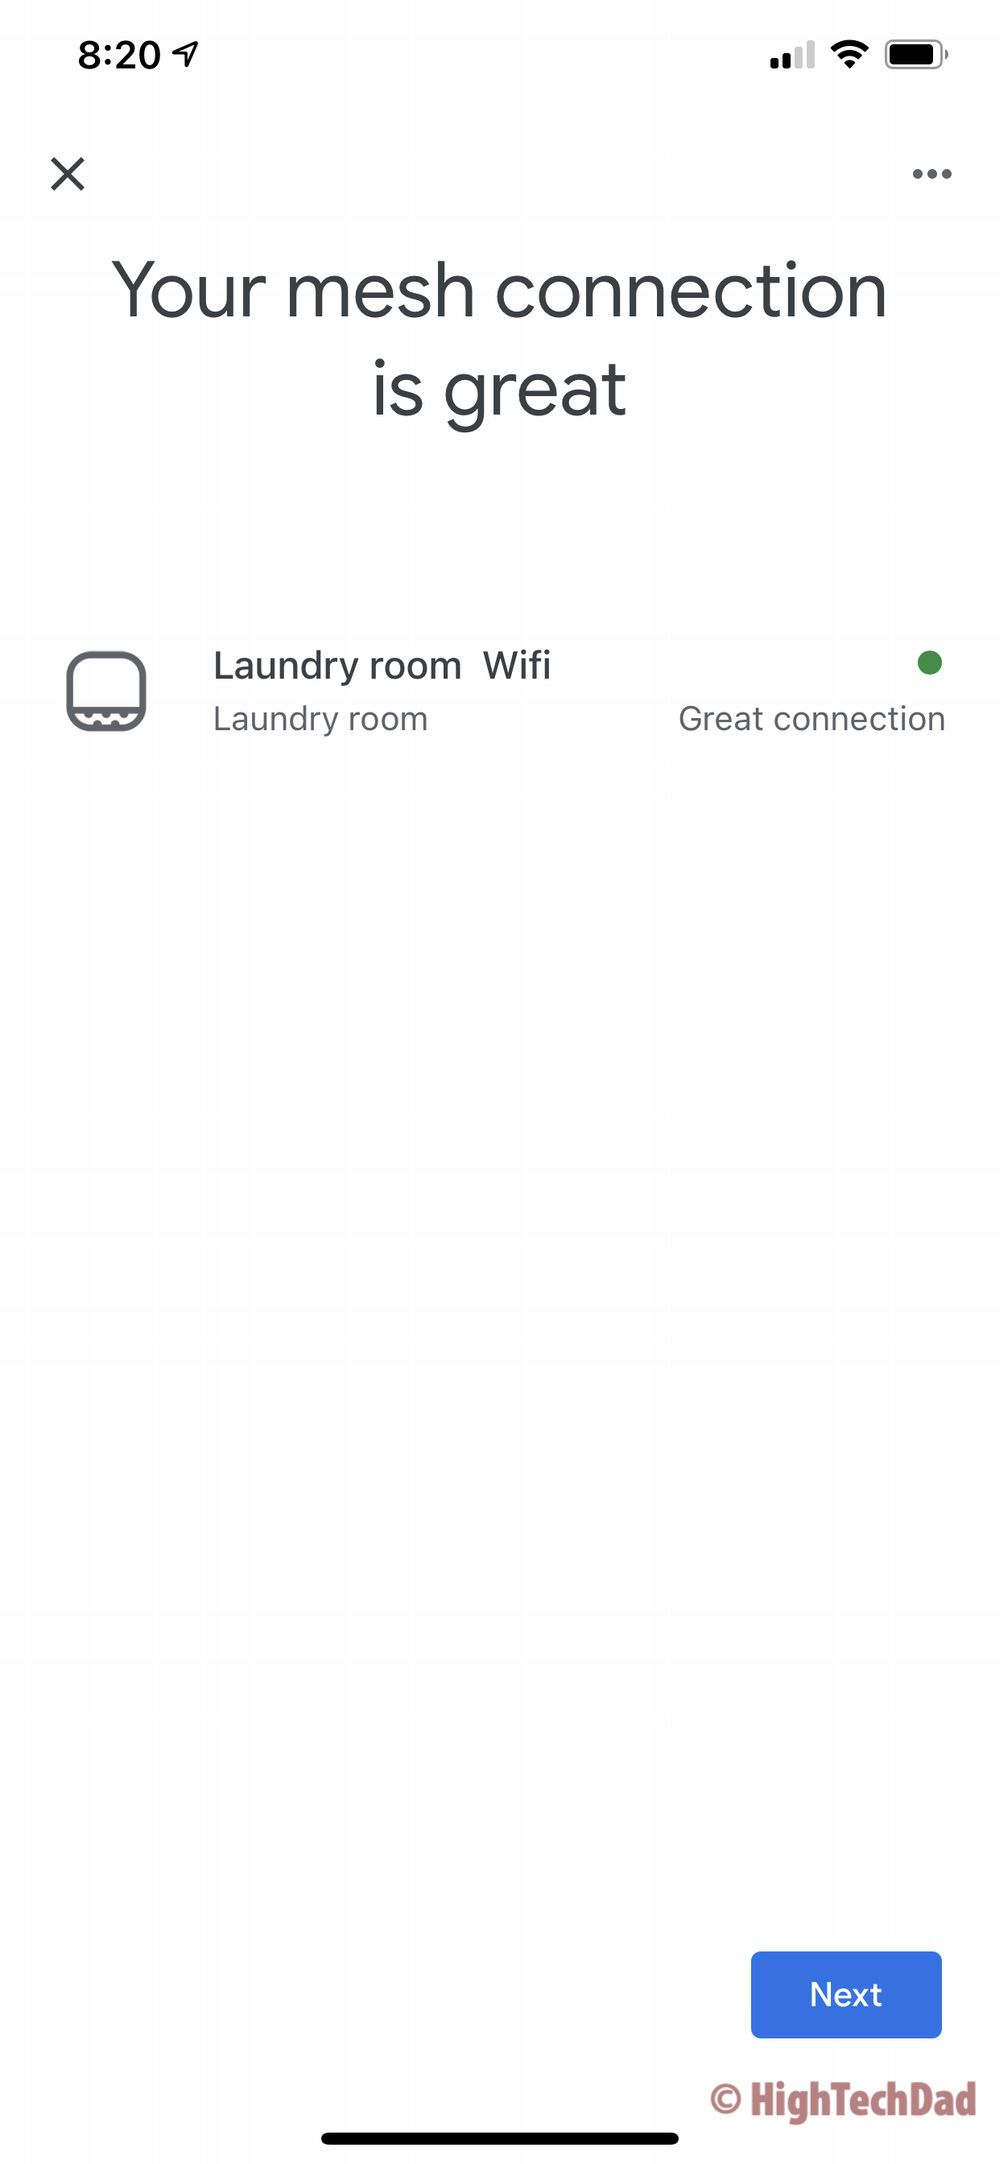
Once it is connected, it will test the connection and provide you with the results. Since I had my Point very close to my Router, the connection is “excellent.” Note, once I moved it to my desired location, the mesh connection changed to “very good” because of walls and distance.
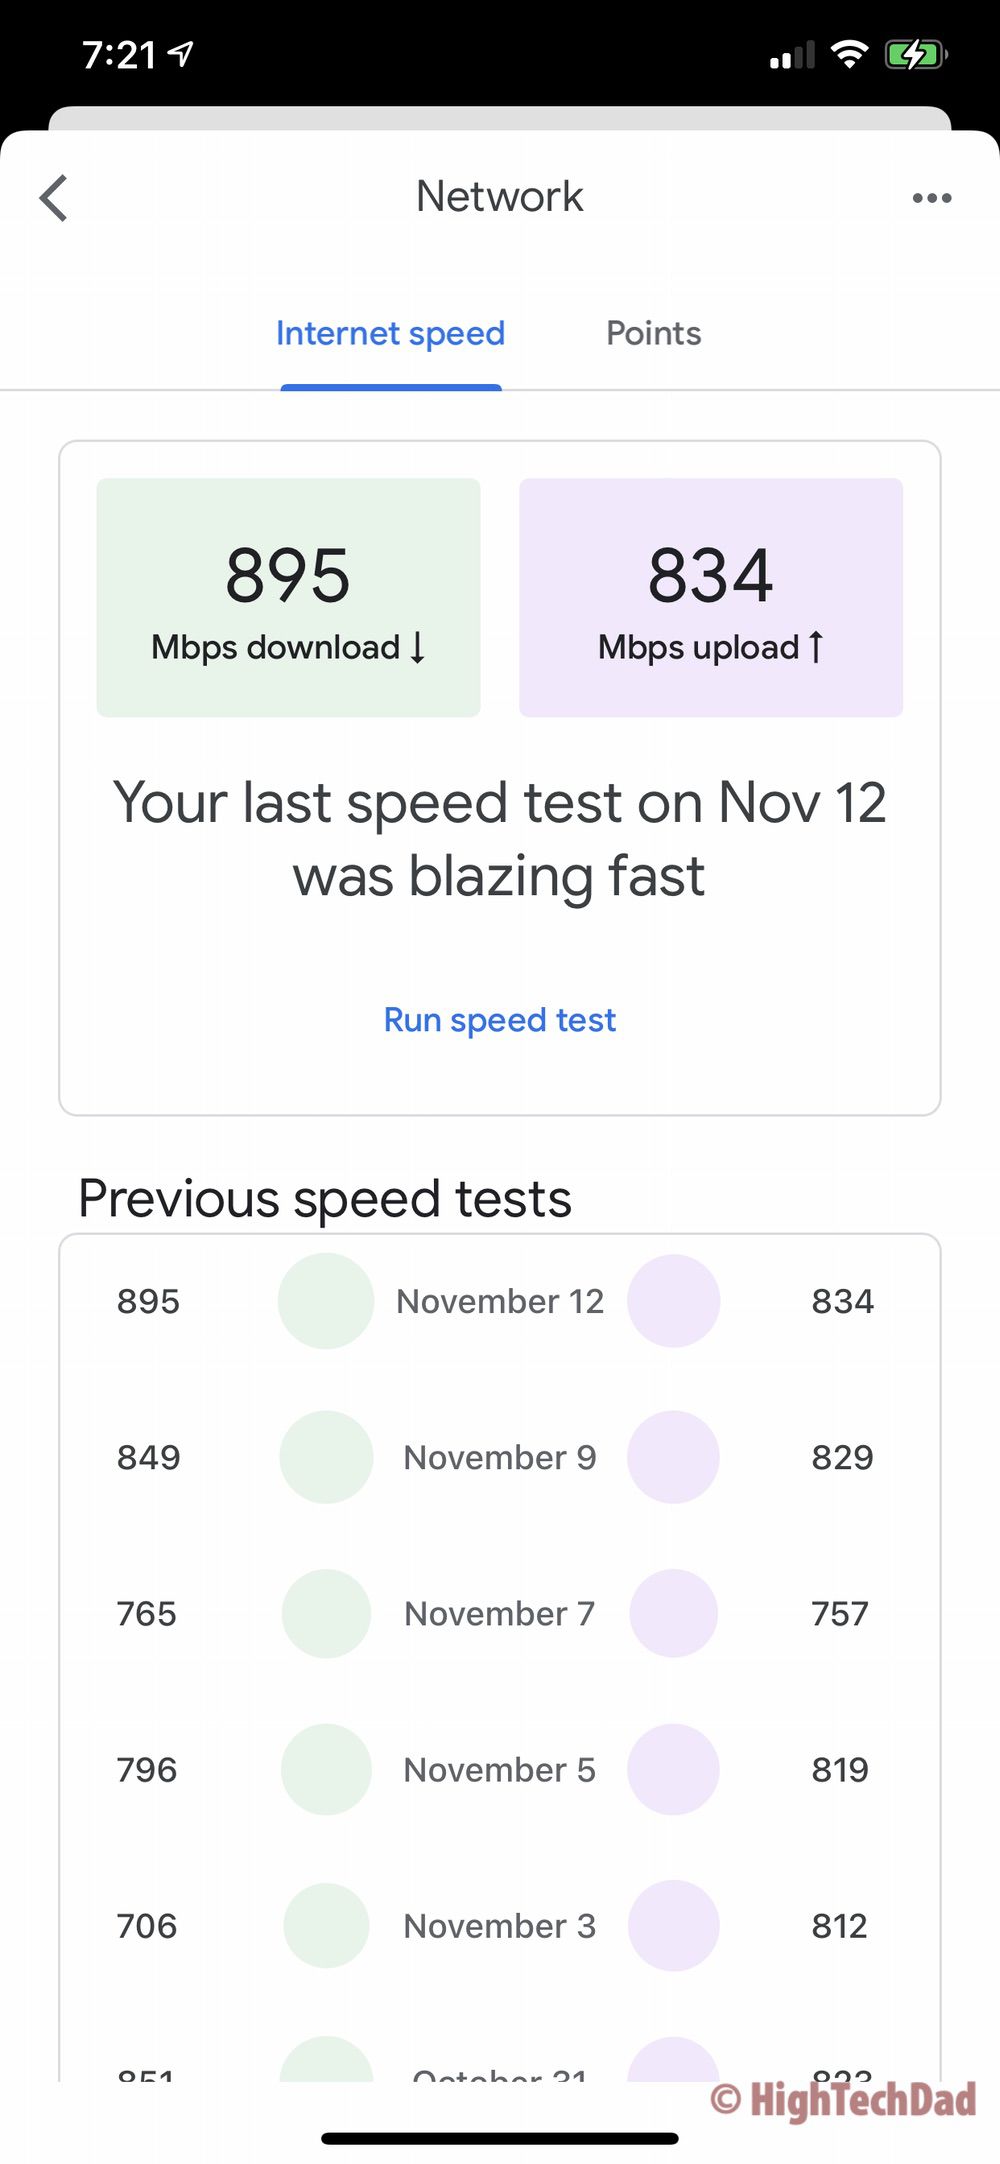
You can then test your download and upload speeds (which is always really fun when you have a 1GB up and down fiber connection). I was told 873 Mbps download and 816 Mbps upload – “Blazing fast,” according to Google Home. So I breathed a sigh of relief. I had successfully (and quite easily) set up my Nest Wifi router and point without any issues!
I recently ran some more speed tests through Google Home and everything seems to be fairly consistent which is great!
That’s pretty much all there is to the setup process. While I’m not a huge fan of set-up wizards because I like to see exactly what I am configuring, there is no other option with the Nest Wifi (much like other Google products). But, I have to say, the setup worked, and it was easy!
Google Home Updated for More Wifi Configurations!
Recently, there was an update to the Google Home app, which now actually makes me quite a bit happier. Before, if you wanted to even get close do doing any slightly advanced configurations of the Nest Wifi, you had to use a different (older) Google app called “Google Wifi,” which was designed for the older Google Wifi routers.
Now, with this recent update to Google Home, if you click on the Wifi icon and then click on the gear icon, you can actually “geek out” a bit more on some of the configurations. Apart from the usual Network Name/Password, Guest Network, Privacy, and even using WPA3, you now have the ability to configure DNS, WAN, IPv6, DHCP IP address reservations, Port management, and even putting the Nest Wifi router into Bridged Mode. (Note: if you do put the router into Bridged Mode, you will lose Mesh capabilities – kind of defeats the purpose).
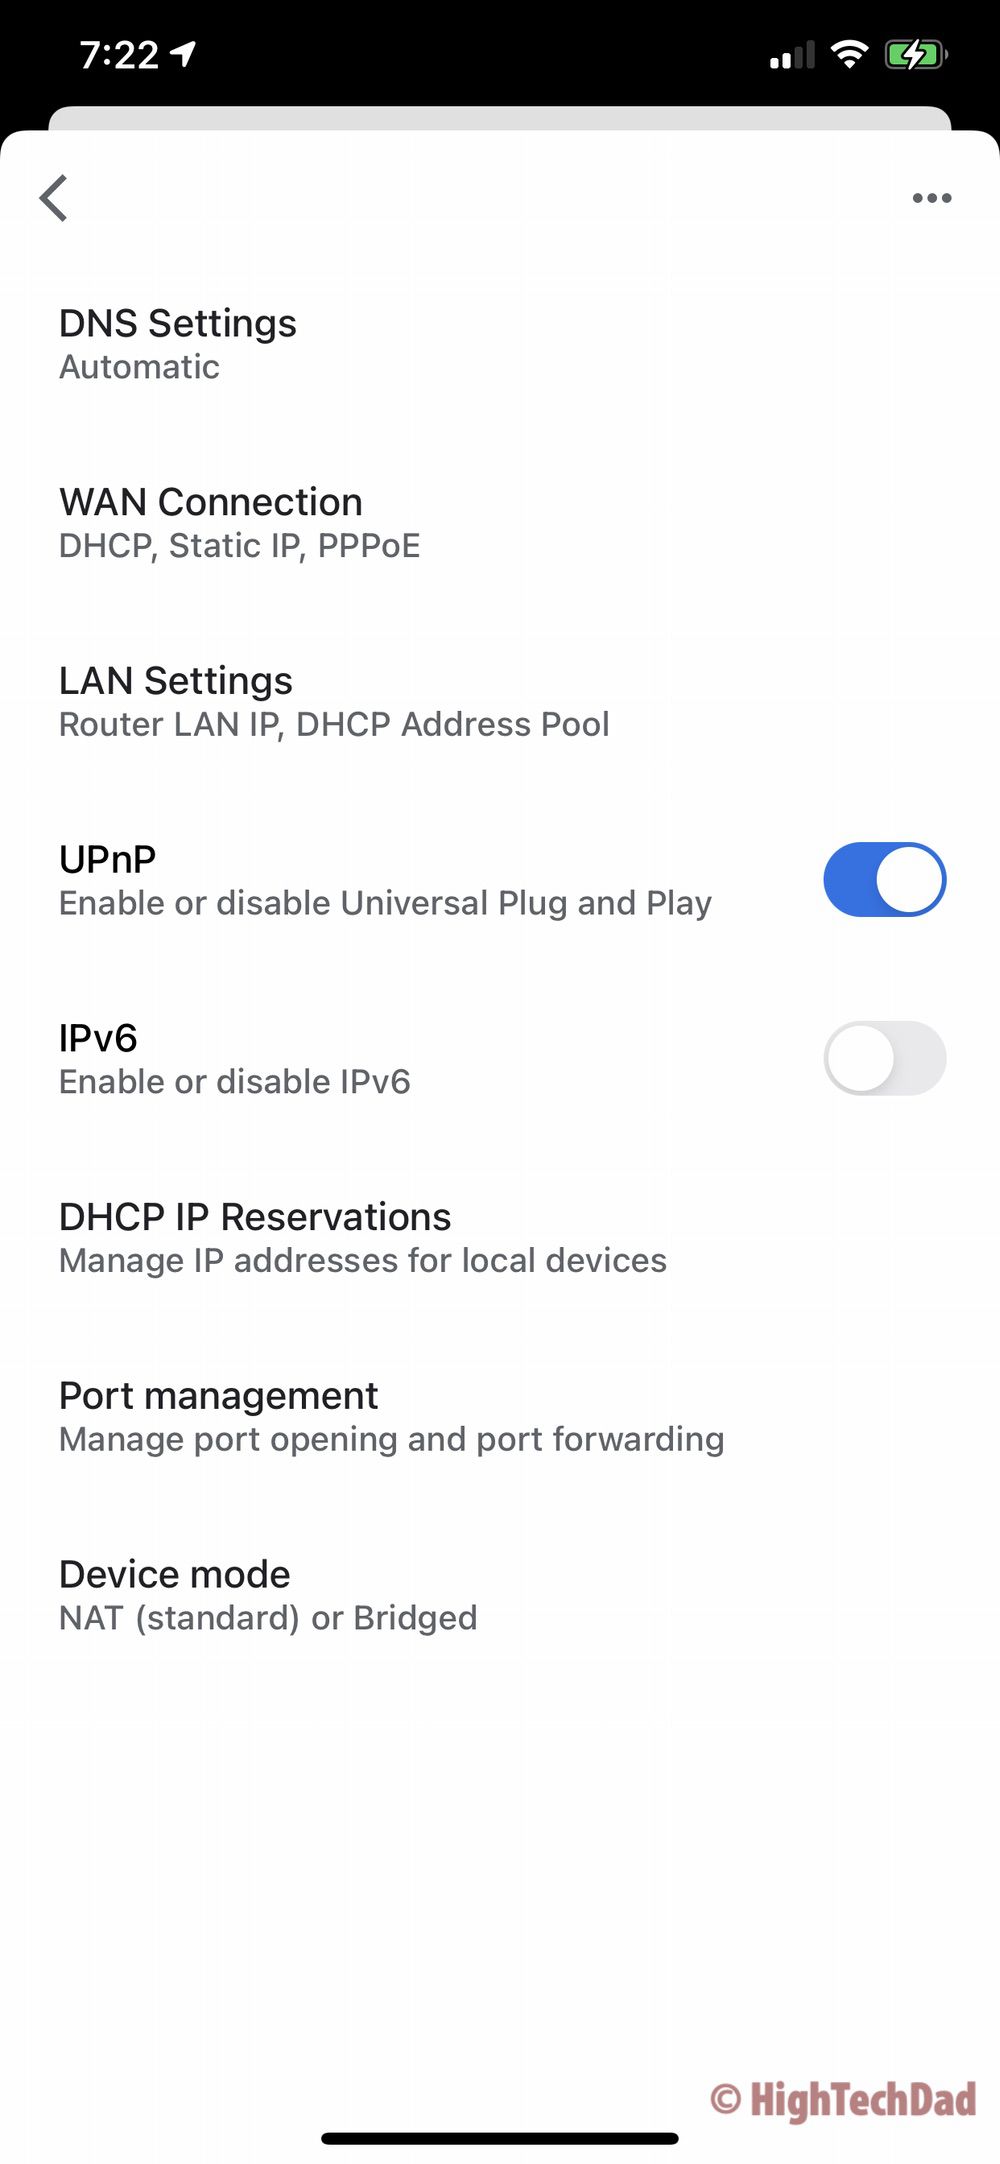
So, this was a great little software update which allows me to have a little bit more control.
Final Thoughts on Nest Wifi Router & Point
While I was a bit nervous about adding something I didn’t have too much control over into my network, I was quite pleased with how well thought out the Nest Wifi router, and point setup actually was. So much so, I would recommend it fairly highly. If you have never set up a Google smart product before, you will have extra steps of creating a Google account, configuring Google Home, and understanding how that works.
However, if you are familiar with the Google ecosystem, you will know how easy it actually is to set up a Google smart product. The Nest Wifi is no exception to this.
I have found the performance to be great, especially when I am close to the router or point (close being 50 feet or so). Your Wifi devices will (hopefully) connect to either the router or the point based on signal strength. Within the Google Home app, you can prioritize a device’s connection for a few hours (let’s say your kids need to stream a video for school), and then that prioritization is released after the set time.
However, I have found a low coverage zone out in my back yard. Unfortunately, it is around my fire pit, where I like streaming videos on my iPhone. I believe that my iPhone connects to the point or the router but then has trouble deciding which one to stay connected to. And sometimes, my videos buffer or stop. It’s quickly corrected by just disconnecting Wifi on my iPhone and reconnecting. It could also be resolved if I got another router or even a point and set it up closer to my fire pit area.
Oh yeah, one last thing. Remember, the Nest Wifi Point is also a speaker the fully supports Google Assistant! And, the sound quality is amazingly good if you remember that the point is mainly a Wifi device!
Anyway, the Nest Wifi comes in many different purchasing configurations:
- Router only – $169 / Amazon: $169
- Router & Point – $269 / Amazon: point not currently available
- Router & 2 Points – $349 / Amazon: point not currently available
- Point only – $149
- 2 Routers – Amazon: $299
One quick note when you are shopping for the Nest Wifi router…don’t get it confused with the older Google Wifi router, which looks more like a stack of hockey pucks. The new Nest Wifi is more round.
Shop on HighTechDad
The product shown below (and related products that have been reviewed on HighTechDad) is available within the HighTechDad Shop. This review has all of the details about this particular product and you can order it directly by clicking on the Buy button or clicking on the image/title to view more. Be sure to review other products available in the HighTechDad Shop.
-
 Nest Wifi$153.75

The price point is actually quite comparable to many high-end Wifi (only) routers and several mesh Wifi systems out there. And you have to remember that you integrate the Nest Wifi into your smart home. So while you can’t actually say “Ok Google, set up my Wifi,” as I suggest in the title, you can tell it to test your network download speed by saying, “Ok Google, what is my network speed?” Blazing fast, in my case!
Disclosure: I have a material connection because I received a sample of a product for consideration in preparing to review the product and write this content. I was/am not expected to return this item after my review period. All opinions within this article are my own and are typically not subject to editorial review from any 3rd party. Also, some of the links in the post above may be “affiliate” or “advertising” links. These may be automatically created or placed by me manually. This means if you click on the link and purchase the item (sometimes but not necessarily the product or service being reviewed), I will receive a small affiliate or advertising commission. More information can be found on my About page.
HTD says: While it is often nice to get into the nitty-gritty details of configuring a Wifi router, the Nest Wifi mesh router and point take away much of the complexity, making it a snap to set up, configure, and use. And it’s a smart device too!
HighTechDad Ratings
-
Ease-of-Use
-
Family-Friendly
-
Price Point
-
Features
Summary
While it is often nice to get into the nitty-gritty details of configuring a Wifi router, the Nest Wifi mesh router and point take away much of the complexity, making it a snap to set up, configure, and use. And it’s a smart device too! I was a bit nervous in setting up this mesh Wifi router from Google Nest mainly because I am used to having full configuration of the WiFi routers I have used in the past. Also, I had read about issues related to the fiber modem and router I was using due to reports of reduced bandwidth and other issues.
However, the setup and configuration using Google Home were easy and straight-forward. And, with recent updates to Google Home, there are more configurations options now available. Bandwidth and throughput on our Wifi network have been equal to or better than previous Wifi routers I have used in the past. And the coverage, because of the mesh, has been better. The price point is right in line with other mesh routers as well as other higher-end Wifi routers. And this is a “smart” Wifi router, fully integrated into the Google Home and Google Assistant ecosystem.
Pros
- Easy setup and configuration
- Google Assistant-enabled and smart home-enabled
- Good sounding speaker (for the mesh point)
Cons
- Sometimes drops signal when on the fringe or between router and point
- Can’t “geek out” on every configuration of the router


3 comments
safe cruise parking
I love cruise parking with a touch of art and culture. It’s a creative way to infuse the parking experience with a sense of destination before even setting foot on the ship.”
steve weiner
One quick question for you your article was great I’m waiting for my Google router and point to come in I have a modem router through my cable company Spectrum, did you have to turn off the Wi-Fi in your bundle after installing the Google equipment or did you leave it running.
Thanks,
Steve
Michael Sheehan
Hi Steve – I always disable the WiFi on the cable company-provided router. And, wherever possible, I try to disable the DCHP on that router. However, because AT&T fiber is a bit finicky about things, I left it active on the fiber modem. The Google router was able to handle it. I was a bit worried about a double NAT situation but I have not encountered any issues and am pulling down 800-900 Mbps up and down. Good luck!