
There is no magic wand nor process that can help you fix issues on your Mac. However, there are some general tactics you can follow to solve your Mac issues potentially. And, while I’m going to go into some items in this How-To article that are specific to Apple and the Mac, the generalized tactics could be used on a PC or even a mobile device to some extent. The techniques here are relatively high level, but they are processes that I personally follow.
Remember, there is pretty much always a solution to Mac (or PC) problems. How you approach them depends on your expertise level and how confident you are. But often, an error you encounter might actually be caused by something completely unrelated or incredibly obscure. And other fixes can be extremely obvious and straightforward.
But if you follow these “fix it” phases, you may become your own tech superhero and might not have to rely on a paid service to fix your Mac issues. I will make the generalized guess that this can help 80% of issues. It’s that 20% that makes you want to scream and pull your hair out.
Here are the main phases (I have some extras that I have added for good measure as well):
- Reboot
- Upgrade/Update
- Reinstall
- Refresh
- (Bonus) Maintain
- (Bonus) Wipe & Start Over
I will go through each of the phases you should follow. Yes, they are in a specific order, so try not to jump ahead until you complete the stage you are on. Warning, this is a pretty long article, but it hopefully has some useful information to help you get your Mac up and running smoothly!
I do hope this helps you become a tech expert!
Reboot
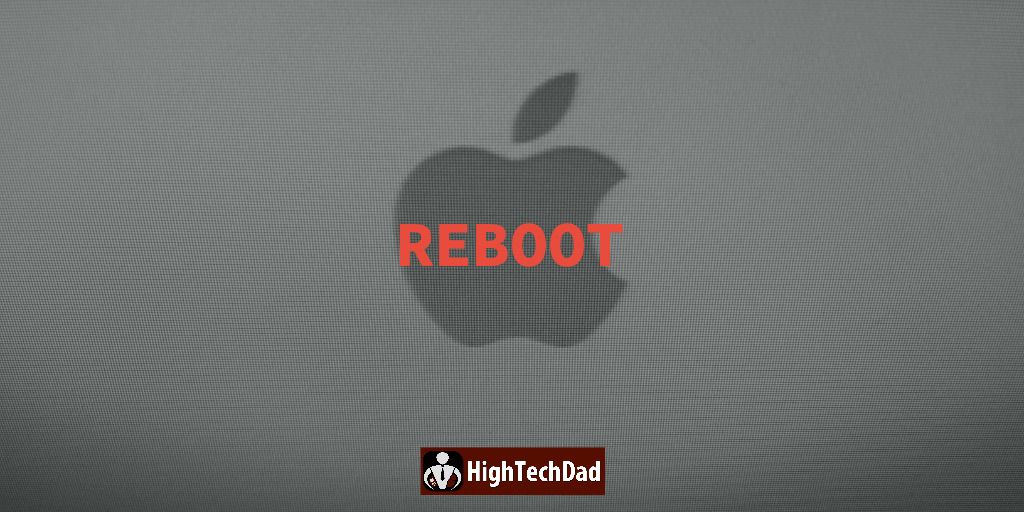
Rebooting is something that people always forget to do. And, the amazing thing is, this simple process of rebooting or restarting any device can actually do wonders for fixing issues. So, before you freak out, REBOOT.
Devices aren’t perfect. And the software that powers them is human-created as well, so by nature, they will have flaws. (See phase #2 for information about that).
Devices also have memory (RAM). RAM is different than storage (disk space). When you open an application, its functionality loads into memory so that you can interact with it. The more RAM you have, the better. AND, the more available RAM you have, the better as well.
The problem is, if you open up or launch many applications, those applications start to fill up the memory. And when the memory gets filled, those applications start competing for whatever memory is left.
Here’s a side tip, if you aren’t actively using an application, exit out of it. AND, don’t just click the red icon in the upper left corner. That simply closes the window. Go to the Application menu and choose Quit.
Sometimes, however, even quitting the application won’t free up memory. It could be used by some behind the scene process. Or it could be a memory leak. Or even a problem with the operating system. So, there is one sure way to clear out the memory and start in a better state.
Reboot!
I highly suggest you do regularly reboot your smartphones and tablets as well. You will notice that your devices will be a bit peppier.
Upgrade/Update
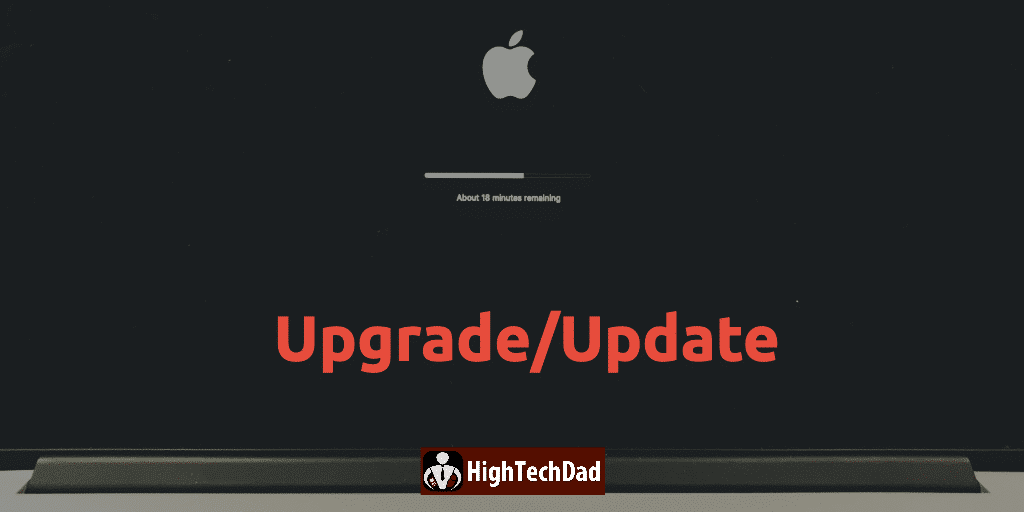
Another big issue that Mac users run into (and PC users as well) is outdated software or operating system. While I realize that regularly updating apps or even the macOS can be a bit of a pain, there are reasons why software updates happen.
As I mentioned, software and hardware developers are not perfect. Errors and bugs happen even to the best of us. So, developers and engineers regularly (hopefully) release updated versions of their software with new features as well as bug fixes.
If your application keeps crashing, one thing you should do is see if there is an update for it. Updating may correct the issues you are having. Or, it might not.
When it comes to the operating system, that is a bit trickier. Every year, Apple releases a new version of macOS. Microsoft does the same with Windows. These major new versions typically include fixes and enhancements. And often, there are security updates that are part of this, which is critical for you to install. Also, there are regular updates to the operating system between major releases (again mainly for bug fixes and security updates).
BUT, you might not want to upgrade the operating system immediately. Often, software is incompatible with newer operating systems initially. And these can be big names like Adobe or Microsoft.
I would recommend waiting a few weeks before updating to the latest and greatest macOS version.
ALSO, if you are a couple of MAJOR versions behind on your operating system, you may want to check to be sure that the software you currently have that works on your old version of your operating system will work on the new version. I know that older versions of Microsoft Office, as well as Adobe Photoshop, weren’t compatible with the latest version of macOS.
Don’t get caught by upgrading your OS only to find that you have to pay to upgrade your critical apps as well!
You may be able to get away with using a not-so-current version of the operating system just so that you can maintain compatibility with your existing software.
One last thing, make sure you have a complete backup of all of your files and data before you do an operating system upgrade.
Upgrading and updating your software and operating system can definitely help fix those problems you may have. But if not, keep reading!
Reinstall

This phase of reinstalling is quite similar to the previous one. You could potentially do this one before doing the upgrade and update phase. But this is specific to application errors and not operating system problems (or unknown problems).
What if there aren’t any updates available for the application you are having issues with? The only choice that you really have is to do a reinstallation of that application. Reinstallation will require you to re-download the app (or, gasp, find the CD-ROM that has the installer).
There are two primary ways to reinstall an application. You can try to reinstall it directly on top of the existing application. Or, you can uninstall the application first (e.g., delete it on the Mac), and then reinstall it. But there are some things to think about here.
If you just reinstall the app directly on top of the existing app, you will be prompted if you want to Replace or Keep Both Versions. I would say just Replace the existing version. This essentially deletes it.
But, doing the above-mentioned process may leave the problem. You could have corrupted preference files or other settings that are stored elsewhere on your computer. And you may be stuck with still having issues.
Also, the application may have an installer, so instead of just dragging the application to your “Applications” folder and replacing the existing application, the installer may go through its process of replacing the app with the newer version.
If the “install on top of” or replacing the application doesn’t work, you may have to take more extreme measures. There are some software applications that can fully uninstall the application, including all of the preferences and other data and setting files stored throughout your Mac. Full uninstallation really isn’t something you can do manually, as these other files are often hidden by the system.
So grab a reliable and trustworthy application uninstaller and use that to fully remove all traces of the application (note that it will delete all of your settings as well for that app). One great app that I highly recommend and use regularly is Clean My Mac, which has an uninstall feature built-in.
Once you fully uninstall the app, then you can try reinstalling either by dragging the app to your Applications folder or using the application installer (if one exists).
Hopefully, those steps will get you up and running again. But what if you aren’t having specific application issues? I have a great thing to try on your Mac that I just used to solve a problem I was recently having.
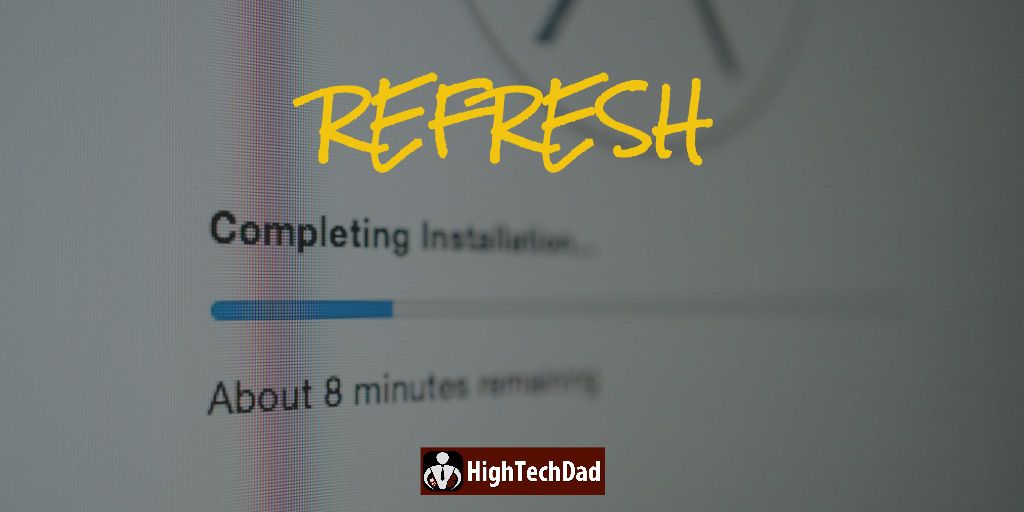
Refresh
Refreshing your operating system installation is not something that many people do. For the most part, they do a macOS upgrade periodically and hopefully install the macOS updates as they come out.
I’m quite religious about keeping macOS current on all of my laptops. (I even run some bleeding-edge developer versions of macOS so I can stay ahead of the times). But even despite keeping my operating system and applications current, I ran into a problem recently.
A week ago, I had some applications that simply weren’t launching. Some apps launched and worked fine, but others would never fully start. You could see that they were trying to run (they appeared in the Force Quit applications list and also showed in the Activity Monitor). Sometimes they would appear as red in the Activity Monitor.
Quitting those hung or unresponsive apps didn’t help. I would relaunch them, and they would hang. Even following my previous phases (reboot, upgrade, and reinstall) didn’t help.
So I tried something different. I decided that the issue was somewhere deep within MacOS since it wasn’t a specific application that was having issues: it was multiple applications.
This is where a “refresh” of MacOS can actually be quite helpful (and did fix my issue). In the newer versions of macOS, there is a system utility in a protected part of your hard drive. You can’t access it normally, but when you need it, it is there. And, as part of any MacOS install or update, that rescue and utility partition is automatically updated.
Apple calls it Recovery mode. And it can be extremely helpful.
There are four main things you can do in this mode:
- Restore from a Time Machine Backup
- Reinstall macOS
- Get help online
- Disk Utility
Accessing recovery mode is quite easy. Just shut down your Mac. Then restart it, but as you restart, hold down Command (?)-R. Hold those keys down until you see a change on the screen. Eventually, you will get the Recovery menu.
What I usually do next is run Disk Utility on my primary hard drive. So choose that and then select your hard drive. It may have two partitions (especially if you are running macOS Catalina), one for your data and one for your system.
Once you select the hard drive you want to check, click the First Aid button. The Disk Utility will run through various checks and will do its best to repair any errors it encounters. Hopefully, it can correct them. Run it on both partitions if you have them.
With my issue, Disk Utility didn’t find any problems. So I went on to my next step.
Reinstall macOS is what I call the “refresh” phase. What it does is exactly what it says in the name. It reinstalls the operating system over the one you already have.
BUT, the important thing is, it DOESN’T erase your data. It leaves that intact, which is great.
A reinstall of macOS can take 20 minutes or more, so be sure you budget time. It’s not quick. Often as well, it will require you to be connected to the Internet to download the latest files, so be sure you either have a LAN or Wi-Fi connection available.
In my specific case, the refresh (reinstall of macOS) ultimately resolved my issues described previously. And, my system almost felt a bit peppier.
Once the reinstall is completed, just reboot and log back in. Hopefully, your issue will be resolved. If not, you may have something more serious going on, which could be hardware-related or even some sort of virus or malware. You may need to get professional technical help for that (definitely use Apple Support if you can – they are pretty fantastic).
That’s pretty much it in terms of the four main phases to fixing Mac issues. But I wanted to include two other tips for good measure.
(Bonus) Maintain

Hopefully, you maintain your car, right? At a minimum, you change the oil, get the brakes replaced, and do the required maintenance. Well, a Mac (or PC) is no different. You can’t just use it without doing some sort of maintenance on it.
As I mentioned before, you should regularly update your applications and upgrade your operating system. If you ignore either of those for a long time, you will run into issues eventually.
Another good maintenance routine is to back up your hard drive regularly. If you use Time Machine, it’s really easy. Just purchase a large external hard drive and dedicate it to doing backups. You can restore files that you accidentally delete from Time Machine. Or, if your computer totally crashes (or you get a new Mac – lucky you), you can reinstall the macOS and restore your data from a Time Machine backup.
I actually do another method of backing up things. You can have a cloud backup service that runs in the background. There are many available. But another great way to automatically back up without really thinking about it is to use something like Dropbox, Box, OneDrive, Google Drive, or something similar.
All of the files that I work on are in a directory that is synchronized with one of those services. So, if I’m on another device (or even on just a web browser or my iPhone), I can access those files whenever I want from wherever.
So if my Mac crashes, yes, it’s a pain, but all of my data files are backed up in at least two places, on my Time Machine hard drive and in the cloud with OneDrive.
Lastly, invest in some sort of maintenance utility. Previously I mentioned Clean My Mac. I highly recommend it as it has a ton of great maintenance utilities that can really help keep your Mac running optimally. And NO, this is NOT a sponsored post for them. I just really like them.
Still not working? Well, you could always try the nuclear option. Read on!
(Bonus) Wipe & Start Over

Sometimes starting from scratch is the only way. Again, If you have a hardware issue, this might not work. Wipe and start over is exactly as it sounds, though. You fully erase your hard drive and install MacOS from scratch.
BE SURE YOU HAVE A FULL BACKUP OF YOUR FILES FIRST!
To do erase your hard drive, you will want to go into the Recover option that I mentioned before. As you restart, press and hold Command (?)-R and go into the recovery mode.
From there, you will go into the Disk Utility and choose your hard drive and click Erase. For detailed instructions on this, please read this Apple Support article on erasing your disk for Mac. There are some important instructions there that will guide you along.
After that, you will want to install macOS using the same Recovery utility, so quit out of Disk Utility. Then, select your newly erased hard drive partition and install the latest version of macOS. Again, there is a very clear Apple Support document that guides you through the process of reinstalling macOS from the macOS Recovery.
Once you install a clean version of macOS, you can just start from scratch and reinstall all of your apps. Or you can use the Migration Assistant to pull over all of your data or even your applications as well. Remember though; if you had issues with some applications, you could be just putting those same problems back onto your clean system.
For help on how to use the Migration Assistant (which works great with Time Machine backups), read this Apple Support article to help you get items you have on another device or in a back up onto your Mac.
Don’t Panic

I say this with any of my Fix It or How To articles – Don’t Panic. Most of the time, someone else has encountered the same or similar issue that you are encountering. Often, searching for solutions can quickly provide a fix or an answer. Be sure you do get the answer from a reputable site, though. When in doubt, look for the same solution from a site you trust.
Also, be patient. Fixing things takes time. Again, you can’t simply wave a magic wand. But, if you do try to fix things yourself, you have a sense of accomplishment if it works. And you may be able to help others later on.
Thanks for reading, and if you found this article helpful, please be sure to share it!
HTD says: If you follow my 4 phases of Reboot, Upgrade/Update, Reinstall, and Refresh, you really can fix a vast majority of crashes and issues you encounter on your Mac! (And these tips can help PC users too!)


