Here is the scenario. It’s the early morning in the winter. You are snuggled warm in your bed but outside of the comfort of your blankets, your house is cold. The last thing you want to do it to have to get out of bed and turn on the thermostat to heat the house. So you just hope for someone else in the house to turn on the heat. Or how about this one. It’s 90 degrees during the summer and you have been out in the baking sun at the beach all day and you know that at home your house is stuffy and sweltering as well. And here’s one more scenario. You have gone off on vacation and as you are about 100 miles away from your house, you realize you forgot to turn off your thermostat for while you are away. In any one of these scenarios, you wouldn’t have any type of easy solution (unless you yell at your kids to turn on the heat).
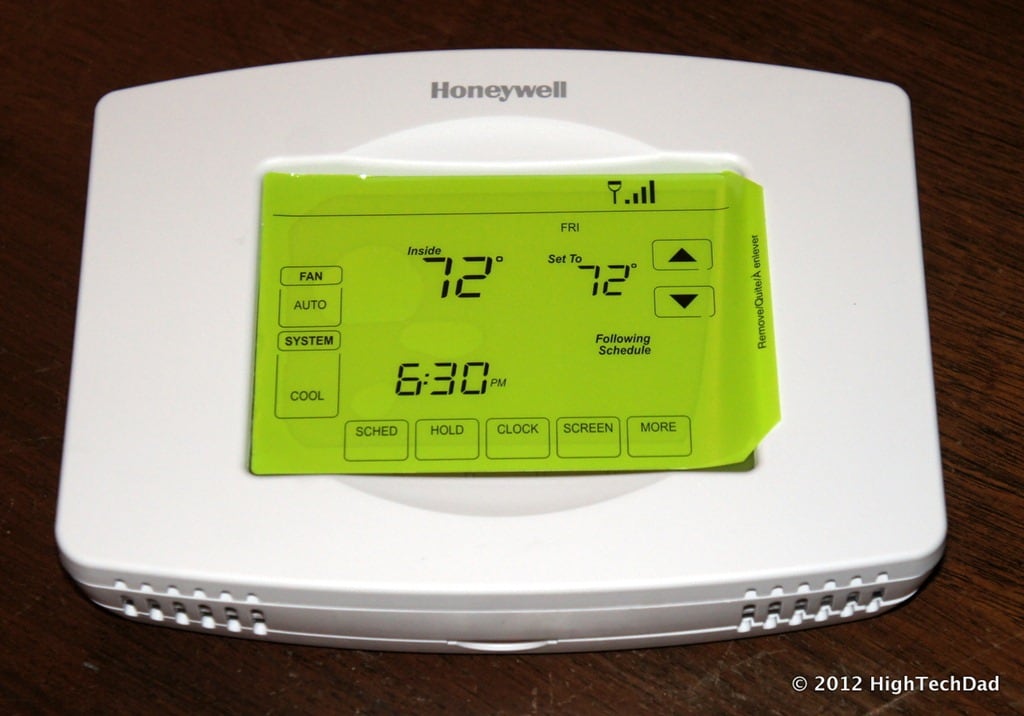
But there is a solution to these scenarios – get a WiFi-enabled thermostat. The one that I installed myself, if you are somewhat handy it’s easy to do, is the Honeywell Wi-Fi 7-Day Programmable Touchscreen Thermostat (RTH8580WF). And once it is up and running, it gives you mobile freedom to control the heating and cooling of your home. Let me say this, if you are planning on getting a new furnace or air conditioner, or simply want to give yourself a bit more remote control over the comfort of your home, definitely pick up a WiFi-enabled thermostat. (You can see some other solutions on this Honeywell website dedicated to WiFi thermostats.)
Before I go into some of the features, let me walk you through my installation process. For the most part, it was pretty straight forward. I already had a thermostat (it turned out to be an older Honeywell model as well) but it was much more limited in its capabilities. You could set temperatures, on and off times and that was about it.
Installing the Honeywell WiFi Thermostat
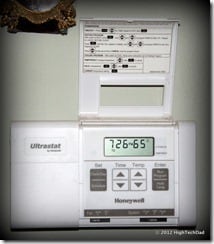
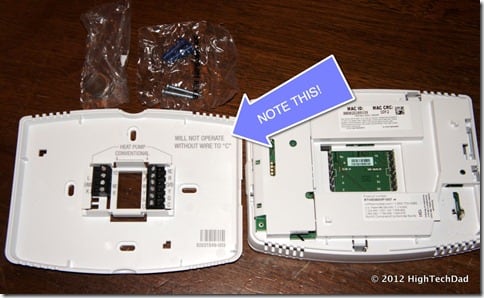
This is the type of stock thermostat that most installers will bring when they upgrade or install a new system. It’s basic with no excitement built in. So for my installation process, I luckily had wires already running through the wall and to the blower/furnace/air conditioner. If you are doing a new install, I would recommend that you have it professionally done. And if your wiring is old and perhaps only has 2 pairs of wires, you might want to get some help (re)wiring the system. Do note as well that in order for the WiFi Thermostat to work, it needs to have power (that comes from the blower/furnace) – you can’t just plug it into the wall or run on batteries.
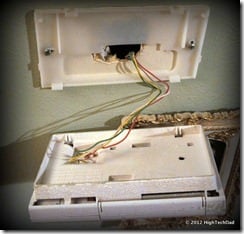
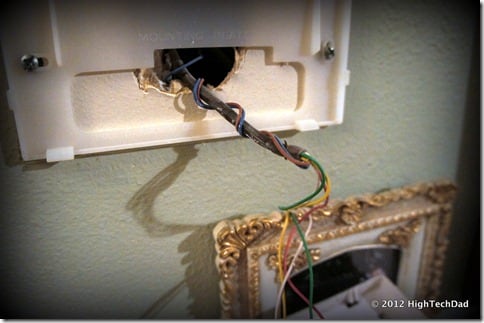
I removed my old thermostat and took a look at the wiring.
I recommend taking either a video of your current installation or a bunch of photos. It makes the process a lot easier in the long run. ALSO, it is recommended that you turn off the power at your circuit-breaker when you are working on this project. AND, be sure to read through ALL of the instructions before you do any work.
I actually had to look at some of the install videos on the Honeywell site because my scenario was not typical (see the “Alternate Wiring Install Videos”).
My old thermostat did not have power connected to it; it ran only on batteries. So, according to the install video, I had to attach an additional wire to the furnaces power supply. (I’m not going to go through all of the steps here…only the highlights.) Pulling out all of the wiring from the wall revealed that I had extra wires to use for the power.
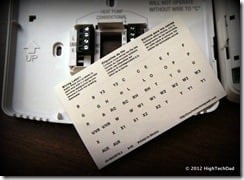
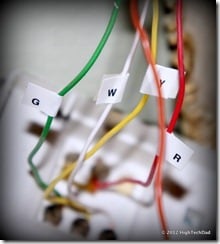
One important step is that of labeling the wires based on the old thermostat so be sure that you use the included wire labels.
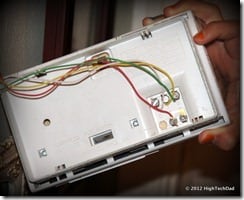
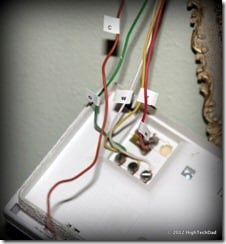
This is how my old thermostat was wired:
So before I unscrewed the old thermostat, I labeled it accordingly.
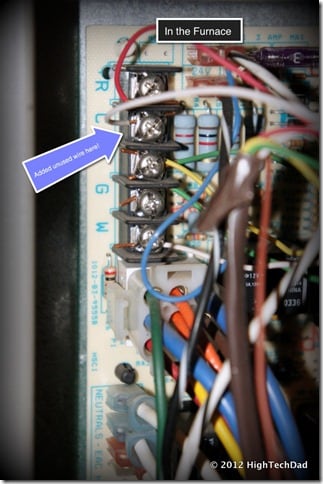
As the new Honeywell Thermostat required power (as I mentioned) called a “C” wire, I labeled one of the spare (unused) wires and remembered the color (orange). The next trip was down to the basement to check out the furnace and the wiring there. I was able to locate the wiring and found the wire for my “C” connection (the orange one) and then connected the “C” wire to the “C” screw in the furnace.
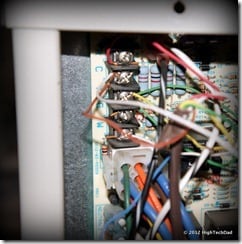
Here it is connected. Now I could power the new thermostat. Be sure to fully close up the furnace cover as most modern ones have switches that will kill the power to the furnace if the cover is open as a safety precaution.
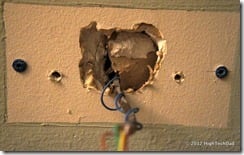
Once I had my wiring set up, the rest was pretty easy. I removed the old thermostat, disconnected the wires and removed the mounting plate. (Don’t you love how the painters painted around the thermostat? Lazy!)
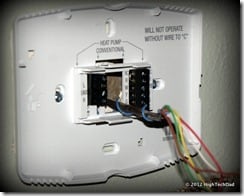
Then I installed the new mounting plate.
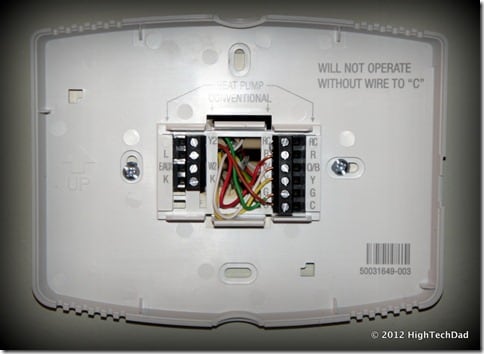
And screwed in all of the wires according to my labeling (including the new “C” wire). Then carefully push the wires back into the wall to make it all clean and easy to snap the thermostat on.
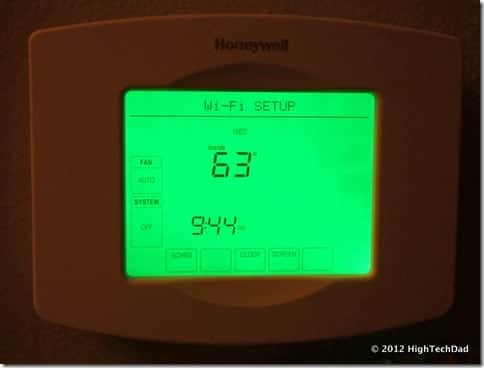
Once you are sure about your wiring, you can turn the power back on to your furnace. Then comes the fun of putting on the faceplate (don’t forget to install the small battery too). If you have done everything successfully, the front panel will light up!
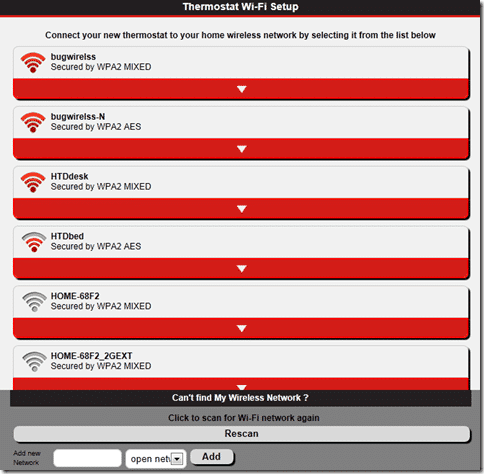
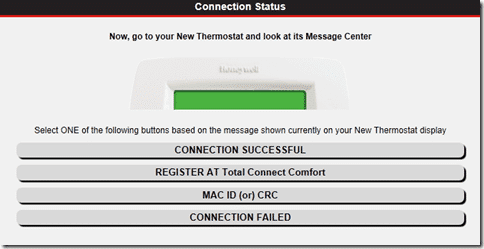
At this stage, you are ready to set up the WiFi connection (and you can see the prompt at the top of the screen). Here, the Honeywell becomes a mini WiFi router broadcasting a network connection that you need to connect to. You do this from a WiFi-enabled computer. Be sure to read the manual but the steps are very straight forward. Once you connect directly to the WiFi Thermostat, you will walk through a series of screens to connect your Honeywell Thermostat to your existing home wireless environment.
Once you successfully connect, your thermostat will be ready to go and you need to register it at Total Connect Comfort.
From there, you don’t need to directly connect to the thermostat any more and you can use either their website to manage your thermostat, or the Apple iOS app or Google Play app.
That wasn’t so hard, right? BTW, the Honeywell site has lots of Q and A’s and support docs to help you with the install and set up process.
Programming and Using the WiFi Thermostat
Since you have gotten through the hard part, the configuration and usage is more like “game play.” In order to get the most configuration options, you should use the website. If you just need to turn on or off the cooling or heating and adjust the temperatures and temporary hold or off/on times, you can use the mobile apps (which work on smartphones and tablets). I have tested the mobile apps on the iPhone, iPad and on an Android Tablet.
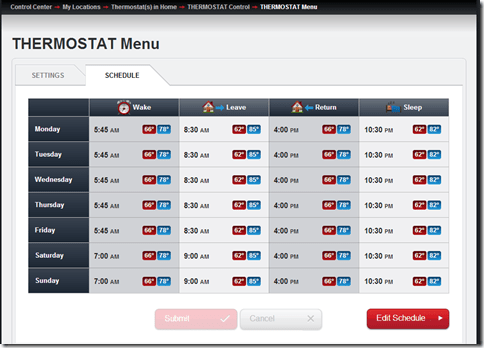
First, you probably want to configure your schedule. You need to do this on the website. (And there are other configurations that I recommend that you go through or at least look at but I won’t be going into those details.) Here is what the schedule looks like online:
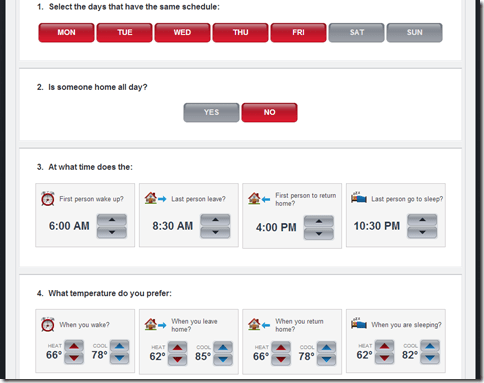
Note that you can control every day of the week (7-days) and the times that you wake up, leave, come home and go to sleep. You can easily select the days that are grouped (like weekdays and weekends) as your usage patterns may be different. It’s very easy to do and once you are done, you simply “submit” the new/changed schedule to the thermostat via the internet. Your updates take effect almost immediately.
One IMPORTANT thing to note about your schedule programming. Unlike the cheap, traditional thermostats where you set the on or off time, this Honeywell thermostat acts a bit differently. Instead of saying that you want the heat or cooling to come on at a specific time, with this thermostat, you essentially tell it the temperature that you want your environment to be when that time comes. This means that if you want it to be 67 degrees when you get up at 6:30am, the thermostat will check to see what the current temperature is and then it will calculate when it will actually have to turn itself on so that it can be AT that temperature when you get up. This may mean that your furnace will go on 30 minutes before the time indicated on your schedule. This confused us a few times and we had to play with the schedule a bit in order to get it working the way we wanted.
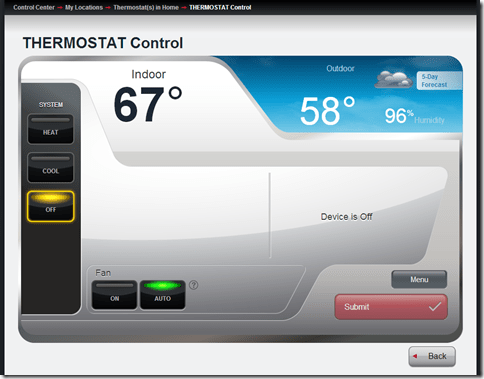
The mobile apps and the touch-screen interface of the thermostat work in the same way (while I much prefer the mobile interface than the green touch-screen one). And actually, the picture below is from the website!
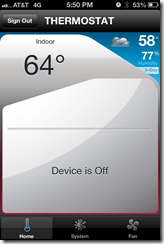
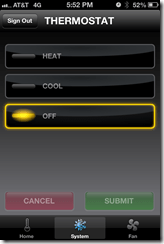
This is what the iPhone interface looks like:
HighTechDad Ratings
I was so excited to finally get my hands on this WiFi Thermostat and now I’m controlling the temperature of my home from the comfort of my bed or miles away. And, since I like doing DIY projects, I was glad to see how carefully thought out and clear the entire install process was. I took me about an hour or two to do everything but that was because I was documenting things along the way. If you are handy, you could probably do this in less than an hour. The Honeywell Wi-Fi 7-Day Programmable Touchscreen Thermostat (RTH8580WF) retails for about $149 but Amazon currently has it on sale for $129 which is a great deal! You probably don’t want to pay more than $200 for it. Once you have it set up, I’m pretty sure that everyone can use it. We only use the mobile apps to control it and hardly ever touch the touch-screen (which also acts as a nice nightlight for a dark hallway.) The lower “easy to geek factor” rating is simply because you can’t just turn the thing on, you need to carefully install it first.
Disclosure Text : I have a material connection because I received a gift or sample of a product for consideration in preparing to write this content. I was/am not expected to return this item or gift after my review period. All opinions within this article are my own. More information can be found in my About page as well as here.
HTD says: Overall, I really enjoyed the install process and then the later control freedom that I got from this Honeywell WiFi Thermostat. Definitely recommend picking one up if you want a fun project to do with lots of “cool” and “hot” benefits later!
[amazonproduct=B0094X6VUW]



4 Responses
This was a really helpful article. I have been looking at purchasing a new thermostat after reading about some of the new ones on the market. I like the idea of being able to control the temp from my phone and better manage the hours during which the system is running.
Our family is trying to be responsible with our energy use and have even shifted our energy bill to a time use model (so we pay less when using power in non-peak times). This is one of the reasons why I want a new thermostat that can give better control, because we ideally would only want the heating and cooling systems to run during non-peak hours.
Did the Honeywell model you tested have any capability for measuring power consumption? I just wondered if the Honeywell model gave you any stats on the number of hours running or if the online tool gave you a calculator for estimating the energy cost. Stuff like this isn’t for everyone, but it would be a great feature for families that are watching the energy bill.
Dan,
Thanks for the note. I have been considering moving to time-based billing as well (as I have a pool and would love to have that run off peak as well). The Honeywell provides good controls, but unfortunately, I don’t think that it provides any stats on usage (but I will dive through the web interface to see if anything is buried in there). It’s a great idea though
Nice review… I went with the new Nest 2.0 for my home and must say I have been impressed with the energy and cost savings already.
Good article – I just bought a new honeywell wifi myself. I ran into the same issue with not have a 5th wire for the thermostat, so that was a little challenge but luckily I figured it out. After I got that, it was a breeze to set up. I highly recommend that people buy these type of thermostats. I originally bought it for my lake place, but I installed in my home to see how it worked. Now I will be buying two of them. It is one of the coolest gadgets I have ever seen. I am surprised most people have never even heard of this technology.